
This brief tutorial shows students and new users how to install ONLYOFFICE Workspace on Ubuntu 20.04 | 18.04.
ONLYOFFICE Workspace is a bundled app that integrates with ONLYOFFICE groups, including an intuitive control panel for easy configuration and customization of your workspace.
ONLYOFFICE Workspace includes ONLYOFFICE Doc – a productivity suite of documents, spreadsheets, and presentations; ONLYOFFICE Group – a document and project management, mail, CRM, calendar, and communication hub; ONLYOFFICE Mail – a solution to create and manage corporate mailboxes and many more.
These features and suites can be managed effortlessly from its centralized control panel, which provides tools to quickly configure and administrate your ONLYOFFICE, including centralizing access with SSO/ LDAP, tracking user actions, enabling full-text search, white labeling capabilities, and multitenancy option.
To get started with installing ONLYOFFICE Workstation on Ubuntu, follow the steps below:
Download Install Script
Before installing ONLYOFFICE, run the commands below to download its install script.
cd /tmp
wget https://download.onlyoffice.com/install/workspace-install.sh
After downloading the script, continue below to install it.
Install ONLYOFFICE
Now that the script has been downloaded run the commands to install it.
sudo bash workspace-install.sh -md "example.com"
Replace example.com with your domain with ONLYOFFICE mail services.
If you just want to run ONLYOFFICE Workstation without its mail service, then run the commands below;
sudo bash workspace-install.sh -ims false
During the installation, you’ll be prompted to install it with Docker. If you don’t use Docker, choose N for No.
After a successful installation, you should get a similar message as below:
Thank you for installing ONLYOFFICE.
You can now configure your portal using the Control Panel
In case you have any questions contact us via http://support.onlyoffice.com or visit our forum at http://dev.onlyoffice.org
Access ONLYOFFICE
After installing ONLYOFFICE, open your browser and browse to the server hostname or IP address.
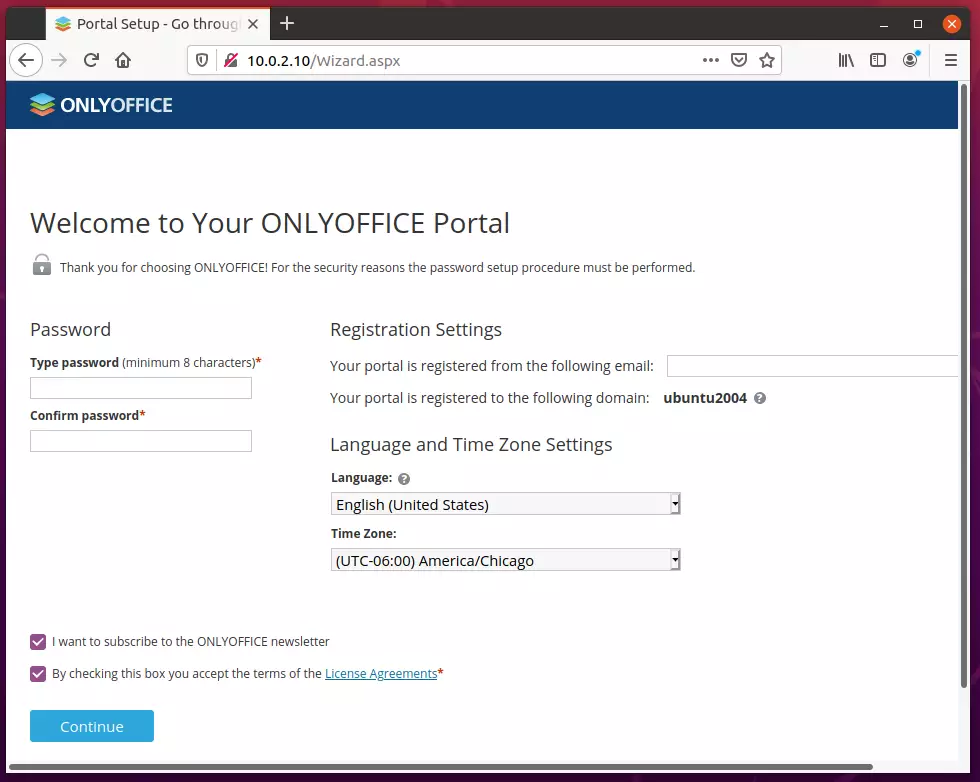
Create an account and continue.
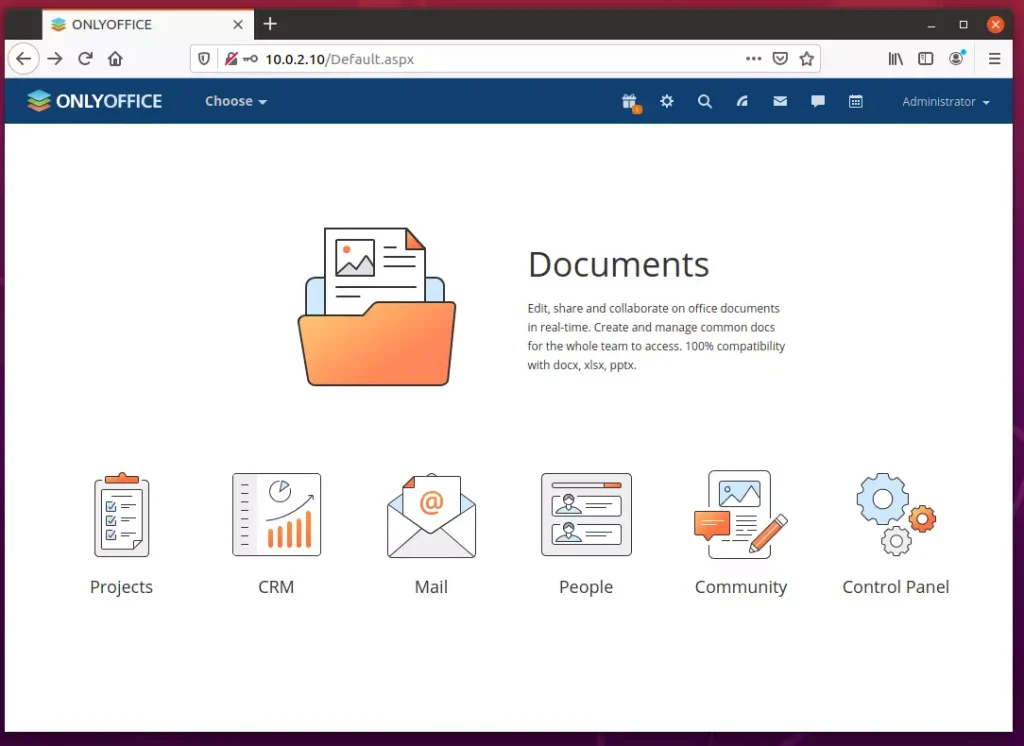
From there, you can begin setting up your environment and configuring your settings.
That’s it!
Conclusion:
This post showed you how to install and manage ONLYOFFICE Workstation on Ubuntu 20.04 | 18.04.
If you find any error above, please use the form below to report.


Leave a Reply