How to Install Eclipse Mosquitto MQTT on Ubuntu


Eclipse Mosquitto is an open-source message broker that routes messages between smart home devices and applications using the MQTT protocol. It runs on Ubuntu 22.04 LTS and uses very little system memory to send data safely between connected hardware.
Run a few commands in your terminal to set up the software and get your message broker running on your computer.
Install Mosquitto by adding the official PPA and running sudo apt install mosquitto mosquitto-clients. Then, enable and start the service with sudo systemctl enable mosquitto and sudo systemctl start mosquitto.
Install Mosquitto packages
Add the official Mosquitto PPA (Personal Package Archive, a repository for Ubuntu software) to get the latest version. Afterward, update your system and install both the Mosquitto broker and its client tools.
Execute the following commands to add the PPA and update your system:
sudo add-apt-repository ppa:mosquitto-dev/mosquitto-ppa
sudo apt update
sudo apt install mosquitto mosquitto-clients
Once installed, verify that the service is running:
sudo systemctl enable mosquitto
sudo systemctl start mosquitto
sudo systemctl status mosquitto
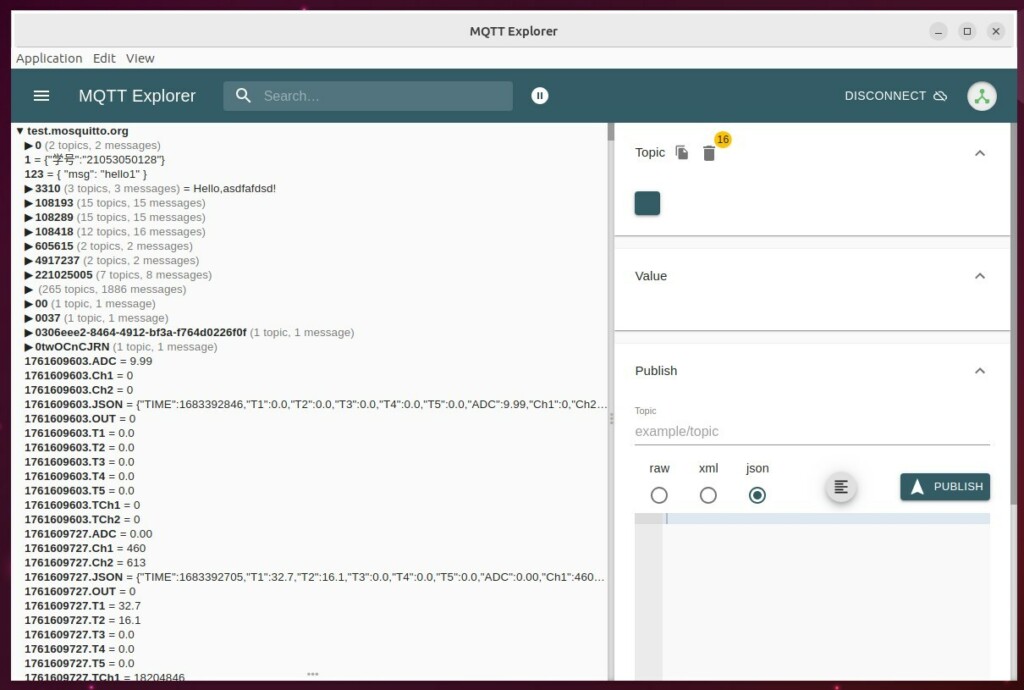
Setup authentication
Setting up authentication for your Mosquitto MQTT server is crucial. Default installations allow open connections, meaning server security requires immediate attention. This configuration process involves generating a password for authorized users. Creating an admin user instructs the MQTT server to enforce password protection.
First, create an admin user:
sudo mosquitto_passwd -c /etc/mosquitto/.passwd superadmin
Configure Mosquitto to save client data if the server restarts. Open the configuration file, usually found at /etc/mosquitto/mosquitto.conf. Add the line persistence true to ensure client session information is saved to disk.
sudo nano /etc/mosquitto/mosquitto.conf
Add these lines to the end of the file:
persistence true
persistence_location /var/lib/mosquitto/
Now, create an authentication file at /etc/mosquitto/conf.d/auth.conf and add these lines:
listener 1883
allow_anonymous false
password_file /etc/mosquitto/.passwd
To encrypt network traffic, TLS/SSL certificates are necessary. Create a directory for these certificates and generate a DH parameter file:
sudo mkdir -p /etc/mosquitto/certs
sudo openssl dhparam -out /etc/mosquitto/certs/dhparam.pem 2048
SSL certificates come from providers like Let's Encrypt, or from self-signed generation methods on Ubuntu Linux. Adding these certificates to the ssl.conf file ensures data remains encrypted during transit.
Restart the service to apply changes:
sudo systemctl restart mosquitto
Test that your authentication works by sending a message:
sudo mosquitto_pub -h localhost -t "test" -m "Hello" -u "superadmin" -P "your_password"
Conclusion
Your Mosquitto MQTT broker is now installed, secured, and running on Ubuntu.
How do I run Mosquitto from command line?
Open the command line and use the mosquitto -v -c command to run the broker in a verbose mode, which allows monitoring of debug messages. The -c option passes a specific mosquitto configuration file to the service.
Was this guide helpful?

About the Author
Richard
Tech Writer, IT Professional
Richard, a writer for Geek Rewind, is a tech enthusiast who loves breaking down complex IT topics into simple, easy-to-understand ideas. With years of hands-on experience in system administration and enterprise IT operations, he’s developed a knack for offering practical tips and solutions. Richard aims to make technology more accessible and actionable. He's deeply committed to the Geek Rewind community, always ready to answer questions and engage in discussions.



No comments yet — be the first to share your thoughts!