
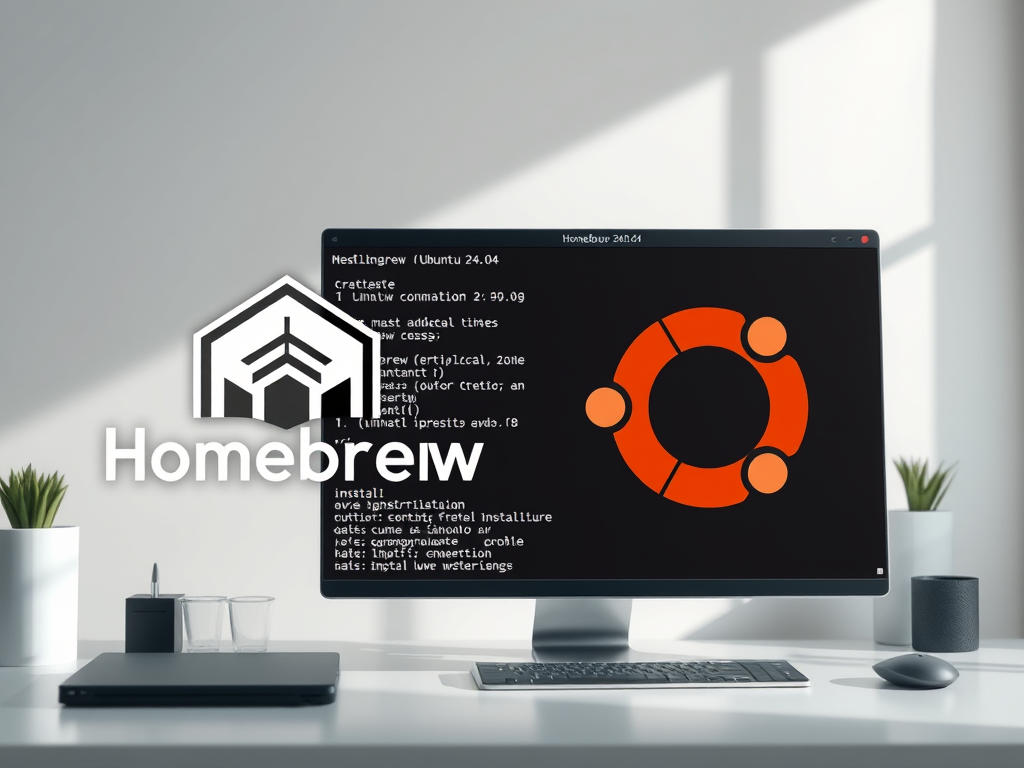
This article explains how to install Homebrew on Ubuntu 24.04.
Homebrew is a package manager designed initially for macOS but also available for Linux (sometimes called Linuxbrew). It simplifies the installation, management, and removal of software packages.
By default, Homebrew installs software to /home/linuxbrew/.linuxbrew (or ~/.local), avoiding conflicts with system packages managed by apt.
Homebrew complements Ubuntu’s native package management by offering newer software, user-friendly workflows, and macOS-like consistency while keeping your system clean. Use it for development tools or when you need up-to-date versions without risking system stability.
Before installing Homebrew, you’ll need the curl and git command-line utilities. You can install curl by running the command below.
sudo apt install curl git
Install Brew
Now that you have installed the curl utility download the Homebrew setup script for Ubuntu and run it using the command below.
/bin/bash -c "$(curl -fsSL https://raw.githubusercontent.com/Homebrew/install/HEAD/install.sh)"
When prompted during the script, hit Enter to install Homebrew on your home directory on Ubuntu.
After completing the Homebrew installation script, you’ll be prompted to run several commands on your terminal.
These commands are crucial for setting up Homebrew on Ubuntu and configuring your system. Use the first command to establish Homebrew in your .bashrc profile, replacing ‘richard‘ with your username.
Run the first command to set up Homebrew in your .bashrc profile. Replace ‘richard’ with your username name.
Run this command in your terminal to add Homebrew to your PATH:
(echo; echo 'eval "$(/home/linuxbrew/.linuxbrew/bin/brew shellenv)"') >> /home/richard/.bashrc
To ensure that Homebrew functions correctly on your system, you need to set specific environment variables.
Run the command below to do that.
eval "$(/home/linuxbrew/.linuxbrew/bin/brew shellenv)"
Once Homebrew is installed and configured, you can check its version by running the command below.
brew --version
Run the brew doctor utility to ensure everything was set up correctly.
brew doctor
Install Homebrew’s dependencies if you have sudo access:
sudo apt-get install build-essential
How to Install Homebrew with Git
Another way to install Homebrew is by using its source code through Git.
To do that, download the Homebrew Git repository to your Ubuntu machine by running the command below.
git clone https://github.com/Homebrew/brew homebrew
Then, run the command below to add Homebrew into your system’s command-line environment.
eval "$(homebrew/bin/brew shellenv)"
Check the installed Homebrew version by running the command below.
brew --version
To finish the setup, run the command below to grant write access to the specified directory for data storage.
chmod -R go-w "$(brew --prefix)/share/zsh"
Use Homebrew
Now that Homebrew is installed, you can install packages on Ubuntu using the following syntax:
brew install package_name
For example, to install the GCC package, run the command below.
brew install gcc
Replace install to upgrade to upgrade a package.
brew upgrade gcc
To uninstall a package, use the uninstall option with a command similar to the one below.
brew uninstall gcc
How to Remove Homebrew
Homebrew also provides an uninstall script to remove it from your system. Run the command below to download the script.
curl -fsSL -o uninstall.sh https://raw.githubusercontent.com/Homebrew/install/master/uninstall.sh
Then, execute the script by running the command below.
bash uninstall.sh
When prompted, enter y for yes.
Delete the line in the .bashrc file in your profile as well.
sudo nano .bashrc
Finally, delete the Homebrew folder.
sudo rm -rf homebrew
That should do it!
Conclusion:
In summary, installing Homebrew on Ubuntu can significantly enhance your development experience. Here are key points to remember:
- User-Friendly: Homebrew simplifies package management and offers a consistent user experience across macOS and Linux.
- Installing software in your home directory prevents conflicts with system-managed packages.
- Up-to-date Software: Access newer software versions that may not be available through the default Ubuntu package manager.
- Flexible Installation: Provides multiple methods of installation (curl or Git) to suit your preference.
- Simple Package Commands: Easily install, upgrade, and uninstall packages with straightforward commands.
- Easy Uninstallation: Homebrew comes with an uninstall script, making it simple to remove when needed.
Using Homebrew can streamline your workflows and keep your system organized while providing access to a broader range of software options.
Leave a Reply