
This article explains how to install ERPNext on Ubuntu 24.04.
ERPNext is an open-source Enterprise Resource Planning (ERP) platform provides features as finance, human resources, manufacturing, sales, procurement, and inventory.
Installing ERPNext on Ubuntu combines a powerful, customizable ERP solution with a stable, secure, and cost-effective OS, ideal for businesses aiming to streamline operations without high costs.
The steps below walk you through installing ERPNext on Ubuntu.
Install dependencies
Before installing ERPNext on Ubuntu, you must update and install some package dependencies.
Run the command below to update and upgrade Ubuntu.
sudo apt update
sudo apt upgrade
Next, run the command below to install these package dependencies.
sudo apt-get install libffi-dev python3-pip python3-dev python3-venv python3-testresources libssl-dev wkhtmltopdf gcc g++ make curl git
Install Node.js and Redis
ERPNext runs on Node.js. Run the command below to install Node.js version 21. At the writing of this post, version 22 was the latest LTS.
Also, install the Redis server and yarn by running the next command.
sudo curl --silent --location https://deb.nodesource.com/setup_22.x | sudo bash -
sudo apt-get install nodejs redis-server
sudo npm install -g yarn
Install MariaDB
The next component required to run ERPNext is a database server. This post will install and use the MariaDB database server.
To install and use the MariaDB database server, use the instructions below.
Open the Ubuntu terminal and run the commands below to install the MariaDB database server.
sudo apt update
sudo apt install mariadb-server
Once the MariaDB database server is installed, use the commands below to stop, start, and enable the MariaDB server to start automatically when the server boots.
sudo systemctl stop mariadb
sudo systemctl start mariadb
sudo systemctl enable mariadb
Run the following commands to validate and test if the MariaDB database server is installed successfully.
sudo mariadb
Once you run the commands above, it will log you onto the MariaDB console and display a message similar to the one below.
Welcome to the MariaDB monitor.  Commands end with ; or g.
Your MariaDB connection id is 32
Server version: 10.11.2-MariaDB-1 Ubuntu 23.04

Copyright (c) 2000, 2018, Oracle, MariaDB Corporation Ab and others.

Type 'help;' or 'h' for help. Type 'c' to clear the current input statement.

MariaDB [(none)]>
The message tells you that the server is installed successfully.
Once MariaDB is installed, run the command below to set the root password.
First, log on to the database by running the sudo mariadb command.
GRANT ALL PRIVILEGES ON *.* TO 'root'@'localhost' IDENTIFIED BY 'type_password_here';
FLUSH PRIVILEGES;
exit
Additional help on installing MariaDB.
Configure ERPNext
At this time, your system is ready for ERPNext. First, create a new system user called erpnext. Then, create a password and add the user to the sudo group.
sudo useradd -m -s /bin/bash erpnext
sudo passwd erpnext
sudo usermod -aG sudo erpnext
Next, log in to the ERPNext user and set up the environment variables by running the command below.
su - erpnext
nano ~/.bashrc
Add the line below at the end of the file and exit.
PATH=$PATH:~/.local/bin/
Save and close the file, then activate the environment variable with the following command:
source ~/.bashrc
While still switched to the erpnext user, create a directory in /opt called bench.
sudo mkdir /opt/bench
sudo chown -R erpnext:erpnext /opt/bench
Next, change into the /opt/bench directory and clone the bench repository from GitHub.
cd /opt/bench
git clone https://github.com/frappe/bench bench-repo
Next, install using the pip3 command.
pip3 install -e bench-repo
If you run the command above and get an the “Externally Managed Environment” error, fix it by running the command below.
python3 -m pip config set global.break-system-packages true
sudo python3 -m pip config set global.break-system-packages true
Rerun the failed command above.
Once installed, initialize the bench directory using the command below.
bench init erpnext
Next, change into the erpnext directory and create a new site with the following command:
cd /opt/bench/erpnext
bench new-site erpnext.example.com
After running the command above, type the database root password created above to begin the installation.
Enter mysql super user [root]:
MySQL root password:

Installing frappe...
Updating DocTypes for frappe        : [====================] 100%
Set Administrator password:
Updating Dashboard for frappe
erpnext.example.com: SystemSettings.enable_scheduler is UNSET
*** Scheduler is disabled ***
At this point, ERPNext should be installed and ready to use locally.
You can start the bench service using the command below.
bench start
Accessing ERPNext Portal
Now that ERPNext is installed open your browser and browse to the server IP hostname, followed by port 8000.
http://erpnext.example.com:8000
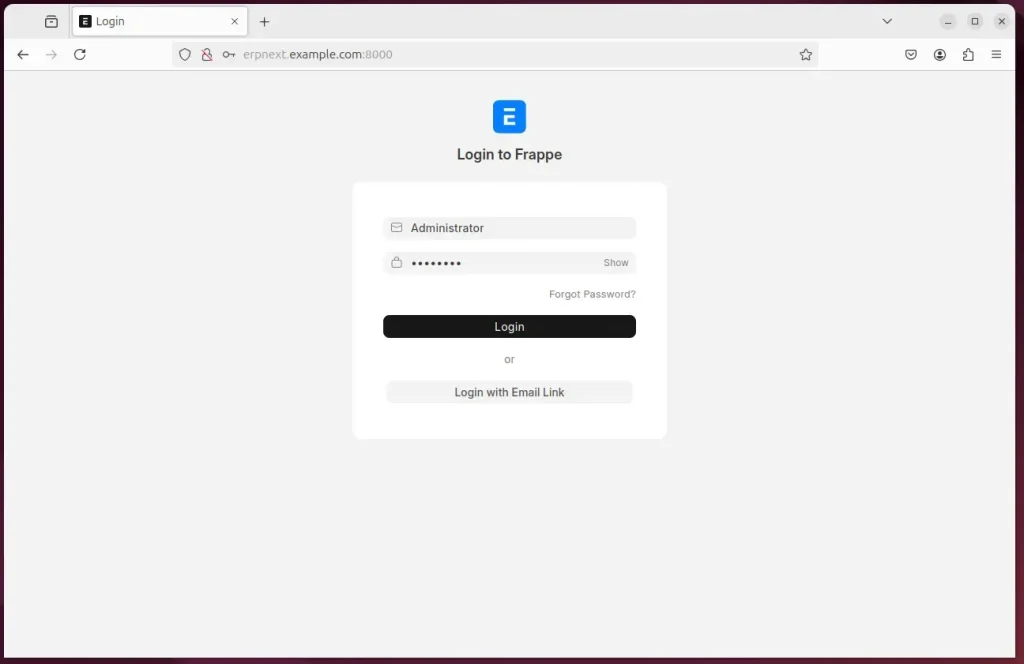
Continue with the wizard.
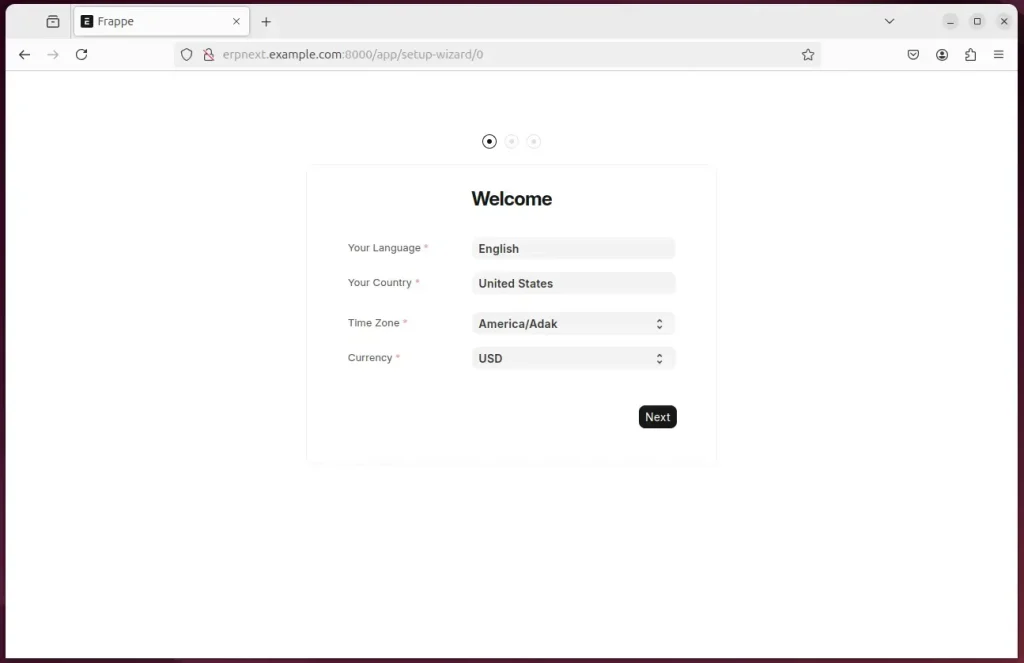
Create an admin account.
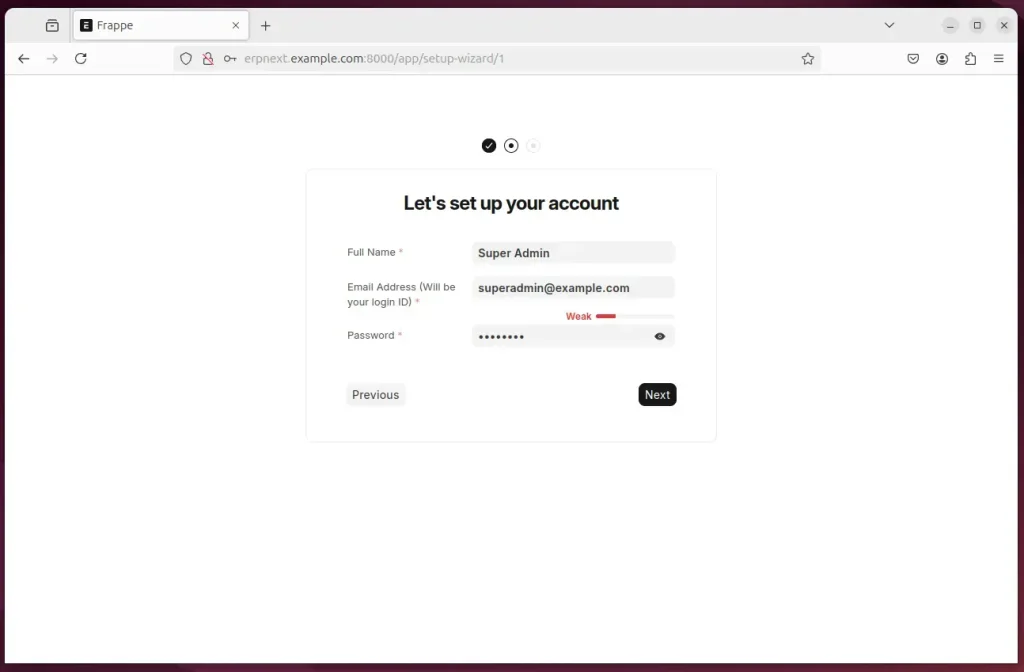
Complete the setup.
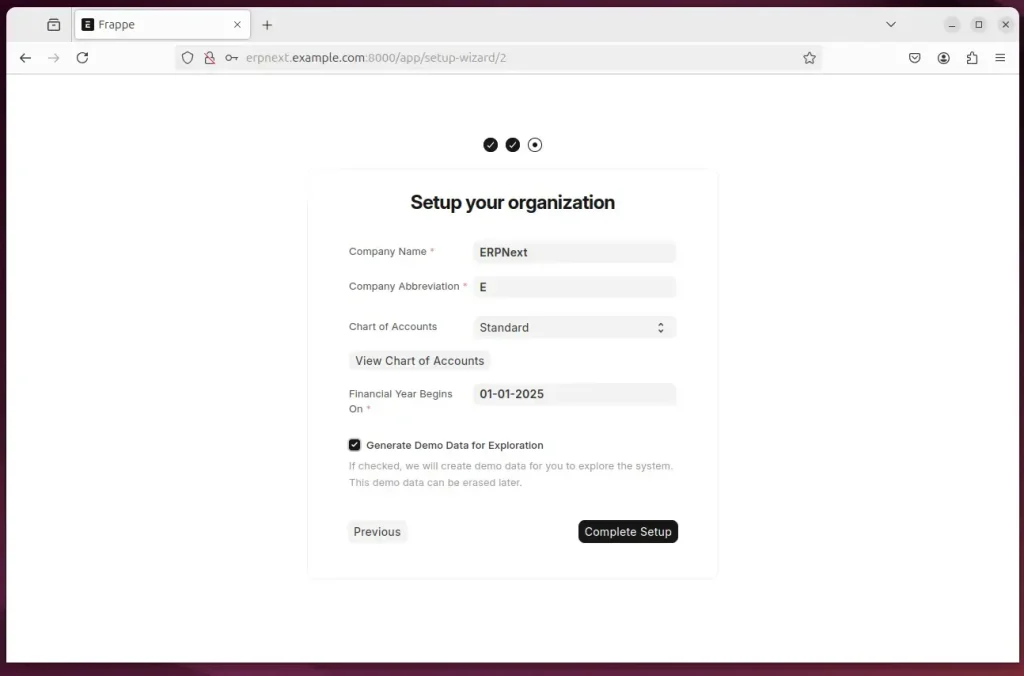
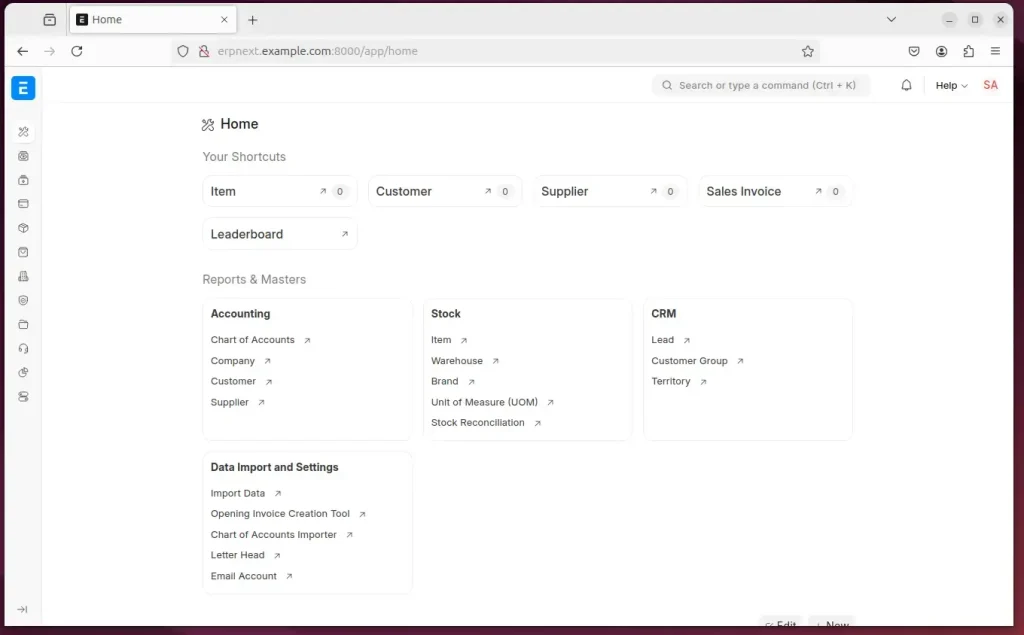
ERPNext should be ready to use.
Configure ERPNext for production
The steps above is suitable for a dev environment where ERPNext is running locally on a machine. If you want to run the app in a production environment, you may have to install a web server and configure it.
You can do that with the steps below.
First, switch to the erpnext account and install Nginx.
su - erpnext
sudo apt-get install supervisor nginx
Then, install frappe-bench using the command below.
sudo pip3 install frappe-bench
Next, change into the /opt/bench/erpnext folder and setup ERPNext for production environment by running the command below.
cd /opt/bench/erpnext
sudo /home/erpnext/.local/bin/bench setup production erpnext
If everything is right, you should see an output similar to the one below.
Setting Up supervisor...
Setting Up NGINX...
Port configuration list:

Site erpnext.example.com assigned port: 80
Setting Up symlinks and reloading services...
$ sudo /usr/sbin/nginx -t
nginx: the configuration file /etc/nginx/nginx.conf syntax is ok
nginx: configuration file /etc/nginx/nginx.conf test is successful
$ sudo systemctl reload nginx
You can now access the portal using the domain name.
That should do it!
Conclusion:
Installing ERPNext on Ubuntu 24.04 is a straightforward process that can enhance your business operations. Here are key takeaways:
- Comprehensive ERP Solution: ERPNext provides an all-in-one platform for managing various business functions such as finance, human resources, and inventory.
- Cost-Effective: Leveraging Ubuntu as the operating system ensures a stable and budget-friendly environment.
- Simple Installation Process: The step-by-step guide makes it easy for users to install and configure ERPNext.
- Flexibility: Users can customize various features according to their specific business needs and workflows.
- Production-Ready Setup: Additional steps allow for configuring ERPNext in a production environment for enhanced performance and reliability.
- User-Friendly Access: Once installed, users can easily navigate the ERPNext portal for managing business operations efficiently.
By following the outlined steps, you can successfully implement ERPNext and take advantage of its powerful features for your organization.

Leave a Reply