

This article explains how to install Eclipse IDE on Ubuntu 24.04.
Eclipse IDE is an open-source integrated development environment (IDE) primarily used for Java development but is extensible enough to support other programming languages via plugins. It offers coding, debugging, testing, and streamlining software development.
Eclipse runs seamlessly on Ubuntu (Linux), Windows, and macOS. Using Eclipse IDE on Ubuntu can be great for developers seeking a flexible, powerful, open-source environment tailored for Java and extensible to other languages and Linux-centric workflows.
The steps below walk you through installing Eclipse on Ubuntu.
Download and install Eclipse
The best method to install Eclipse is to download its installer from the download page. To do that, first, open your Ubuntu web browser and go to the Eclipse website.
Locate and download the Eclipse Installer designed explicitly for Linux systems with x86_64 architecture.
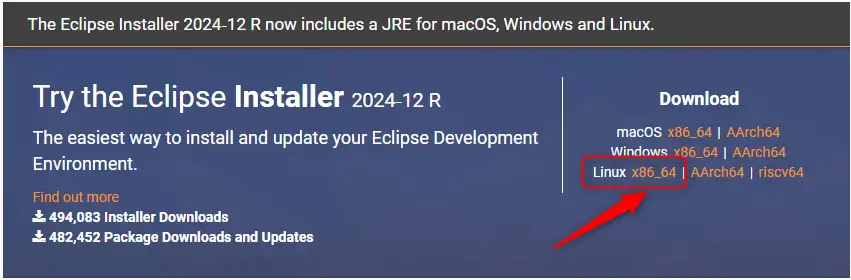
Next, click the Download button to begin the download.
Alternatively, you can copy the download link and use the wget command to download it from the command line.
wget https://eclipse.mirror.rafal.ca/oomph/epp/2024-12/R/eclipse-inst-jre-linux64.tar.gz
Once downloaded, extract the downloaded file using the command below.
tar -xzf eclipse-inst-jre-linux64.tar.gz
Then, change it to the extracted folder and run the installer.
cd eclipse-installer
./eclipse-inst
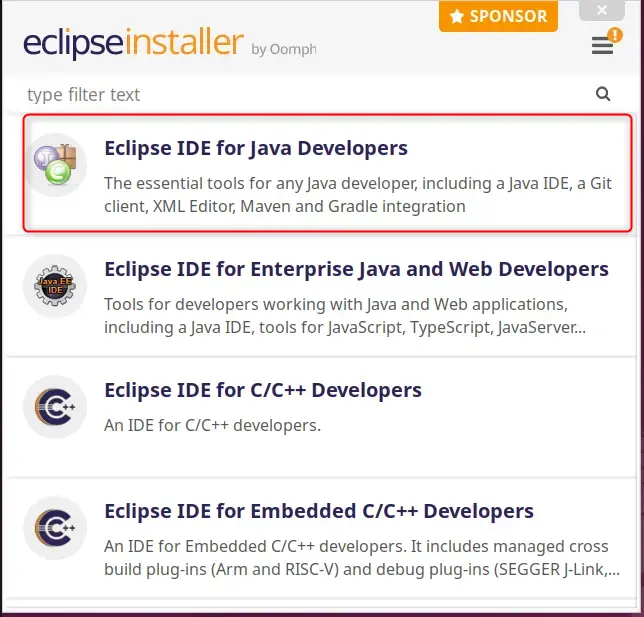
After running the installer, the installation wizard will appear. For this tutorial, select the Eclipse IDE tailored for Java development.
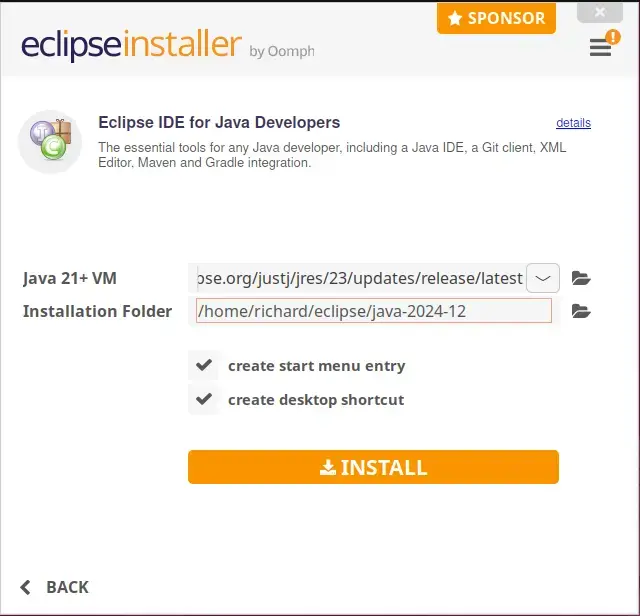
Select your desired Java version, then initiate the Eclipse installation process by clicking the INSTALL button.
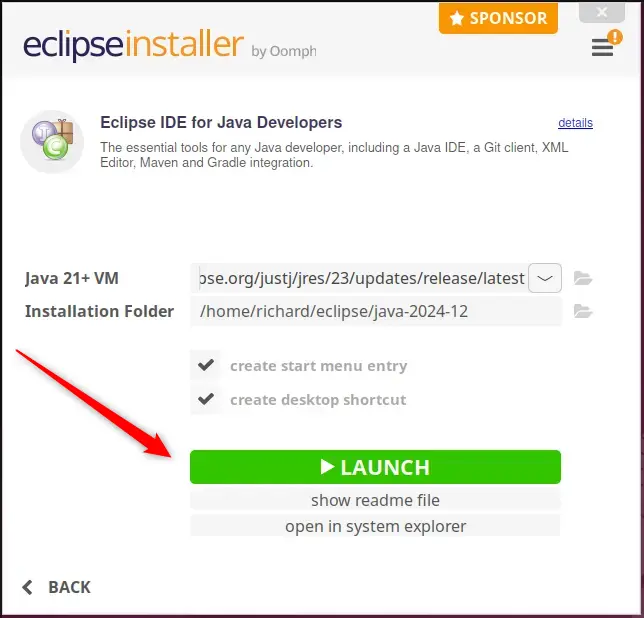
Once installed, click the LAUNCH button. Keep the create start menu entry and desktop shortcut checked.
After that, Eclipse will be ready to use.
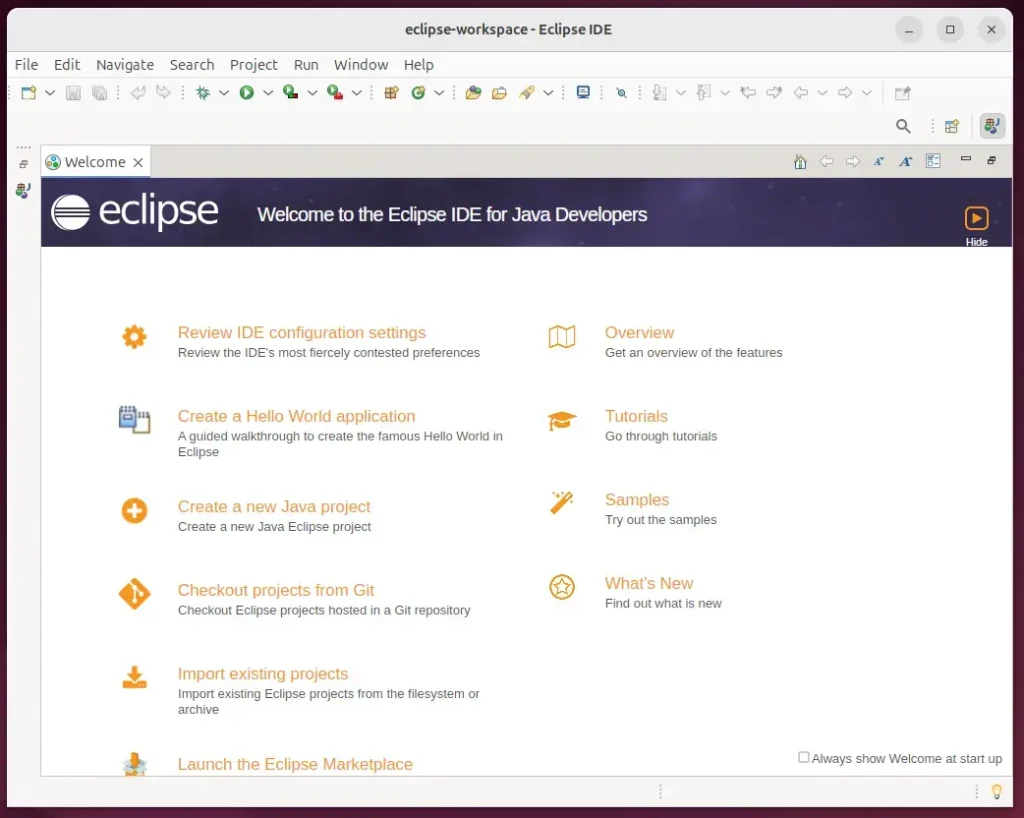
The next time, you can run Eclipse IDE through the Launcher by clicking its desktop app icon.
Install Eclipse using Snap
Another way to install Eclipse is to use the Snap package manager.
To do that, install the Snap package manager if it’s not already installed.
sudo apt install snapd
Then, run the command below to install Eclipse from the Snap package manager. Snap Store will install the Eclipse IDE by default for Java developers.
sudo snap install eclipse --classic
Once installed, use the Dock on the left sidebar to search and launch the Eclipse app.
You can also run the app using the command below.
snap run eclipse
Remove the app using the command below.
sudo snap remove eclipse
Install Eclipse using the App Center
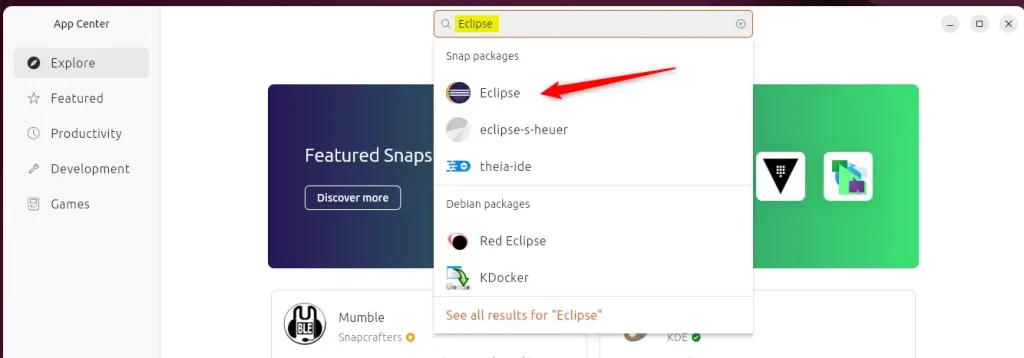
Yet another way to install Eclipse on Ubuntu is by using the App Center app. Click on the App Center app to open it.

When the app opens, use the search box to search for Eclipse and install it.
Install the app
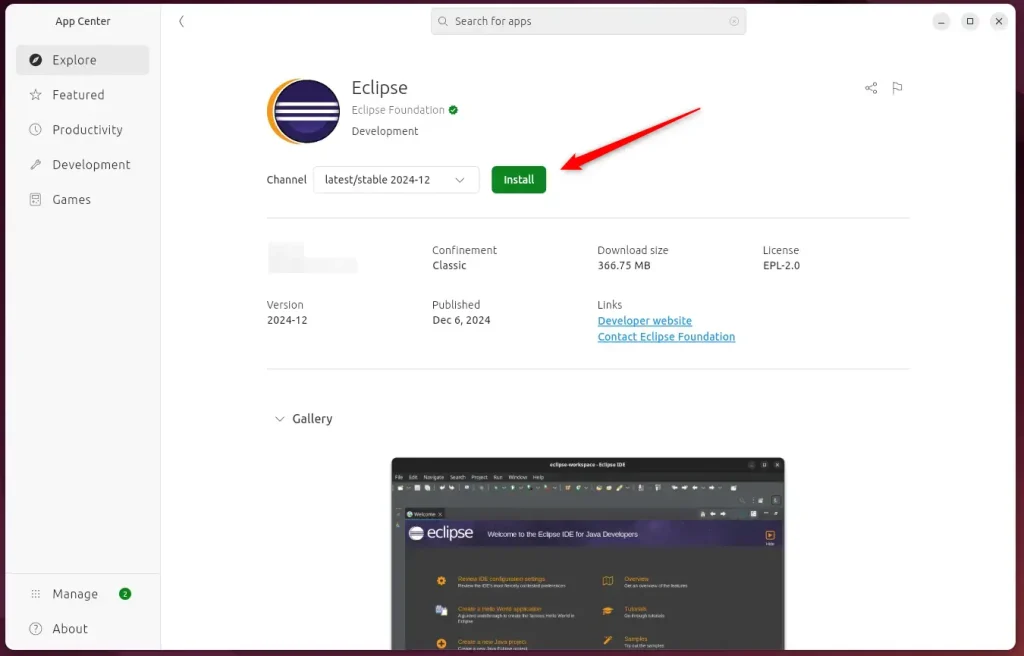
Once installed, use the Dock on the left sidebar to search and launch the Eclipse.
That should do it!
Conclusion:
Installing Eclipse IDE on Ubuntu 24.04 is straightforward and offers multiple methods tailored to different preferences. Here are the key takeaways:
- Versatility: Eclipse IDE is a powerful tool for Java development and supports multiple programming languages through plugins.
- Multiple Installation Methods: Options to install Eclipse include downloading directly from the Eclipse website, using the Snap package manager, or through the App Center.
- Ease of Use: Each method provides a user-friendly experience, ensuring developers can quickly start.
- Cross-Platform Compatibility: Eclipse runs on various operating systems, making it an excellent choice for developers in different environments.
- Community Support: As an open-source IDE, Eclipse benefits from a large community that contributes to its development and provides support.
With Eclipse installed, you can efficiently develop, debug, and manage your Java projects in a flexible environment. Enjoy your development experience!


Leave a Reply