
This brief tutorial shows students and new users how to install Arduino IDE on Ubuntu 18.04 | 16.04.
Arduino is a popular, open-source physical computing platform that develops stand-alone interactive objects that interact and control small electronic boards using sensors.
There are several reasons why someone might want to install Arduino IDE on Ubuntu Linux. Firstly, Arduino is a popular, open-source physical computing platform that allows developers to design and manufacture single-board microcontrollers.
Secondly, Ubuntu is a widely used Linux distribution that provides a stable and secure environment for software development. By installing Arduino IDE on Ubuntu, developers can take advantage of the powerful features offered by both platforms to develop and manage their applications.
Additionally, Ubuntu provides access to an extensive repository of software packages, making it easy to install and manage software dependencies required by Arduino IDE.
Arduino IDE on Ubuntu provides a reliable and flexible environment for developing and managing microcontroller-based applications.
For more about Arduino, check out its homepage.
When you’re ready to install and use Arduino, follow the steps below:
There are multiple ways to get Arduino installed on Ubuntu. You can use its office DEB packages and install it via Ubuntu Snaps.
Installing Arduino IDE via DEB Package
Arduino packages are not available via Ubuntu default repositories. If you need to install it, you must download it.DEB package from its download page.
https://www.arduino.cc/en/Main/Software
It can be installed on both 32-bit or 64-bit versions of Ubuntu.
Alternatively, you can use the following wget command to download the Arduino Software (IDE) package directly on the terminal.
At the time of this writing, the current latest version is 1.8.12.
cd /tmp
wget https://downloads.arduino.cc/arduino-1.8.12-linux64.tar.xz
Next, extract the downloaded archive file using the tar command below.
tar -xvf arduino-1.8.12-linux64.tar.xz
Now move into the extracted arduino-1.8.12 directory and run the installation script as root.
cd arduino-1.8.12/
sudo ./install.sh
Once the installation is done, a desktop icon will be created on your desktop. The first time you launch it, it will prompt you to trust it with a message as shown below:
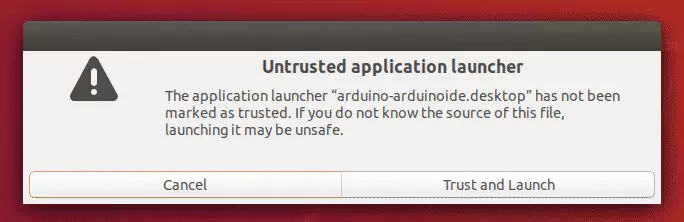
Click the Trust and Launch button to open the app.
That’s how to install Arduino on Ubuntu via its.DEB package.
Install Arduino IDE via Snap
If you need to install Arduino IDE via Snap, use the below commands.
Snaps are containerized software packages that are simple to create and install. It’s a new way to manage packages on Linux systems and is supported by the top Linux distributions.
It’s probably the easiest way to install and manage packages on Linux systems, including Ubuntu…
Run the commands below to install Snap packages and install Arduino IDE.
sudo apt install snapd
sudo snap install arduino
To upload code to an Arduino board over USB, add your user to the bailout group and connect the snap to the raw-usb socket.
Open a terminal window, run the following commands, and reboot your computer.
sudo usermod -a -G dialout $USER
sudo snap connect arduino:raw-usb
Now restart your computer, and you’re good to go!
That’s it!
Conclusion:
This post showed you how to install Arduino IDE software on Ubuntu 18.04 | 16.04 systems. If you find any errors above, please use the comment form below to report.
Thanks!
You may also like the post below:
Leave a Reply