How to Install Chatwoot on Ubuntu Linux
You install Chatwoot on Ubuntu Linux to set up an open-source, real-time customer engagement platform for your website. Chatwoot offers live chat, agent collaboration features, and integrates with popular messaging channels like WhatsApp and Facebook Messenger.
This powerful customer service tool helps you connect with users effectively. You can get Chatwoot up and running on Ubuntu 20.04 or 18.04 using this tutorial.
Download the setup script with `wget`, make it executable with `chmod 755`, and then run `./setup.sh master`. Chatwoot will be accessible at your server’s IP address on port 3000 after installation.
Download Chatwoot script
Chatwoot has an easy-to-use script to download and install all packages necessary to run the platform.
Open your terminal and run the commands below to download Chatwoot packages.
cd /tmp
wget https://raw.githubusercontent.com/chatwoot/chatwoot/develop/deployment/setup_20.04.sh -O setup.sh
Install Chatwoot
After downloading using the comment above, change the script permission to make it executable.
Then install it.
sudo chmod 755 setup.sh
sudo ./setup.sh master
Upon a successful installation, you should see a message similar to the one below:
oot! Woot!! Chatwoot server installation is complete
The server will be accessible at http://<server-ip>:3000
To configure a domain and SSL certificate, follow the guide at https://www.chatwoot.com/docs/deployment/deploy-chatwoot-in-linux-vm
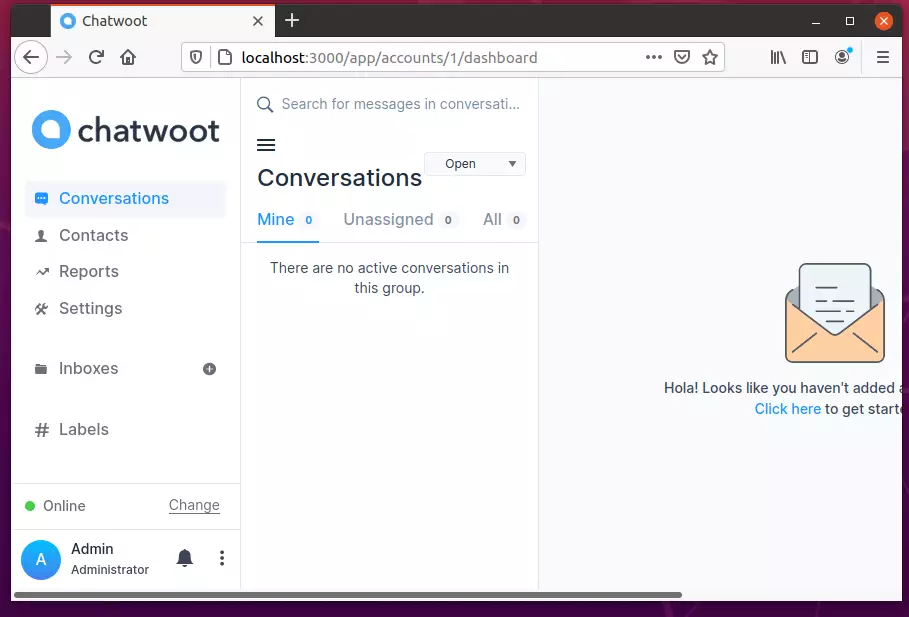
Chatwoot will now be accessible at the server hostname or IP address, followed by port #3000.
http://localhost:3000
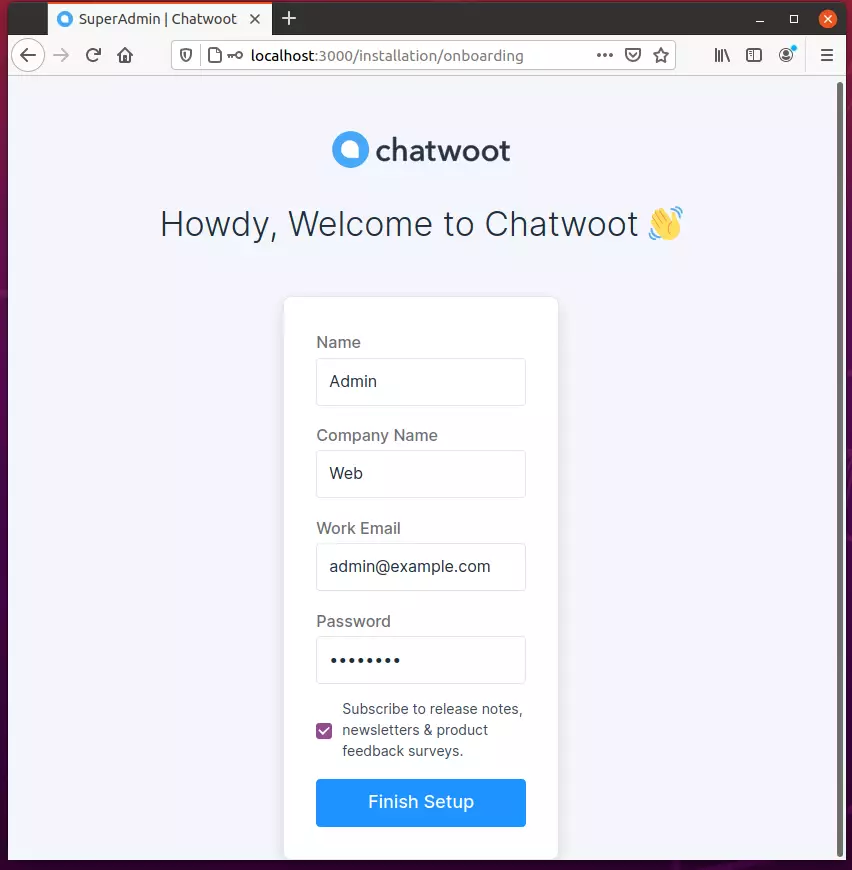
Log in and begin setting up your environment.
Although the installation seems complete, for your Chatwoot installation to function correctly, you would need to configure the essential environment variables, Mailer, and a cloud storage config.
Log in as a Chatwoot user and create an environment variable folder.
sudo -i -u chatwoot
cd chatwoot
nano .env
Now you can reference its variables page and add variable definitions in the file.
Environment Variables (chatwoot.com)
For example, you can add the lines below in the file to use the Facebook channel.
FB_VERIFY_TOKEN=
FB_APP_SECRET=
FB_APP_ID=
To use Sendgrid, use the block below:
SMTP_ADDRESS=smtp.sendgrid.net
SMTP_AUTHENTICATION=plain
SMTP_DOMAIN=<your verified domain>
SMTP_ENABLE_STARTTLS_AUTO=true
SMTP_PORT=587
SMTP_USERNAME=apikey
SMTP_PASSWORD=<your Sendgrid API key>
To change the frontend URL, edit the line below:
# Replace with the URL you are planning to use for your app
FRONTEND_URL=http://0.0.0.0:3000
All zeros for IP mean the server is listening on all IPs.
After changing the environment file, run the commands below to restart Chatwoot.
sudo systemctl restart chatwoot.target
That should do it!
If you want to run Chatwoot with the Nginx web server and Let’s Encrypt, use the configuration below:
server {
  listen 80;
  listen [::]:80;
  server_name chatwoot.example.com www.chatwoot.example.com;

  access_log /var/log/nginx/chatwoot_access_80.log;
  error_log /var/log/nginx/chatwoot_error_80.log;

  return 301 https://chatwoot.example.com/;
}

server {
  listen 443 ssl http2;
  listen [::]:443 ssl http2;
  server_name chatwoot.domain.com www.chatwoot.domain.com;

  underscores_in_headers on;

  access_log /var/log/nginx/chatwoot_access_443.log;
  error_log /var/log/nginx/chatwoot_error_443.log;

  location / {
   proxy_pass_header Authorization;
   proxy_pass http://127.0.0.1:3000;
   proxy_set_header Upgrade $http_upgrade;
   proxy_set_header Connection "upgrade";
   proxy_set_header Host $host;
   proxy_set_header X-Forwarded-Proto $scheme;
   proxy_set_header X-Forwarded-Ssl on; # Optional
   proxy_set_header X-Real-IP $remote_addr;
   proxy_set_header X-Forwarded-For $proxy_add_x_forwarded_for;
   proxy_http_version 1.1;
   proxy_set_header Connection “”;
   proxy_buffering off;
   client_max_body_size 0;
   proxy_read_timeout 36000s;
   proxy_redirect off;
  }

  ssl_certificate /etc/letsencrypt/live/chatwoot.domain.com/fullchain.pem; # managed by Certbot
  ssl_certificate_key /etc/letsencrypt/live/chatwoot.domain.com/privkey.pem; # managed by Certbot
  add_header Strict-Transport-Security "max-age=31536000; includeSubDomains" always;
  ssl_protocols TLSv1.2 TLSv1.3;
  ssl_ciphers ECDHE-ECDSA-AES128-GCM-SHA256:ECDHE-RSA-AES128-GCM-SHA256:ECDHE-ECDSA-AES256-GCM-SHA384:ECDHE-RSA-AES256-GCM-SHA384:ECDHE-ECDSA-CHACHA20-POLY1305:ECDHE-RSA-CHACHA20-POLY1305:DHE-RSA-AES128-GCM-SHA256:DHE-RSA-AES256-GCM-SHA384;
  ssl_prefer_server_ciphers off;
  ssl_dhparam /etc/ssl/dhparam;
}
That should do it!
Conclusion:
This post showed you how to install Chatwoot on Ubuntu 20.04 | 18.04. If you find any error above, please use the form below to report.
Was this guide helpful?

About the Author
Richard
Tech Writer, IT Professional
Richard, a writer for Geek Rewind, is a tech enthusiast who loves breaking down complex IT topics into simple, easy-to-understand ideas. With years of hands-on experience in system administration and enterprise IT operations, he’s developed a knack for offering practical tips and solutions. Richard aims to make technology more accessible and actionable. He's deeply committed to the Geek Rewind community, always ready to answer questions and engage in discussions.


No comments yet — be the first to share your thoughts!