
This article explains how to hide a WiFi network name or SSID from showing up among available networks in Windows 11.
By default, when you click on the WiFi settings in Windows 11, it will scan and display all networks within range.
If there are networks within the range that you never want to connect to or have offensive names, you can block them in Windows so they’re not listed among available networks in the WiFi networks pane.
One can use some tools to block networks from displaying in the WiFi connections list. However, Windows can do this easily without needing additional software or apps. When you block a network SSID, it will never be shown among available networks. This is easy to accomplish, and we’ll show you how to do that below.
You have two options to stop displaying other WiFi networks in Windows. You can block individual WiFi networks or block all, then allow yours only.
Below, we’ll show you how to do that.
How to stop showing your neighbor’s WiFi in Windows 11
As mentioned above, one can block a WiFi network from displaying among available networks in Windows 11. Below is how to do that.
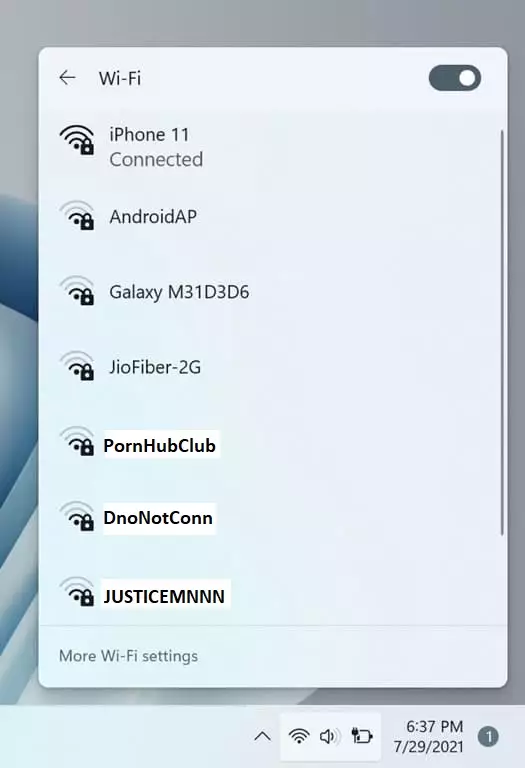
You’ll default to see a similar WiFi connection pane whenever you wish to connect to a new WiFi network. Windows allows you to hide individual or all the networks that are broadcasting.
Open the Command Prompt as administrator to hide a network or all networks on the connecting pane.

Next, run the commands below to block individual WiFi SSIDs from showing up among available networks in our WiFi connection settings.
netsh wlan add filter permission=block ssid=YYYYYYYY networktype=infrastructure
netsh wlan add filter permission=block ssid=AAAAAAAA networktype=infrastructure
Replace YYYYYYYY and AAAAAAA with the WiFi SSID you want to block in Windows.
When you do that, the highlighted SSID will be hidden from the available network pane.
How to block all WiFi SSIDs and whitelist yours
Alternatively, you can block all available networks from displaying in the window and only show yours (the one whitelisted).
To do that, open the Command Prompt as administrator.
Then, run the commands below to deny all networks from showing on the available list.
netsh wlan add filter permission=denyall networktype=infrastructure
Next, allow the network you want to be shown on the available list, including yours.
netsh wlan add filter permission=allow ssid=ZZZZZZZZ networktype=infrastructure
That should do it!
Conclusion:
- Hiding a WiFi network SSID helps improve your connection experience by filtering out unwanted or offensive networks.
- Windows 11 provides a straightforward method to block individual SSIDs or deny all while allowing your preferred network.
- Using the Command Prompt, you can customize the visibility of WiFi networks according to your preferences.
- Follow the outlined steps to ensure only the networks you want to connect to appear in your available networks list.
- This process is handy for maintaining privacy and simplifying the WiFi connection process in busy environments.


Leave a Reply Cancel reply