Manage Likes and Reactions Notifications in Microsoft Teams
You manage your Microsoft Teams likes and reactions notifications by adjusting settings within the Teams app itself.
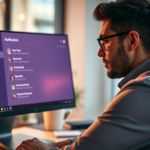
Manage likes and reactions notifications by going to Settings and more > Settings > Notifications and activity. Within the Chat section, choose to show likes and reactions in Activity and banner, only in Activity, or turn them Off. This helps reduce distractions.
These notifications alert you when someone likes or uses an emoji reaction on your messages in Teams. While they can be helpful, they often become distracting, especially if you receive many of them throughout your workday.
By default, Teams sends notifications for all likes and reactions, which can clutter your activity feed and generate unnecessary pop-ups. You can disable these alerts to maintain focus and reduce interruptions.
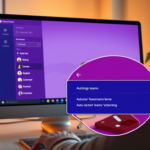
Specifically, you can choose to turn off notifications for “Likes and reactions” entirely, or opt to receive them only when someone reacts to a message in a channel. This simple adjustment ensures you see only the reactions that matter most to you.
Was this guide helpful?
0% of readers found this helpful (1 votes)

About the Author
Richard
Tech Writer, IT Professional
Richard, a writer for Geek Rewind, is a tech enthusiast who loves breaking down complex IT topics into simple, easy-to-understand ideas. With years of hands-on experience in system administration and enterprise IT operations, he’s developed a knack for offering practical tips and solutions. Richard aims to make technology more accessible and actionable. He's deeply committed to the Geek Rewind community, always ready to answer questions and engage in discussions.

No comments yet — be the first to share your thoughts!