How to Check Computer Specs in Windows 11
You check your computer’s specifications in Windows 11 by opening the System Information tool or the Settings app.
Computer specs are the detailed information about your PC’s hardware components, such as your processor, RAM, and graphics card. Knowing these details, like your specific Intel Core i5-11400H processor or 16GB of RAM, is crucial for everything from ensuring games will run smoothly to troubleshooting performance issues.
This information helps you confirm if your PC meets the requirements for new software or games. It also guides you when planning hardware upgrades.
You can check your computer specs in Windows 11 by opening Settings, going to System, and clicking About. For more detailed information, search for and open the System Information tool.
Check Specs in the Settings App
You can check basic computer specs in Windows 11 easily using the Settings app. The About page shows you key details like your processor, installed RAM, and system type without needing complicated steps.
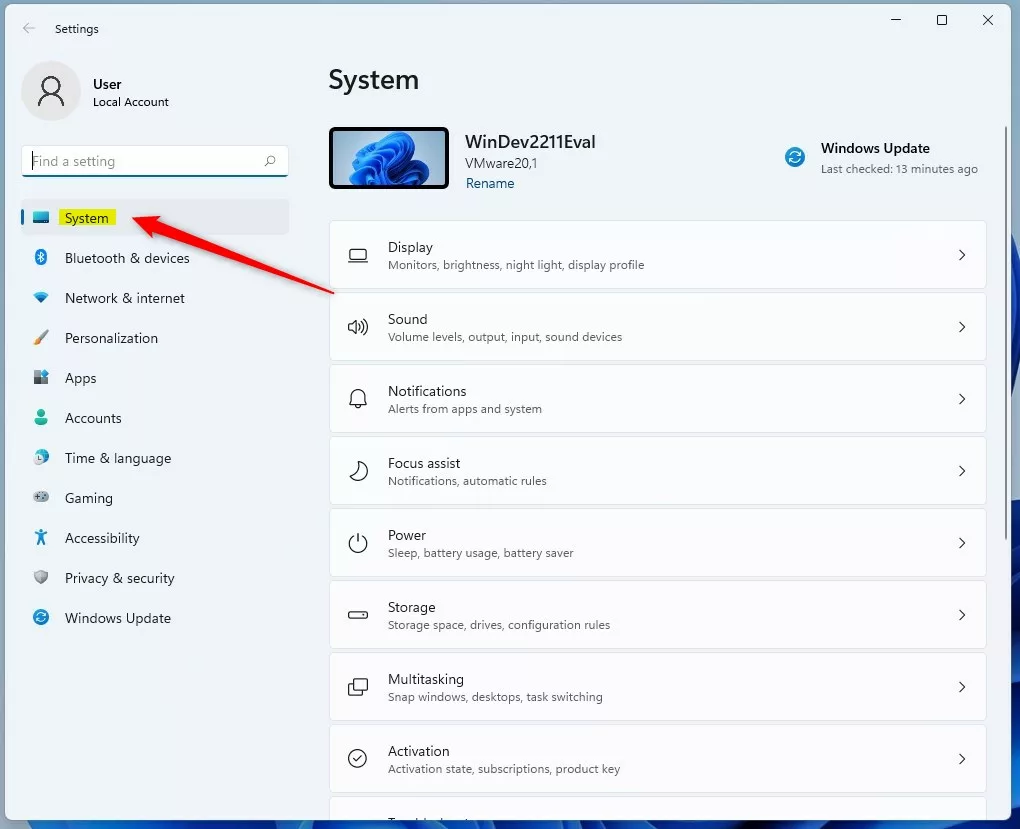
- Open the Settings app. You can also press the Windows key + I on your keyboard.
- Click on the System button on the left side of the window.
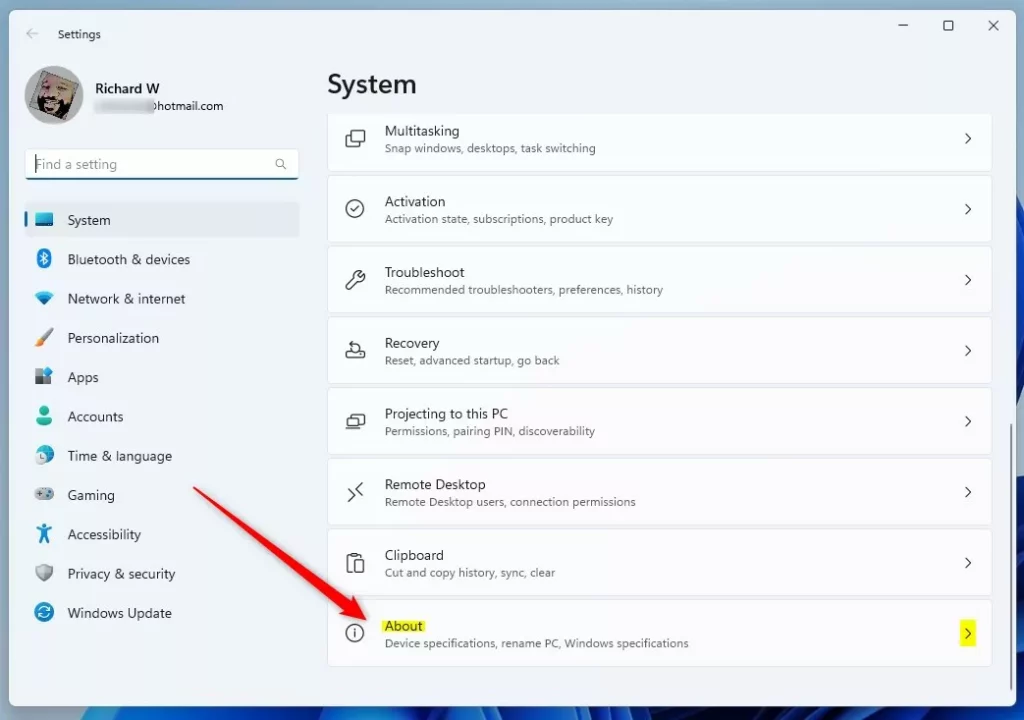
- Look for the About tile on the right side and click it.
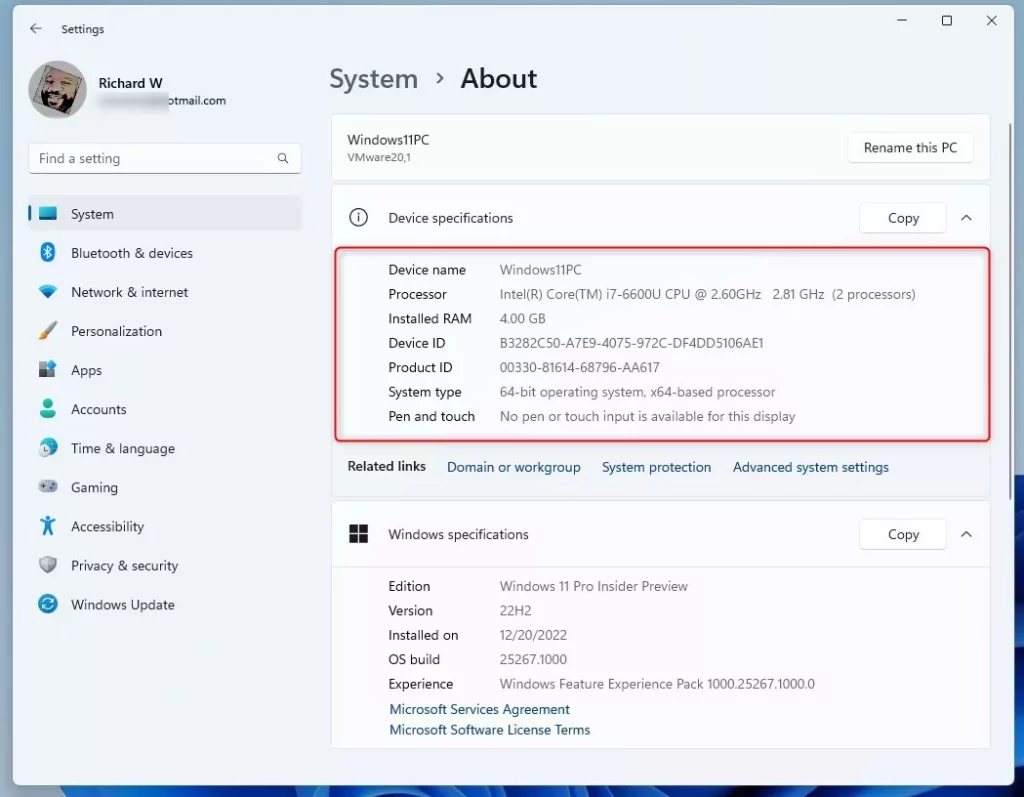
Under the “Device specifications” section, you will see the main details about your computer.
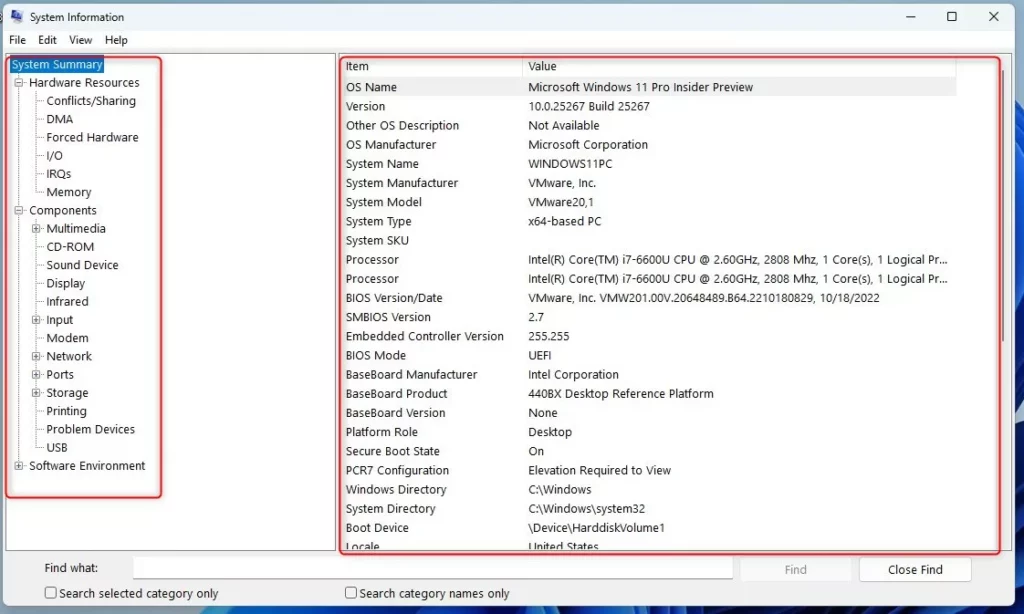
Use the System Information Tool
For a complete breakdown of all your computer’s hardware, the System Information tool is the best way to check specific specs in Windows 11. It provides in-depth technical details about every component installed in your PC.
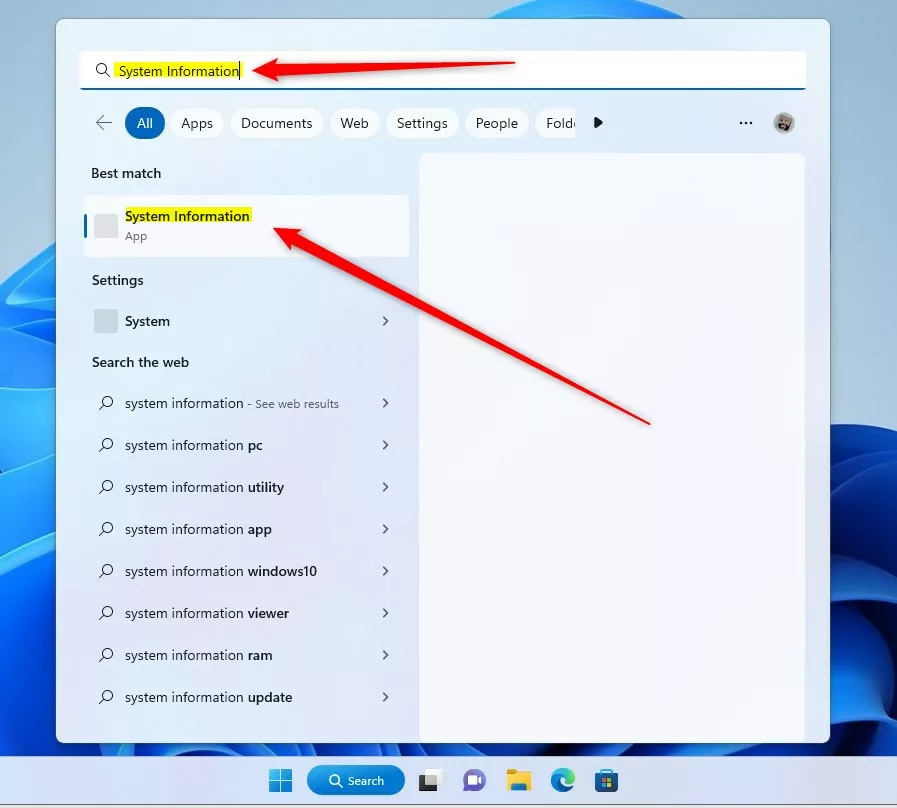
- Click the Start menu button.
- Type “System Information” into the search box.
- Click the app in the results to open it.
You can click through the categories on the left to see technical details about your hardware on the right.
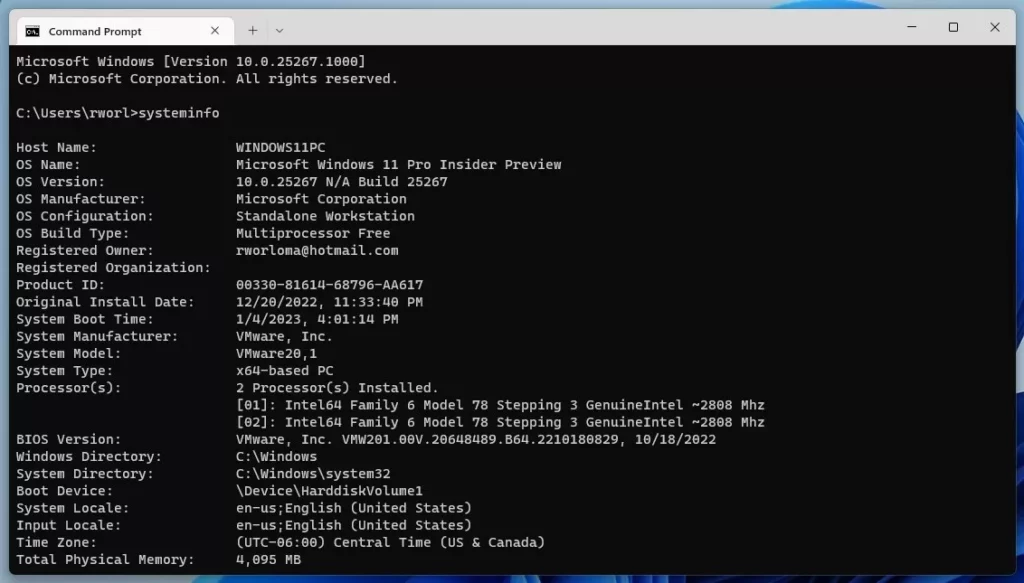
Use Command Prompt or PowerShell
You can quickly check your computer specs in Windows 11 using simple text commands in either Command Prompt or PowerShell. This method is great if you prefer a text-based list of your system information.
To use Command Prompt:
- Search for “Command Prompt” in the Start menu.
- Type the following command and press Enter:
systeminfo
To use Windows PowerShell:
- Search for “PowerShell” in the Start menu.
- Type the following command and press Enter:
Get-ComputerInfo

🪟 Windows 11 Compatibility and Requirements
Before upgrading, it’s important to check if your computer meets the Windows 11 compatibility requirements. Key specs include having a 1 GHz or faster processor with 2 cores, 4 GB of RAM, and 64 GB of storage.
| Requirement | Minimum Specification |
|---|---|
| Processor | 1 GHz or faster with 2 cores |
| RAM | 4 GB |
| Storage | 64 GB or larger |
| System Firmware | UEFI, Secure Boot capable |
| TPM | Trusted Platform Module version 2.0 |
The official Microsoft PC Health Check app helps you determine if your computer meets specific Windows 11 upgrade requirements. This app checks your machine against the minimum hardware standards, ensuring compatibility before you attempt an upgrade.
Summary
To check your computer specs in Windows 11, use the Settings app for a quick overview, the System Information tool for detailed hardware specs, or Command Prompt/PowerShell for a text list. Always check compatibility requirements before upgrading your system.- Use the Settings app for a quick look at your basic hardware.
- Use the System Information tool for a deep dive into individual parts.
- Use Command Prompt or PowerShell for a text-based list of your system details.
- Always check for TPM 2.0 and Secure Boot when verifying Windows 11 compatibility.
- Use the official PC Health Check app to confirm if your hardware is ready for updates.
How do I know if my PC can run 🪟 Windows 11?
The quickest way is to download and run the official Microsoft PC Health Check app. It scans your hardware for TPM 2.0, Secure Boot, and processor compatibility. It will provide a clear yes or no answer regarding your system’s ability to run Windows 11 effectively.
Where can I find my graphics card model in 🪟 Windows 11?
Open the Settings app, go to System, then Display. Click on Advanced display. Under Display information, you will see the name of your graphics card listed next to Display adapter properties. This shows you exactly which GPU is powering your screen and its current memory usage.
Was this guide helpful?
50% of readers found this helpful (2 votes)

About the Author
Richard
Tech Writer, IT Professional
Richard, a writer for Geek Rewind, is a tech enthusiast who loves breaking down complex IT topics into simple, easy-to-understand ideas. With years of hands-on experience in system administration and enterprise IT operations, he’s developed a knack for offering practical tips and solutions. Richard aims to make technology more accessible and actionable. He's deeply committed to the Geek Rewind community, always ready to answer questions and engage in discussions.


No comments yet — be the first to share your thoughts!