This article provides instructions on how to change your account name in Windows 11.
Your username is how Windows identifies you. If you are not happy with the username or name that Windows has assigned to you, you can change it to something more unique and suitable for you.
For security reasons, consider displaying a nickname instead of the full name.
Change Local Username
If you created a local account in Windows 11, use this method to change the name.
Windows 11 has a centralized location for the majority of its settings. Everything can be done, from system configurations to creating new users and updating Windows from its System Settings pane.
However, changing the account username is still done in the old Control Panel. To get to Control Panel, you can click on Start and start typing Control Panel as shown in the image below:
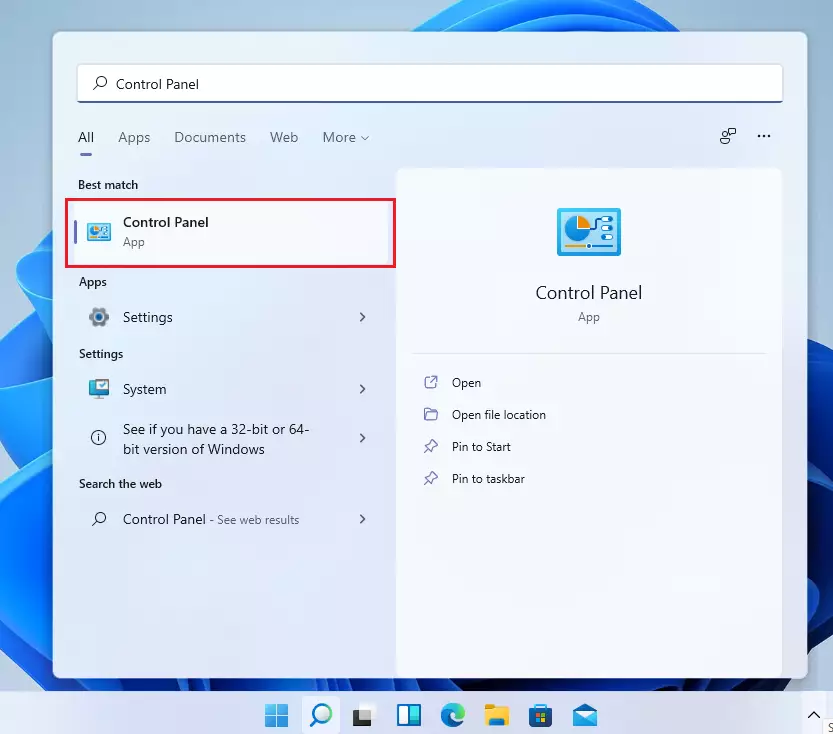
Alternatively, you can use the search box on the taskbar to search for Control Panel and then select it to open it.
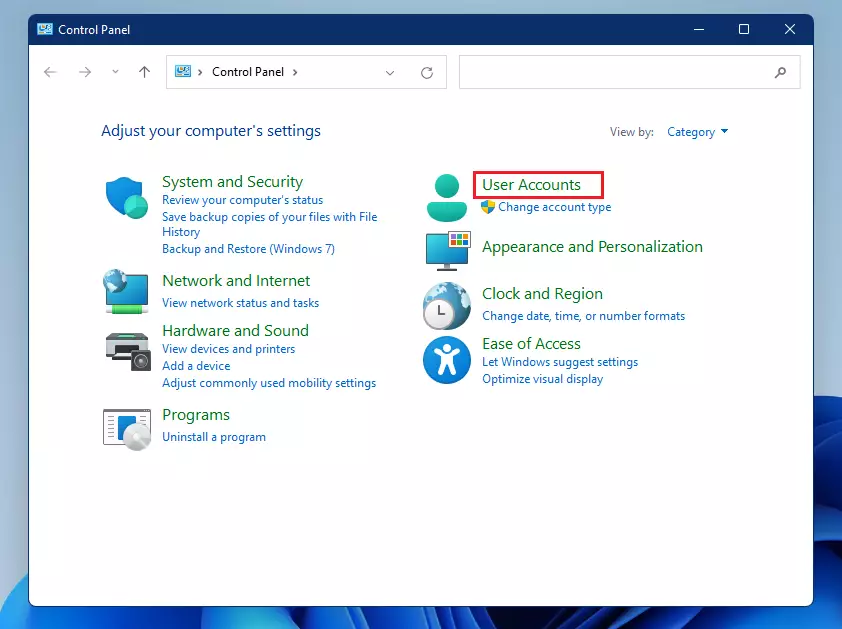
The Windows Control Panel pane should look similar to the image below. In Windows Settings, click User Account, as shown below.
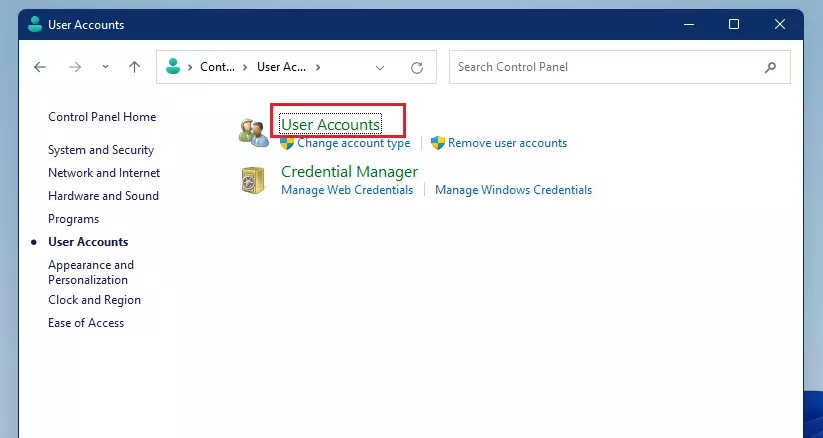
On the next pane, select User Accounts again, as shown below.
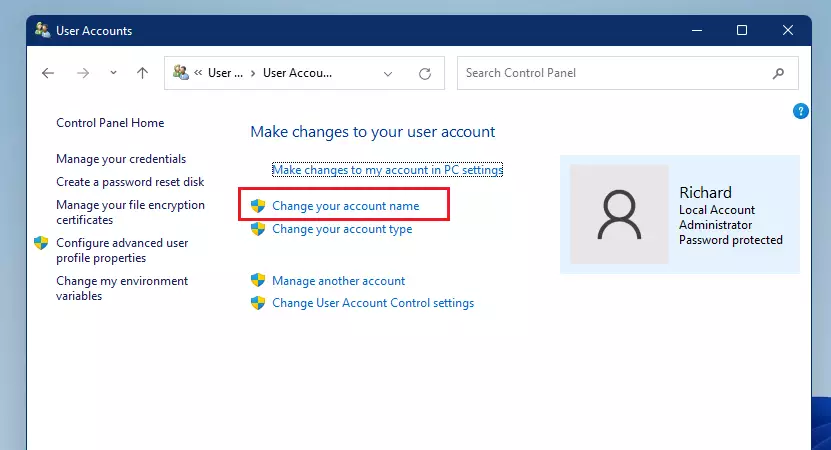
That will take you to your profile settings page. Click the link that reads “Change your account name,” as shown below.
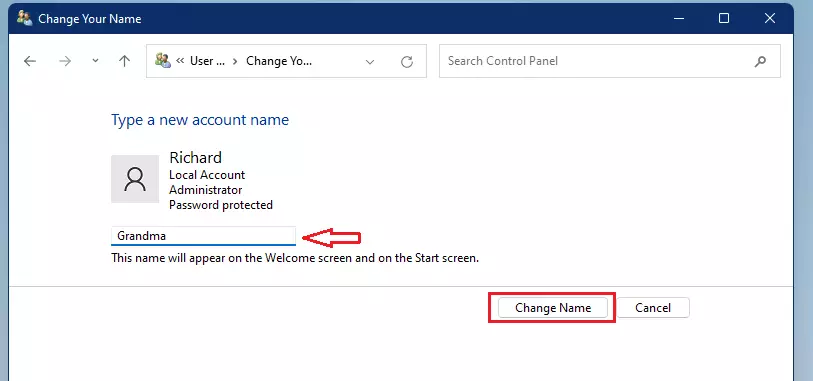
On the next screen, type in the new name you want for your account and click the “Change Name” button, as shown in the image below.
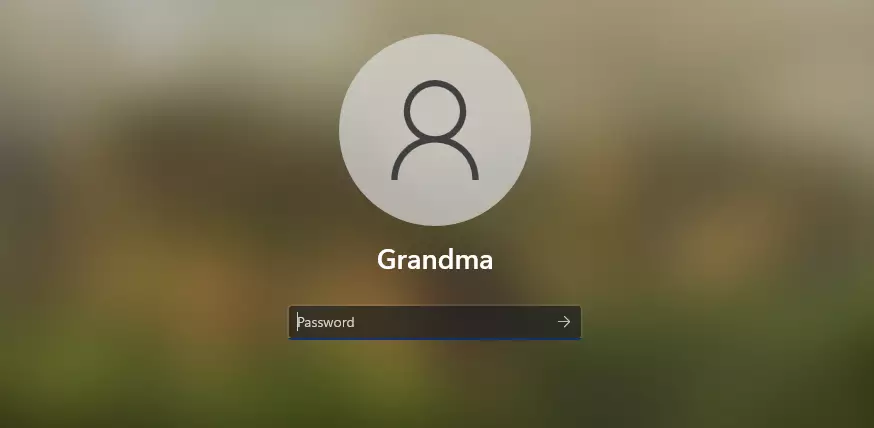
Sign out and sign back in, or restart the computer to display your new chosen name.
Your new name should appear on the login screen.
Change Microsoft Account Name
If your account is a Microsoft online account, use this method to change your online name. A Microsoft account is tied to your online email account.
To change your online account name, follow these steps:
Windows 11 has a centralized location for the majority of its settings. Everything can be done, from system configurations to creating new users and updating Windows from its System Settings pane.
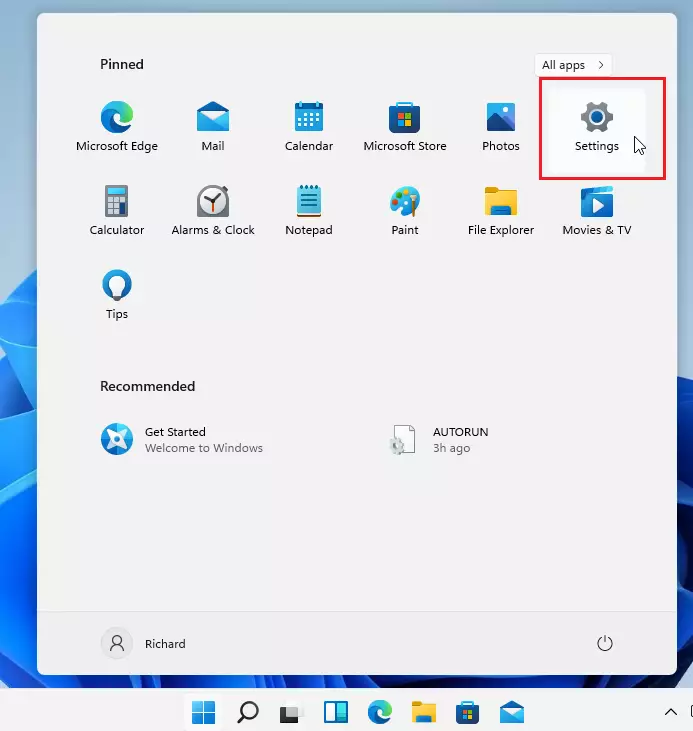
To get to System Settings, you can use the Windows key + I shortcut or click on Start ==> Settings, as shown in the image below:
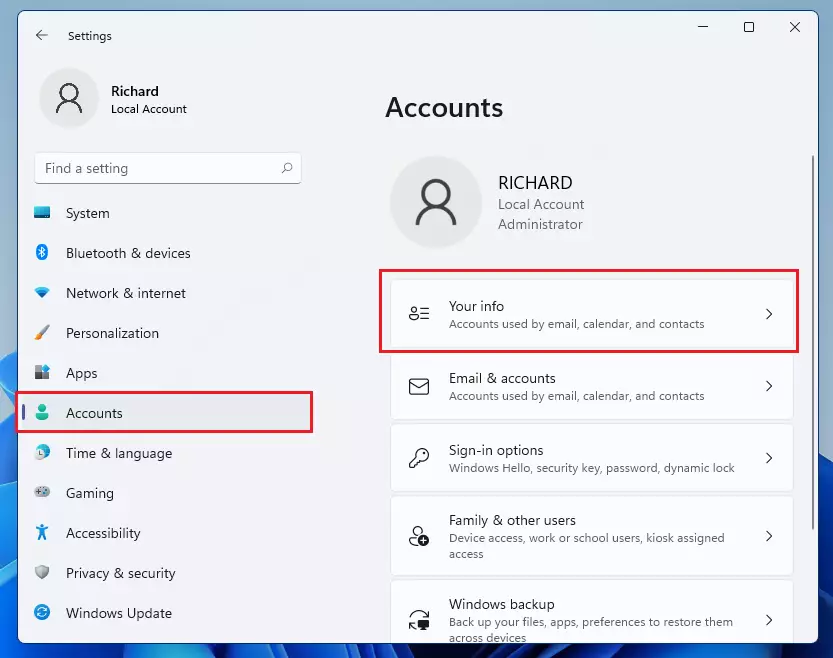
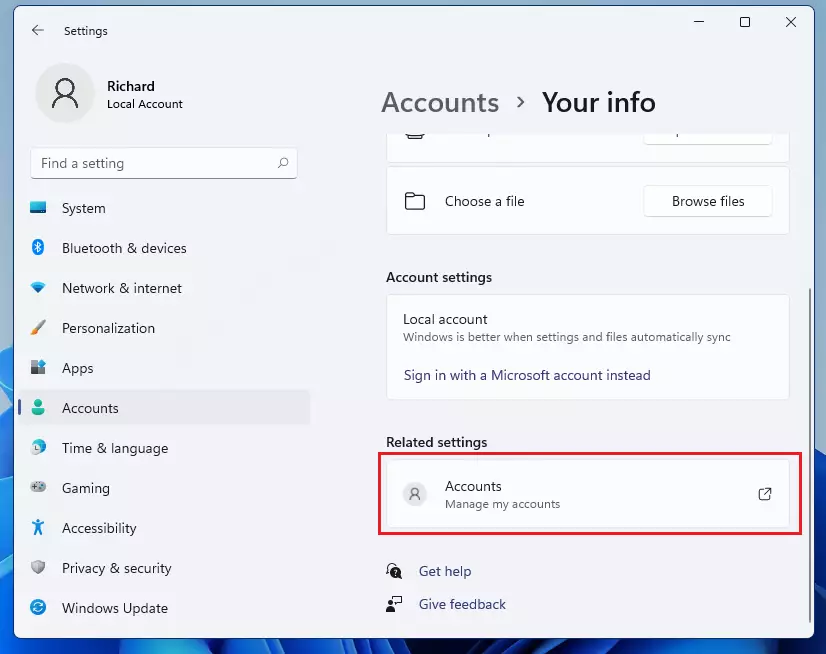
Windows Settings pane should look similar to the image below. In Windows Settings, click Accounts, then select Your info on the right pane of your screen, shown in the image below.
Click Manage my Accounts under Related settings as shown below on the Your info settings pane.
Alternatively, you can access the link below and log in using your Microsoft Account.
Microsoft account | Your profile
Log in to your online account. Once logged in, click the Your info link in the top menu to take you to your profile.
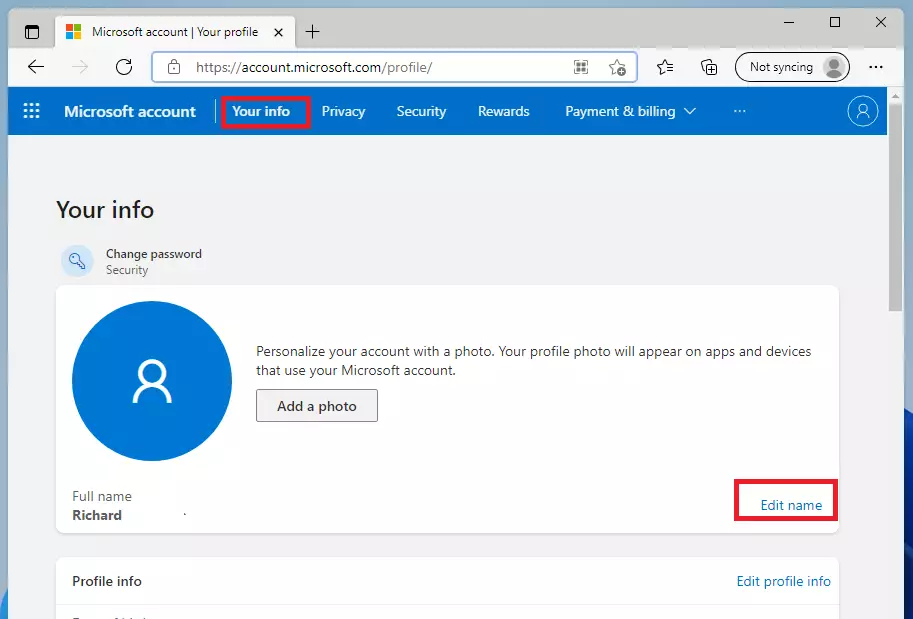
Click the Edit name link in the image below to change your name.
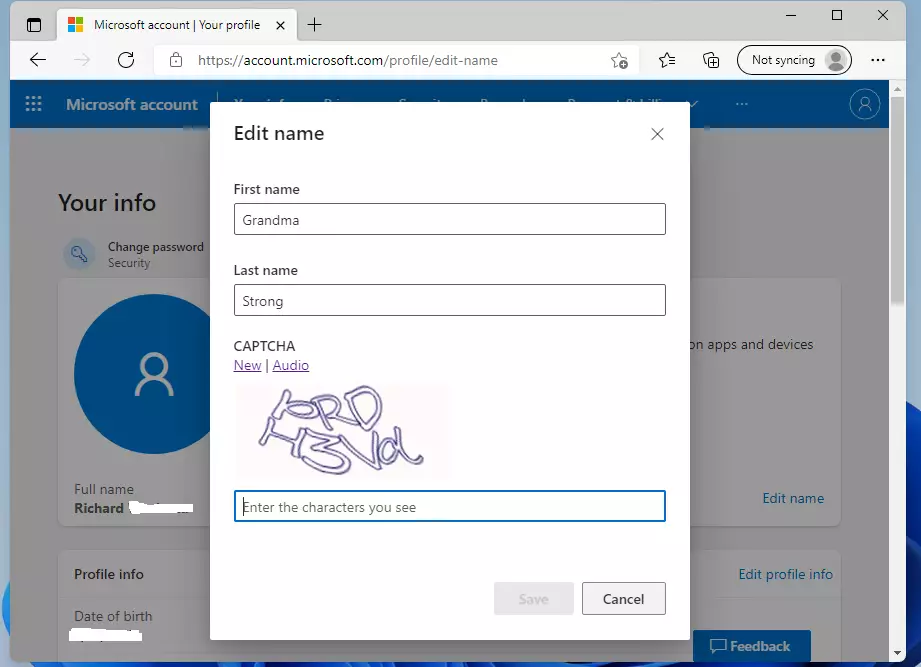
Change the account name to a unique name you want to display in Windows. When you’re done, save and exit.
That should do it!
Conclusion:
- Changing your username in Windows 11 is a straightforward process.
- Users may wish to modify their usernames for personalization, security, or appropriateness.
- For local accounts, modifications are made through the Control Panel, while Microsoft account changes occur online.
- Remember to sign out or restart your computer to see the changes take effect.
- A unique username enhances your user experience and personal identification within the system.


Leave a Reply Cancel reply