
This post shows students and new users steps to a secondary language using the Google Chrome web browser.
When you typically read and write in a particular language, you can add your preferred language to Chrome and make it your default or switch between multiple languages when needed.
Adding a language in Chrome is pretty straightforward. However, not everyone is comfortable doing it. We’ll show you how to do that below. When a secondary language is added, Chrome won’t prompt you to translate when you visit a web page written in that language. It will display in its native version.
This should work on all Chrome browsers installed on any operating system, including Windows, macOS, and Linux.
Chrome, Edge, and other browsers automatically prompt you to translate web pages written in a different language from the default chosen in your browser. In some cases, this will not work. In that case, you can manually choose the secondary language preference to translate.
Follow the steps below to get started with additional secondary language in Chrome.
How to add secondary language on Google Chrome Browser
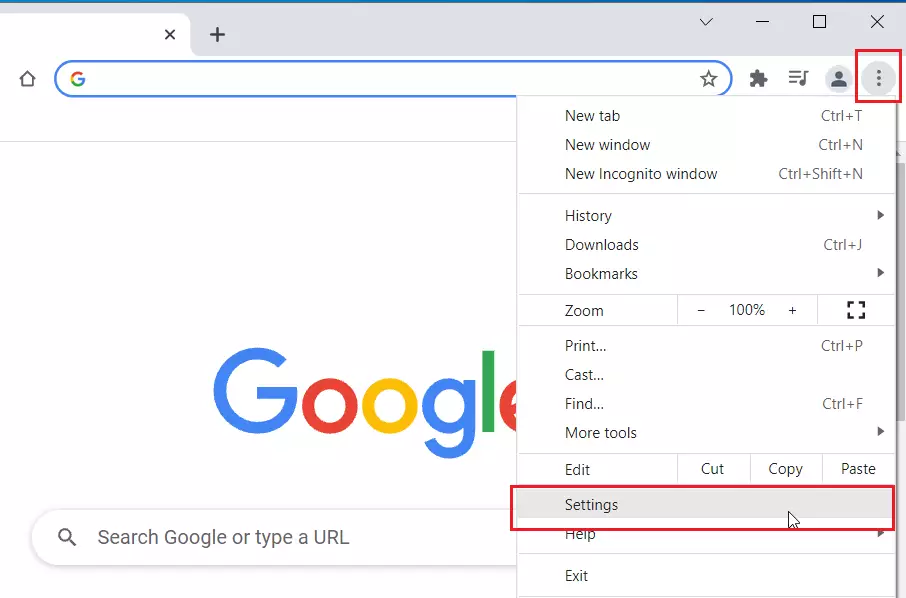
To change or add a second language on the Chrome web browser, click on the three dots (ellipse) at the right side of the Chrome browser and click on Settings.
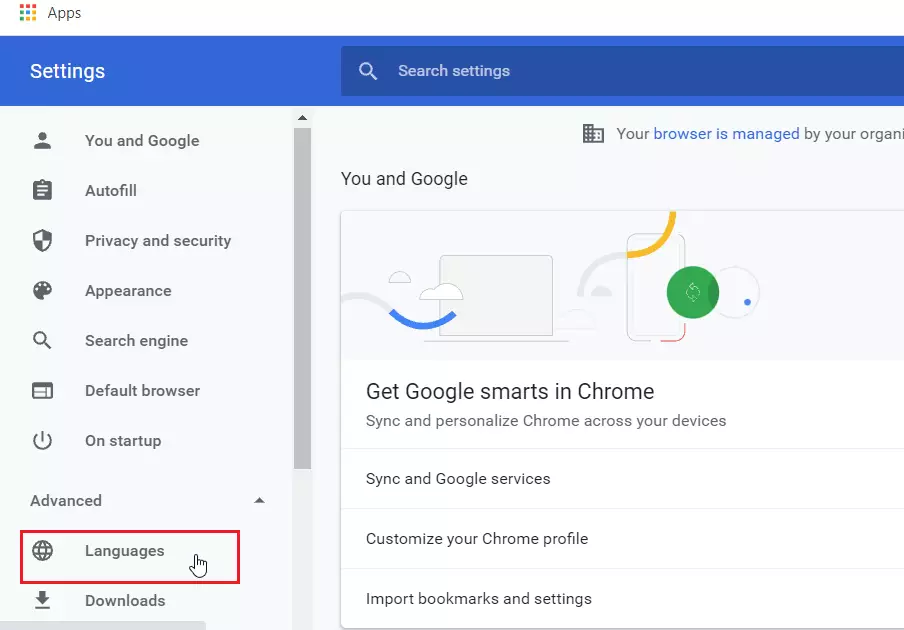
Expand the Advanced option on the Chrome Settings page and select Languages on the left menu.
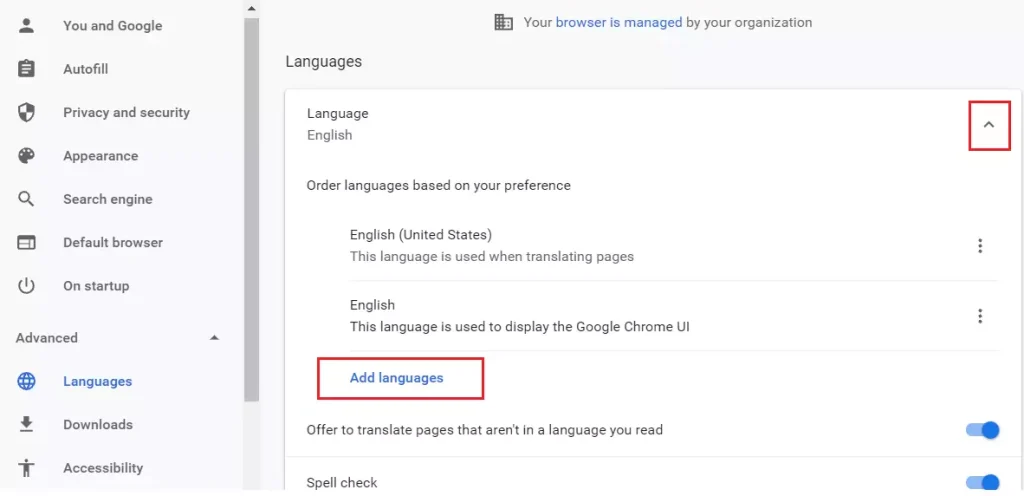
Click the down-pointing caret on the right pane area to show a list of available languages. From there, click on the Add Languages button to add additional languages.
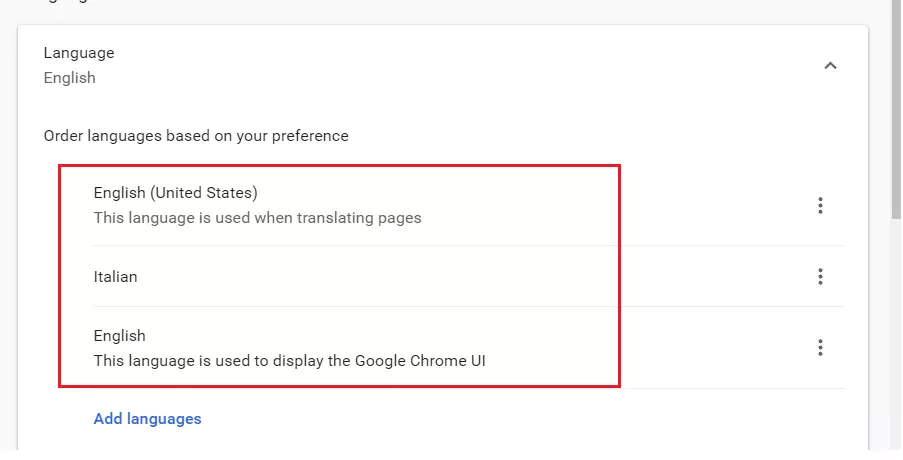
When the pop-up window opens, search for the language you wish to add or scroll down the list and select the language(s) you want to add.
Once the language is added, it should appear on the list of languages added to Chrome.
Once you’re done, relaunch Chrome to apply the new changes. Afterward, the next time you visit a web page in one of the languages selected above, Chrome will display its native version without prompting to translate.
That should do it!
Conclusion:
- Adding a secondary language in Google Chrome is a simple process that enhances your browsing experience.
- It allows you to view web pages in their native language without translation prompts.
- The steps to add a language involve accessing the Chrome settings, selecting languages, and relaunching the browser.
- Being multilingual improves understanding and accessibility of web content in different languages.
- Enjoy a smoother browsing experience by customizing your language preferences in Chrome.


Leave a Reply Cancel reply