How to Change Hostname in Ubuntu 24.04

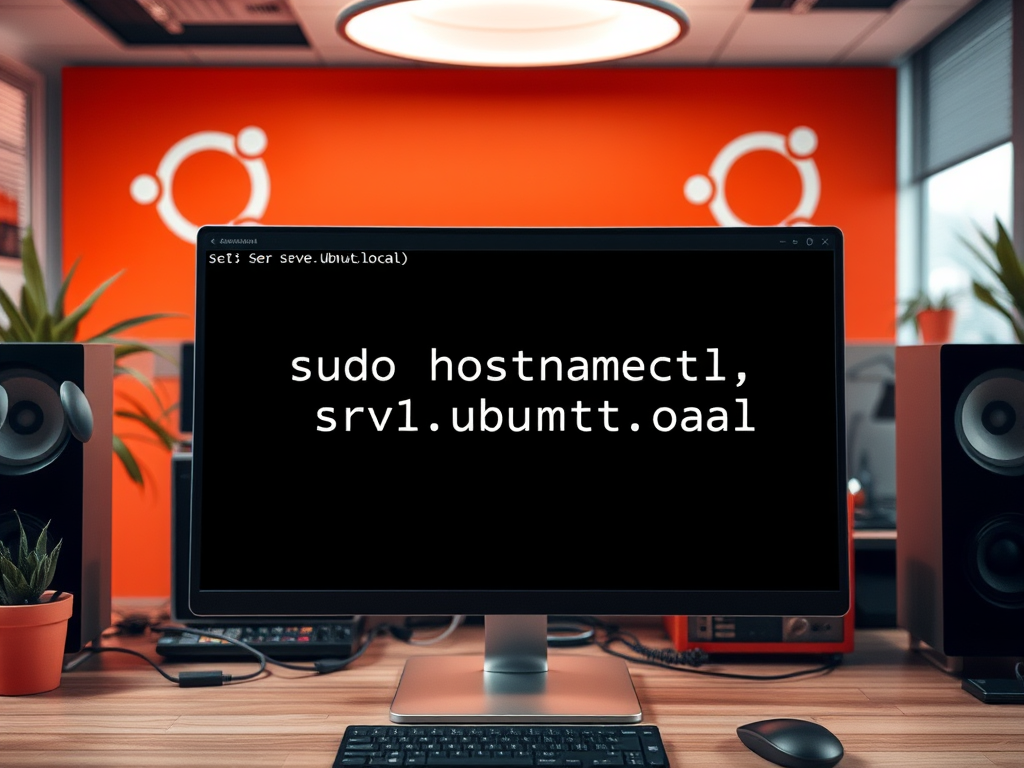
A hostname in Ubuntu 24.04 is the network name that identifies your PC to routers and other devices on a local network. Changing this name helps you spot your machine quickly when you share files, set up a home server, or troubleshoot network problems.
You can update your system name in less than 60 seconds by running a single command in the Terminal. This process takes effect immediately without needing to reinstall the operating system or restart your hardware.
You change the hostname in Ubuntu 24.04 using the `hostnamectl set-hostname NEW_HOSTNAME` command. After executing this, manually edit the `/etc/hosts` file to update the old hostname with the new one. Reboot your system for the changes to take effect.
Show the current hostname
You can check your current hostname in Ubuntu 24.04 by opening the Terminal and running the hostname command. This displays your computer’s active network name immediately, helping you confirm the existing identity before you change hostname Ubuntu 24.04 to something new.
The `hostname` command shows the current network name for your Ubuntu computer. This helps confirm that the hostname change was successful.
Run the following command in your terminal to change the hostname: This process gives your computer clear network identification. You use the `hostnamectl` command followed by the new network name you choose for your computer.
To change the hostname on Ubuntu, use the `hostnamectl` command.
For example, to change the device hostname to srv1.ubuntu.local, run the command below.
The `hostnamectl set-hostname` command updates the system name in the `/etc/hostname` file. This step ensures proper network identification across Ubuntu 24.04.
/etc/hostname
The [/etc/hosts] file won't be updated automatically to match the new hostname. You might need to edit it manually to replace the old hostname with the new one.
sudo nano /etc/hosts
Then, replace the old name with the new one, save the file, and exit.
127.0.0.1 localhost
127.0.1.1 srv1.ubuntu.local

# The following lines are desirable for IPv6 capable hosts
::1     ip6-localhost ip6-loopback
Run the command below to do that.
sudo reboot
When you log back in, the system should have the new name you assigned.
That completes the process.
Updating your Ubuntu 24.04 hostname takes a moment in the terminal.
- Changing the hostname in Ubuntu 24.04 is a straightforward process using the
hostnamectlcommand. - Always check your current hostname using
hostnamectlbefore making changes. - Update both the
/etc/hostnameand/etc/hostsfiles to ensure the hostname is configured correctly. - Restart your device to apply the changes effectively.
- Using clear and distinct hostnames is essential for better network management and identification of devices.
Was this guide helpful?

About the Author
Richard
Tech Writer, IT Professional
Richard, a writer for Geek Rewind, is a tech enthusiast who loves breaking down complex IT topics into simple, easy-to-understand ideas. With years of hands-on experience in system administration and enterprise IT operations, he’s developed a knack for offering practical tips and solutions. Richard aims to make technology more accessible and actionable. He's deeply committed to the Geek Rewind community, always ready to answer questions and engage in discussions.



No comments yet — be the first to share your thoughts!