

This article explains how to enable or disable the ‘sudo‘ command in Windows 11.
The ‘sudo‘ command is commonly used in Unix-like operating systems like Linux and macOS. It allows a user with administrative privileges to execute a command as another user, typically the root user.
Starting with Windows build 26052 (Canary), the sudo command was added to provide a familiar way to elevate processes directly from the command line.
The sudo command can be configured to run in three different modes:
- In a new window: A new window will open in which the elevated command will run.
- With input disabled: The elevated command will run inline with its stdin closed in the window from which you’ve triggered elevation.
- Inline: The elevated command will run inline in the window from which you’ve triggered elevation. This mode is most similar to the sudo experience on other platforms.
Adding the sudo command to Windows is a good idea because it provides a familiar and convenient way for users to elevate processes directly from the command line. This can save time and effort for users who frequently need to perform administrative tasks on their computers.
Additionally, the sudo command can help improve the operating System’s security by allowing users to execute commands as an elevated user without having to log in as an administrator, which can reduce the risk of accidentally making system-wide changes.
Enable the sudo command in Windows
As mentioned, you can enable or disable the sudo command in Windows using the steps below.
Here’s how to do it.
First, open the Windows Settings app.
You can do that by clicking on the Start menu and selecting Settings. Or press the keyboard shortcut (Windows key + I) to launch the Settings app.
When the Setting app opens, click the System button on the left.
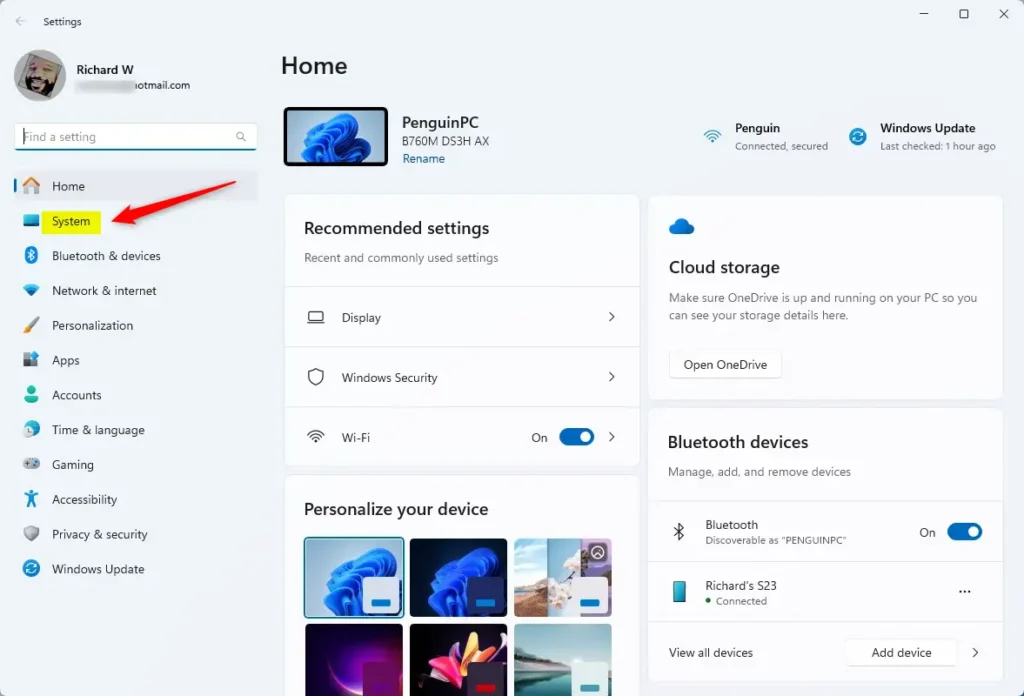
Select the “For Developers” tile under ‘System’ on the right to expand it.

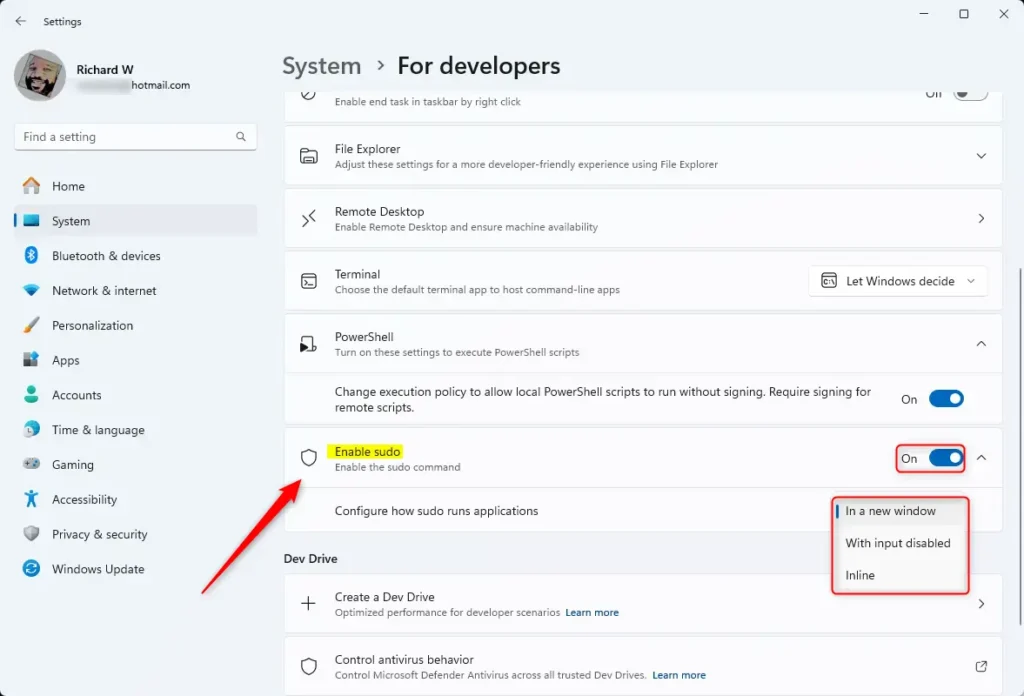
Select the Enable sudo tile on the System -> For developers settings page. Next, toggle the button to the On position to enable it.
To disable it, toggle the switch button to the Off position.
When you enable the sudo command, you can configure how the sudo command behaves by selecting one of the modes in the drop-down menu.
- In a new window
- With input disabled
- Inline
The three modes are described below:
- In a new window: A new window will open in which the elevated command will run.
- With input disabled: The elevated command will run inline with its stdin closed in the window from which you’ve triggered elevation.
- Inline: The elevated command will run inline in the window from which you’ve triggered elevation. This mode is most similar to the sudo experience on other platforms.
Enable or disable the sudo command using Windows Terminal (Command line)
You can enable or disable the sudo command in Windows using the Windows Terminal app (Command line).
sudo command with In a new window mode:
Run the command below to enable the sudo command with “In a new window” mode.
sudo config --enable forceNewWindow
sudo command with “With input disable” mode:
Run the command below to enable the sudo command with “With input disabled” mode.
sudo config --enable disableInput
sudo command with “Inline” mode:
Run the command below to enable the sudo command with “Inline” mode.
sudo config --enable normal
Disable the sudo command:
To disable the sudo command, run the command below.
sudo config --enable disable
Enable or disable the sudo command using Windows Registry Editor
Yet, users can also enable or disable the sudo command using the Windows Registry editor.
Here’s how to do that.
First, open the Windows Registry and navigate to the folder key path below.
ComputerHKEY_LOCAL_MACHINESOFTWAREMicrosoftWindowsCurrentVersionSudo
Next, double-click the Enabled (REG_DWORD) name on the Sudo key’s right pane to open it.
Then, enter a number value to enable or disable as represented below:
1– enables “In a new window” mode.2– enables with “With input disabled” mode.3– enables with “Inline” mode.0– disables sudo in Windows.
If you do not see the ‘Enable‘ name, right-click a blank area and create a new DWORD (32-bit) Value.
Next, enter the name ‘Enable‘. Then, enter the value you want.

You may have to restart your computer for the changes to apply.

That should do it!
Reference:
Conclusion:
- Enabling the sudo command in Windows 11 provides a familiar and convenient way for users to elevate processes directly from the command line, ultimately saving time and effort.
- Adding the sudo command can significantly improve the operating system’s security. It allows users to execute commands as an elevated user without the need to log in as an administrator, thus reducing the risk of accidental system-wide changes.


Leave a Reply