How to Install Cockpit Web Console on Ubuntu Linux
You install the Cockpit web console on Ubuntu Linux to gain a user-friendly, graphical interface for server administration.
Cockpit is a web-based management tool designed to simplify managing your Ubuntu servers, making it accessible even if you’re new to Linux or prefer not to use the command line.
This tutorial focuses on installing Cockpit on Ubuntu 22.04 LTS, but the steps are generally applicable to other recent Ubuntu versions.
With Cockpit, you can easily manage services, inspect logs, configure storage, and even run containers directly from your web browser.
Install Cockpit by running `sudo apt update` and `sudo apt install cockpit cockpit-podman` in the terminal. Then, enable and start the service with `sudo systemctl enable –now cockpit`. Finally, access it in your browser at `http://localhost:9090`.
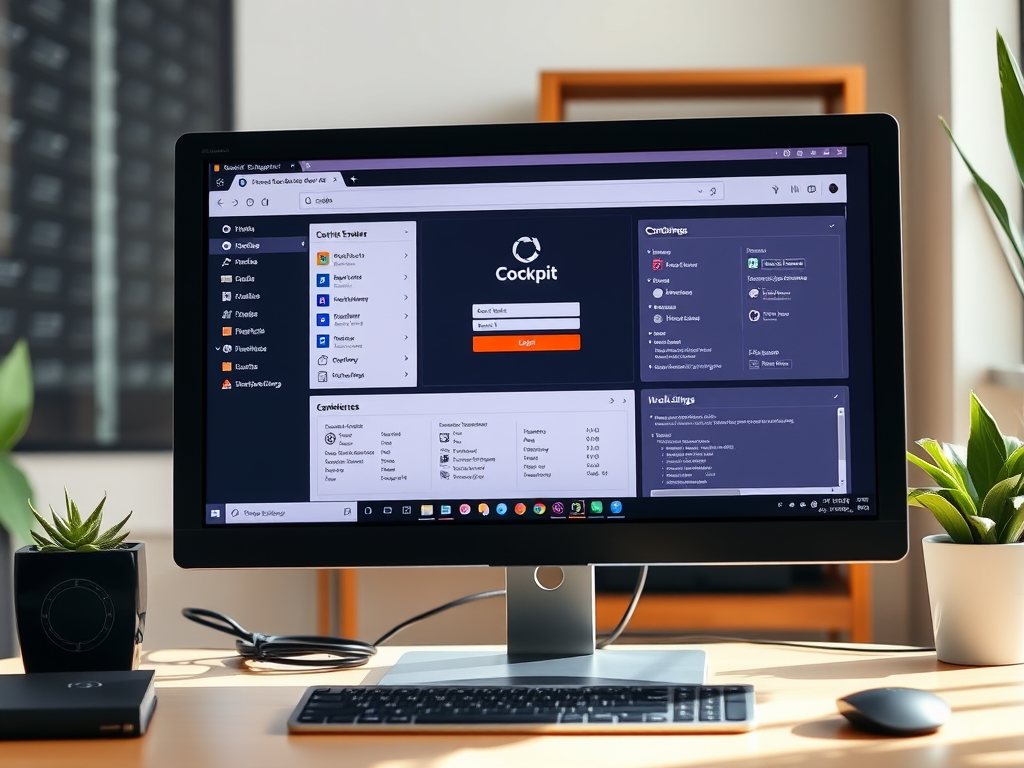
Install Cockpit web interface
As mentioned above, users can install the Cockpit web interface to help them manage Ubuntu Linux servers from their favorite web browsers.
Here’s how to do it.
The Cockpit packages are included in Ubuntu default repositories, so there is no need to install additional repositories.
To install Cockpit, run the commands below.
sudo apt update
sudo apt-get install cockpit
sudo apt-get install cockpit-podman
After installing, you can enable Cockpit services to start when the system boots.
sudo systemctl start cockpit
sudo systemctl enable cockpit
To verify that Cockpit is installed and running, run the command below.
systemctl status cockpit
Cockpit, by default, will listen on network port 9090. If you enable the Ubuntu firewall, you may want to allow traffic to that port.
Run the command below to do that.
sudo ufw allow 9090
sudo ufw allow 80
sudo ufw reload
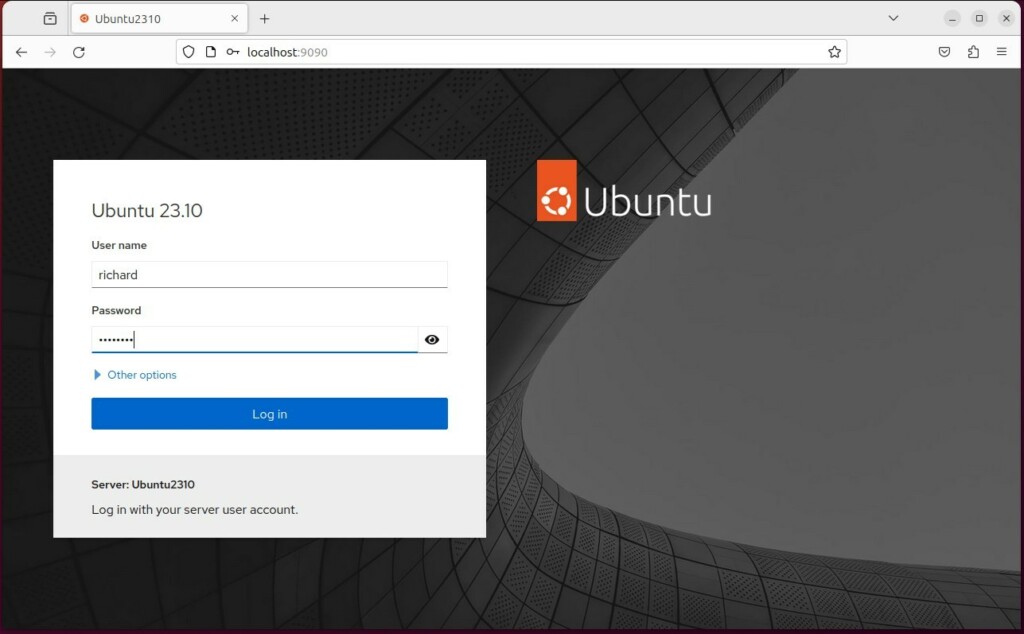
Once all the steps above are completed, open your browser and browse to the server hostname or IP address followed by port # 9090.
http://localhost:9090
You should see the Cockpit login page. Enter the server admin credentials and sign into the portal.
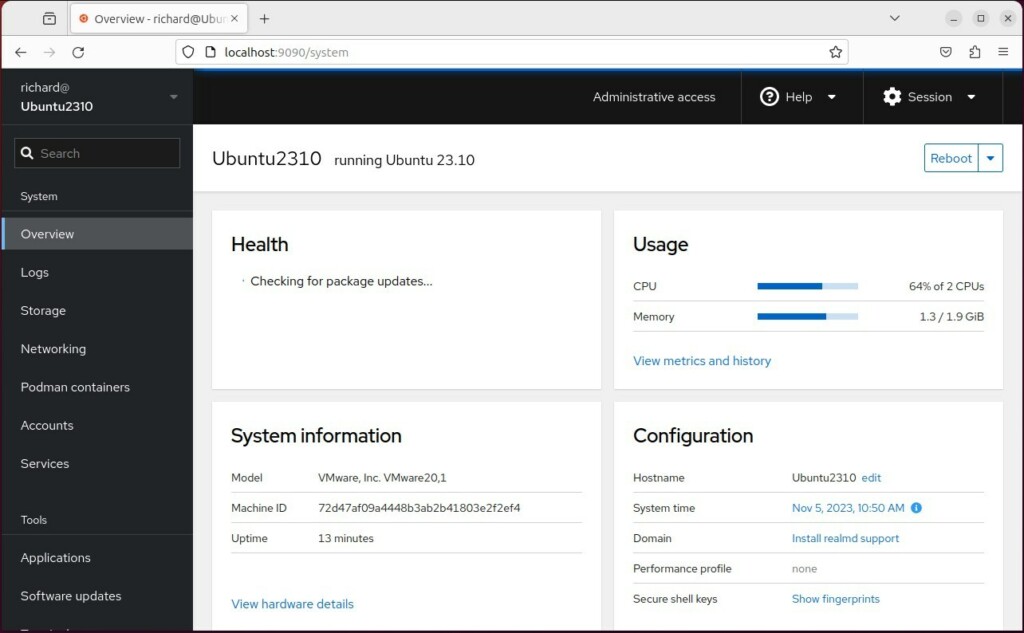
Manage your server from the dashboard.
That should do it.
Conclusion:
- Cockpit provides an easy and intuitive way to manage Ubuntu Linux servers using a web-based interface, making it accessible to novice and experienced users.
- With Cockpit, users can start containers, configure networks, manage storage, inspect logs, and handle most system settings across servers from a user-friendly interface.
- Installing and enabling Cockpit on Ubuntu Linux involves running a few straightforward commands in the terminal. Once set up, users can access it through a web browser to start managing their servers efficiently.
Was this guide helpful?

About the Author
Richard
Tech Writer, IT Professional
Richard, a writer for Geek Rewind, is a tech enthusiast who loves breaking down complex IT topics into simple, easy-to-understand ideas. With years of hands-on experience in system administration and enterprise IT operations, he’s developed a knack for offering practical tips and solutions. Richard aims to make technology more accessible and actionable. He's deeply committed to the Geek Rewind community, always ready to answer questions and engage in discussions.


No comments yet — be the first to share your thoughts!