
This article describes the steps to start programs when Windows starts automatically.
In the earlier version of Windows, one would easily create startup programs by going to the msconfig page and adding the programs. So, how do you do it in Windows 10 now that msconfig isn’t available?
Windows allows programs to install themselves in Windows startup configuration settings automatically. There’s nothing to do with programs designed to start automatically.
Starting programs automatically in Windows can be useful when you regularly use certain applications or tools and want them readily available without manually launching them every time you start your computer. This can save time and make your workflow more efficient.
Additionally, some programs may need to start automatically to perform certain tasks or updates in the background.
Find where programs are installed
An easy way to auto-start a program is to create a shortcut for the program in the Windows Startup folder.
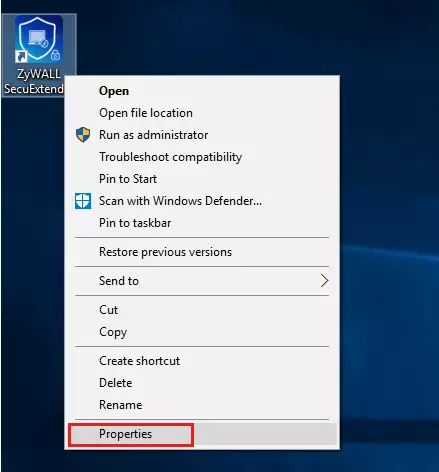
First, you must know where the program you wish to start up is installed. To find out, right-click the program Icon or executable and select Properties.
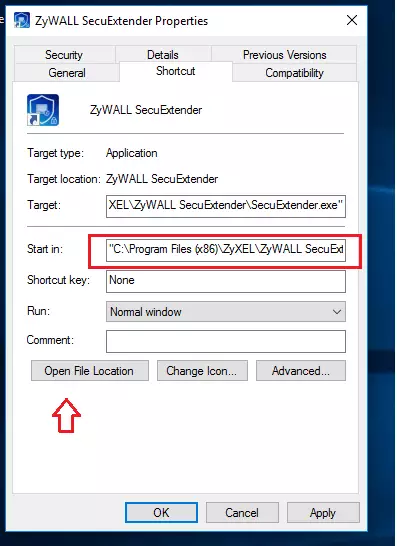
Take notes of the program’s start in a folder on the Shortcut tab. Or click the button to Open the File Location of the program, and this is how you find what’s the program’s home folder.
It will also be where the program executable lives.
Configure programs to auto start
After discovering where the program you wish to start up automatically lives, continue below to learn how to start the program up automatically.
First, open the Windows Run command box. Or type the Windows logo Key and R on your keyboard. This will open the Windows command run box.
In the box, type this command and press Enter.
shell:startup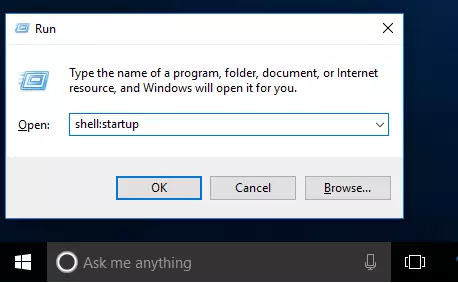
When you press Enter, it will open the Windows program startup folder for your account.
From there, right-click a blank area and select New –> Shortcut.
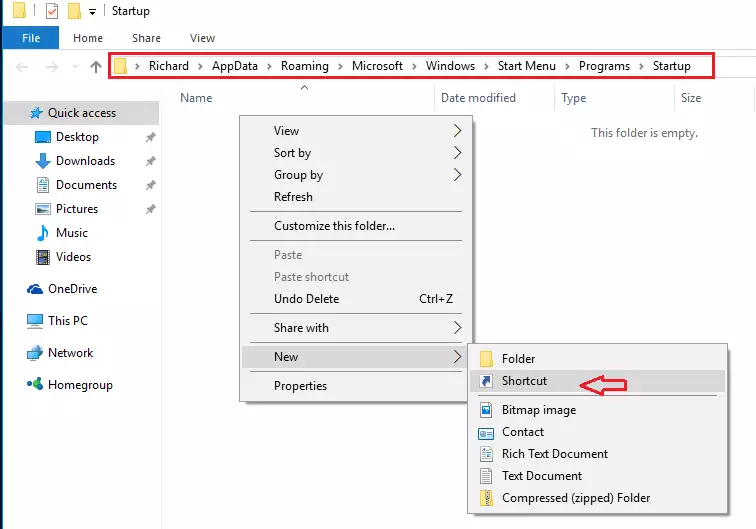
Now browse to the program home folder above and select the program’s executable file.
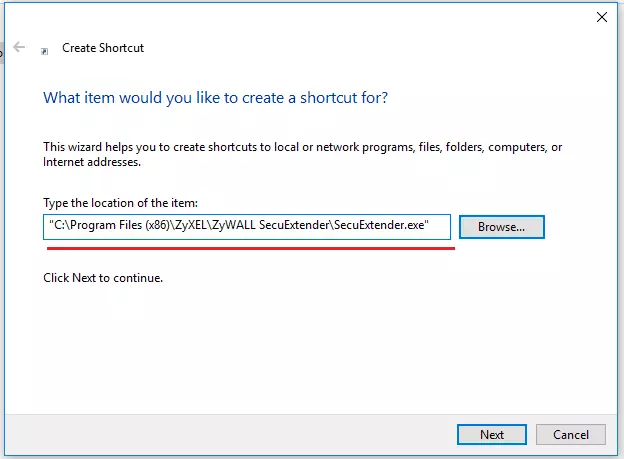
Use the wizard to complete the process.
The next time Windows starts, the program will automatically launch and open.
That should do it!
Conclusion:
- Auto-starting programs in Windows 10 can enhance your productivity by granting immediate access to frequently used applications.
- The process involves locating the program’s executable and creating a shortcut in the Windows Startup folder.
- Utilizing the Windows Run command simplifies the path to the Startup folder, making the setup quick and accessible.
- This setup allows essential applications to run in the background for updates or tasks without manual intervention.
- Implementing these steps can lead to a more efficient workflow and a streamlined computing experience.
Leave a Reply