This article explains how to install Redmine project management tool with Nginx on Ubuntu 24.04.
Redmine, a versatile open-source project management software, offers a flexible framework. It empowers teams with features like issue tracking, project planning, and time tracking.
Ubuntu LTS releases provide stable, well-maintained packages for Nginx, Ruby, and Redmine dependencies. Nginx efficiently manages many simultaneous connections with low memory usage, which is ideal for busy Redmine instances.
Choosing Nginx on Ubuntu for Redmine balances performance, security, and maintainability, making it ideal for organizations seeking a robust, scalable project management solution.
Install MariaDB
The next component required to run Redmine is a database server. This post will install and use the MariaDB database server.
To install and use the MariaDB database server, use the instructions below.
Open the Ubuntu terminal and run the commands below to install the MariaDB database server.
sudo apt update
sudo apt install mariadb-server
Once the MariaDB database server is installed, use the commands below to stop, start, and enable the MariaDB server to start automatically when the server boots.
sudo systemctl stop mariadb
sudo systemctl start mariadb
sudo systemctl enable mariadb
Run the following commands to validate and test if the MariaDB database server is installed successfully.
sudo mariadb
Once you run the commands above, it will log you onto the MariaDB console and display a message similar to the one below.
Welcome to the MariaDB monitor.  Commands end with ; or g.
Your MariaDB connection id is 32
Server version: 10.11.2-MariaDB-1 Ubuntu 23.04

Copyright (c) 2000, 2018, Oracle, MariaDB Corporation Ab and others.

Type 'help;' or 'h' for help. Type 'c' to clear the current input statement.

MariaDB [(none)]>
The message tells you that the server is installed successfully.
Additional help on installing MariaDB.
Create a Redmine database
Upon successfully installing the MariaDB database server, create a blank database on the server specifically for the Redmine application.
As part of the setup, we will create a redminedb database and a user account called redminedbuser.
Finally, we’ll grant the redminedbuser full access to the redminedb database.
All the database steps above can be done using the commands below:
But first, log on to the MariaDB database server:
sudo mariadb
Then run the commands below to complete the steps:
CREATE DATABASE redminedb CHARACTER SET utf8mb4 COLLATE utf8mb4_general_ci;
CREATE USER redminedbuser@localhost IDENTIFIED BY 'type_your_password_here';
GRANT ALL ON redminedb.* TO redminedbuser@localhost WITH GRANT OPTION;
FLUSH PRIVILEGES;
exit
Ensure to replace ‘type_your_password_here ‘with your password.
Install Redmine
Now that you have installed Nginx and MariaDB, continue downloading, installing, and configuring Redmine on Ubuntu.
First, run the command below to install some package dependencies to support Redmine.
sudo apt install ruby ruby-dev build-essential libssl-dev libreadline-dev zlib1g-dev libcurl4-openssl-dev libmysqlclient-dev libpq-dev libaprutil1-dev libapr1-dev
Redmine is built on Ruby, so we must install the correct version.
This post will install and manage Ruby versions using RVM (Ruby Version Manager).
First, install the required dependencies for RVM:
sudo apt install gnupg2 curl
Then, install RVM by running the command below.
curl -sSL https://get.rvm.io | bash -s stable
source ~/.rvm/scripts/rvm
If the command above failed, run the command below to import the keys
curl -sSL https://rvm.io/mpapis.asc | gpg2 --import -
curl -sSL https://rvm.io/pkuczynski.asc | gpg2 --import -
Then, rerun the command to install RVM.
Install the latest stable version of Ruby.
rvm pkg install openssl
rvm get head
rvm install ruby 3.3
rvm use ruby 3.3 --default
Continue below to configure Redmine.
Configure Redmine
First, create a dedicated folder to install Redmine. We will install Redmine within the directory /var/lib/redmine for this tutorial.
sudo mkdir /var/lib/redmine
sudo chown -R www-data:www-data /var/lib/redmine
Go and download the Redmine source code using the wget command below. Visit the download page to get the latest version to install.
cd /tmp
wget https://www.redmine.org/releases/redmine-6.0.3.tar.gz
Next, extract the downloaded file and copy the content to Redmine’s directory.
tar -xvzf redmine-6.0.3.tar.gz
sudo -u www-data cp -r redmine-6.0.3/* /var/lib/redmine
After that, copy the default database configuration ‘config/database.yml.example‘ to ‘config/database.yml‘.
sudo -u www-data cp /var/lib/redmine/config/database.yml.example /var/lib/redmine/config/database.yml
Next, open the database.yml configuration file by running the command below.
sudo -u www-data nano /var/lib/redmine/config/database.yml
Then, in the ‘production‘ section, change the details of the MySQL database and user. Type in the database account details created above.
# Default setup is given for MySQL 5.7.7 or later.
# Examples for PostgreSQL, SQLite3 and SQL Server can be found at the end.
# Line indentation must be 2 spaces (no tabs).

production:
  adapter: mysql2
  database: redminedb
  host: localhost
  username: redminedbuser
  password: "Type_password_here"
  # Use "utf8" instead of "utfmb4" for MySQL prior to 5.7.7
  encoding: utf8mb4
  variables:
    # Recommended `transaction_isolation` for MySQL to avoid concurrency issues is
    # `READ-COMMITTED`.
    # In case of MySQL lower than 8, the variable name is `tx_isolation`.
    # See https://www.redmine.org/projects/redmine/wiki/MySQL_configuration
    tx_isolation: "READ-COMMITTED"
Save the file and exit the editor when you are finished.
Install bundler by running the command below.
sudo gem install bundler
Next, change to Redmine’s directory and run the bundler command to install Ruby dependencies for the Redmine application.
cd /var/lib/redmine
sudo bundle config set --local without 'development test'
sudo bundle install
Once Redmine dependencies are installed, run the following command to generate the Redmine secret token and migrate the database.
sudo -u www-data bin/rake generate_secret_token
sudo -u www-data bin/rake db:migrate RAILS_ENV="production"
In the following screenshot, you can see the Redmine secret token is generated and the process of Redmine database migration.
Lastly, load the default to your Redmine installation with the following command. When asked to choose the language, input en as for English.
sudo RAILS_ENV=production bundle exec rake redmine:load_default_data
Install Passenger and build Nginx Source
Since Phusion Passenger doesn’t support Nginx dynamically, you must build Nginx from the source. This installer will compile and install Nginx with Passenger support.
Run the command below to install Passenger.
sudo gem install passenger
Then, execute the following command to build and install the module for Nginx. This installer will compile and install Nginx with Passenger support.
sudo passenger-install-nginx-module
Once you have completed all the above steps, continue configuring the Nginx web server below to serve the Redmine content.
The Nginx configuration file (/opt/nginx/conf/nginx.conf) must contain the correct configuration options in order for Phusion Passenger to function correctly.
This installer has already modified the configuration file for you! The following configuration snippet was inserted:
http {
…
passenger_root /var/lib/gems/3.2.0/gems/passenger-6.0.25;
passenger_ruby /usr/bin/ruby3.2;
…
}
After you start Nginx, you are ready to deploy any number of Ruby on Rails applications on Nginx.
Run the commands below to create a Nginx virtual host file for Redmine.
sudo nano /opt/nginx/conf/nginx.conf
Then, make the highlighted changes to the Nginx server block. You may have to comment out all other lines in the server {} section.
server {
    listen 80;
    listen [::]:80;
    root /var/lib/redmine/public;
    server_name  redmine.example.com;

    # Turn on Passenger
    passenger_enabled on;
}
...........................................................
...........................................................
Save the file.
Next, run the commands below to stop and restart Nginx.
sudo kill $(cat /opt/nginx/logs/nginx.pid)
sudo /opt/nginx/sbin/nginx
Setup Let’s Encrypt SSL/TLS for Redmine
You may want to install an SSL/TLS certificate to secure your Redmine site. Secure your Redmine installation with HTTPS from Let’s Encrypt.
Please read the post below for additional resources on installing and creating Let’s Encrypt SSL certificates for Nginx.
How to set up Let’s Encrypt SSL certificate for Nginx on Ubuntu Linux
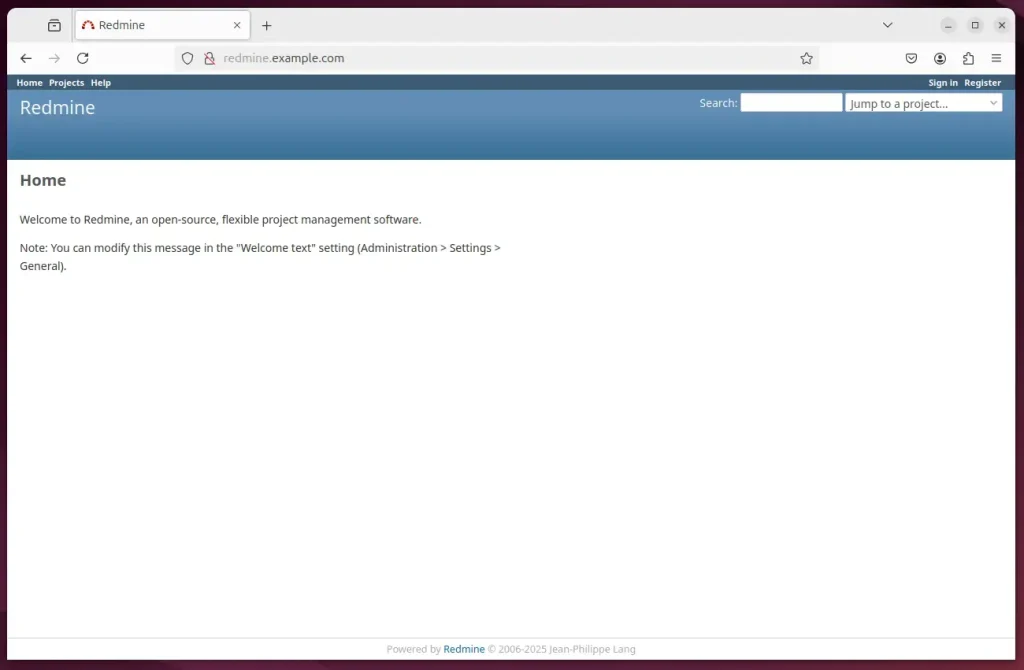
Once you have restarted the Nginx web server, open your browser and browse to the server hostname or IP address defined in the Nginx server block.
http://redmine.example.com
The Redmine portal should appear.

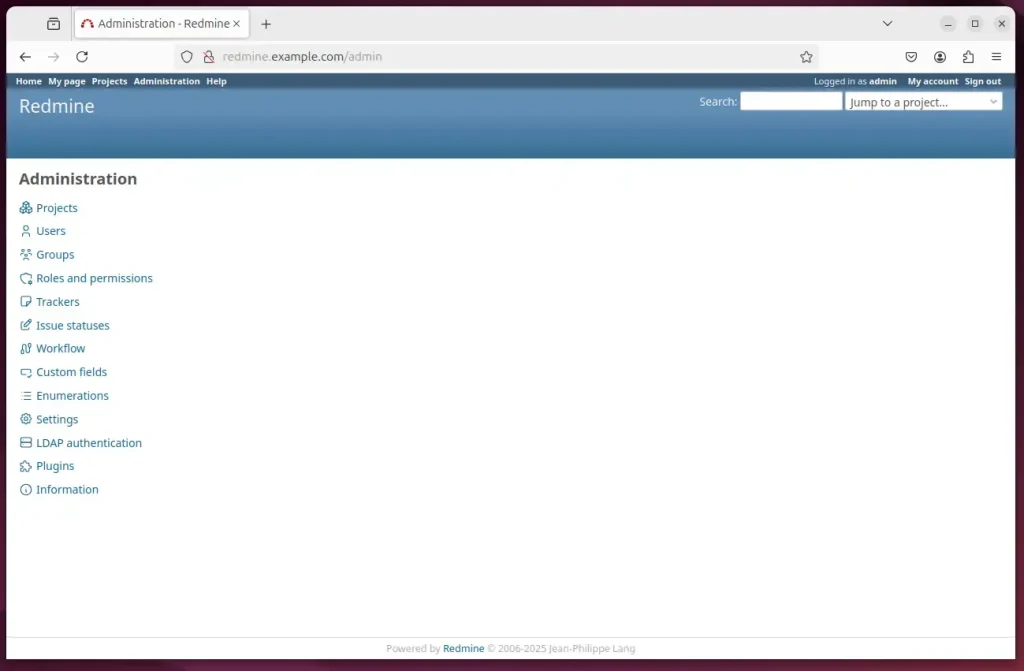
Login with credential:
- Username: admin
- Password: admin

That should do it!
Conclusion:
Installing Redmine with Nginx on Ubuntu 24.04 provides a powerful project management solution tailored for teams. Here are the key takeaways:
- Powerful Tool: Redmine offers versatile features like issue tracking, project planning, and time tracking, enhancing team collaboration.
- Stable Environment: Ubuntu LTS ensures a stable and well-maintained environment for running Redmine.
- Efficient Server: Nginx’s low memory usage and ability to handle numerous connections make it an excellent choice for managing Redmine instances.
- Robust Database: MariaDB is a reliable Redmine database server that ensures efficient data management and access.
- Security with SSL: Setting up SSL/TLS with Let’s Encrypt enhances the security of your Redmine installation.
- Accessible Administration: The provided admin credentials allow easy initial access to manage projects effectively.
Implementing these steps leads to a fully functional Redmine installation, empowering your organization to manage projects efficiently.

Leave a Reply