
If your main drive (usually the C: drive) is running low on space, you can move apps you installed from the Microsoft Store to another drive. This helps free up room on your system drive.
What kinds of apps can you move?
There are two main types of apps on Windows:
- Microsoft Store apps: Apps you get from the Microsoft Store (like games, utilities, or other programs). These can be moved to another drive.
- Standalone apps: Programs you install using their own installers (like Google Chrome or Spotify). These usually cannot be moved this way.
Where are Microsoft Store apps stored?
By default, these apps are saved on your Windows (C:) drive inside special folders like WindowsApps and Packages. But you can move them to other drives (internal or even external, like USB drives or SD cards) formatted with NTFS.
How to move Microsoft Store apps to another drive in Windows 11
Follow these simple steps:
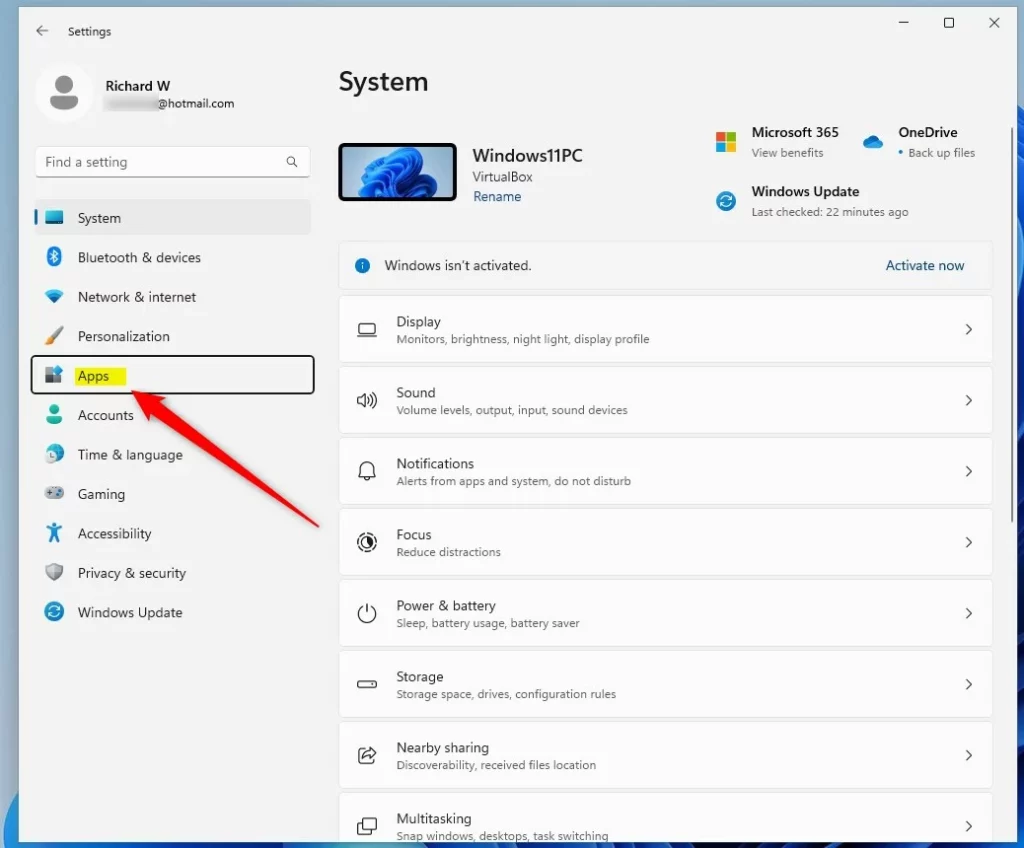
- Open Settings:
- Click the Start button (Windows icon in the bottom-left corner) and then click Settings.
- Or press Windows key + I on your keyboard.
- In Settings, click Apps on the left menu.
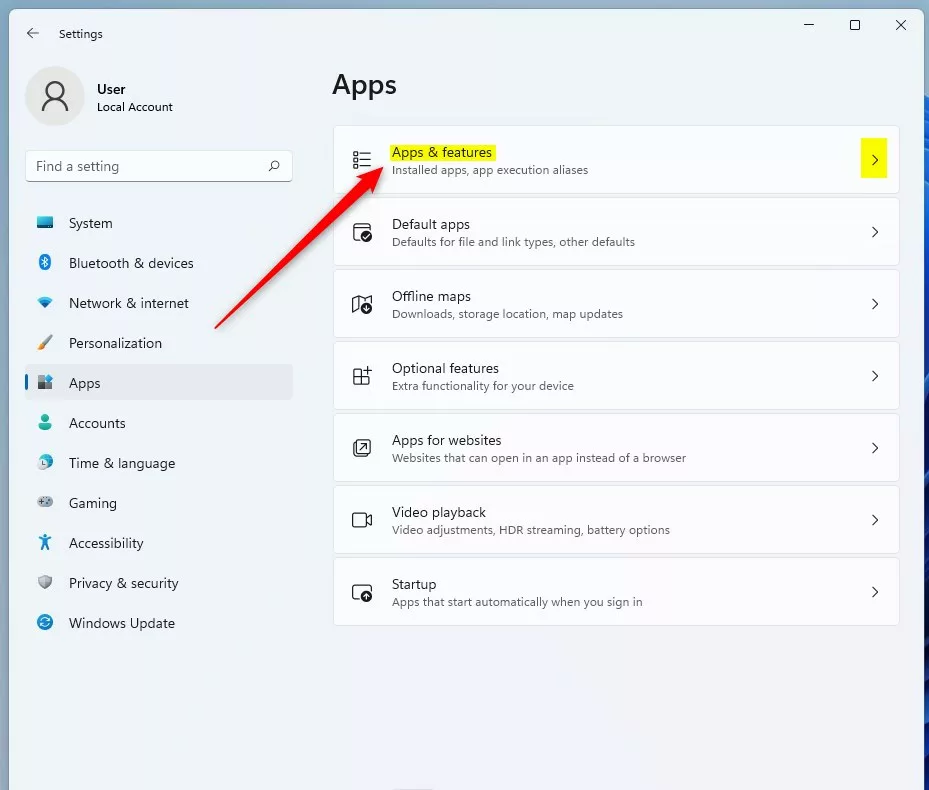
- Click Apps & features on the right.
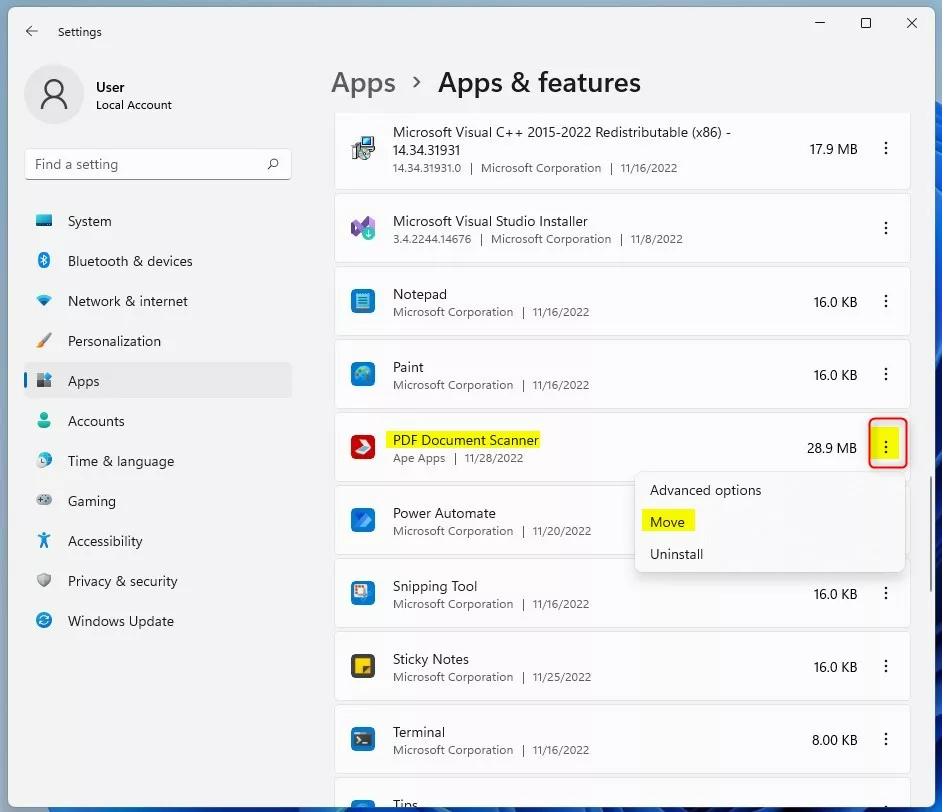
- Find the app you want to move:
Scroll or search the list for the Microsoft Store app you want to move.
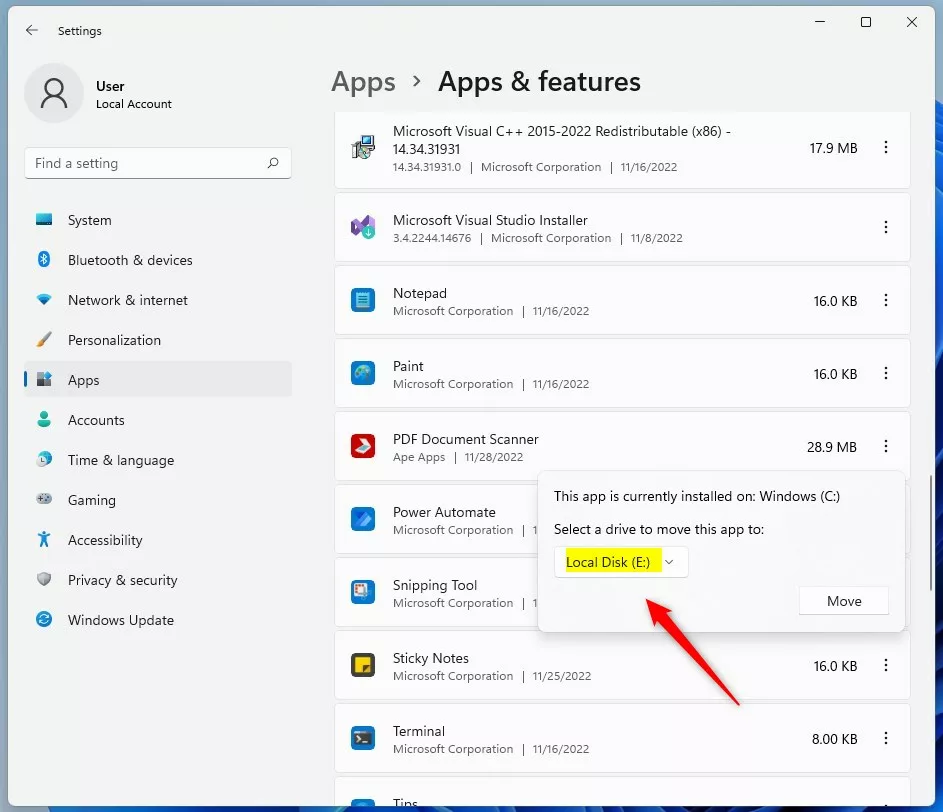
- Click the three dots (⋮) next to the app, then select Move.
- Choose the new drive:
A small window will pop up telling you the app is currently on your C: drive. Click the drop-down menu, pick the drive you want to move the app to, then click Move.
- Wait for the app to move:
Windows will create two folders namedWindowsAppsandWpSystemon the new drive to store the app files.
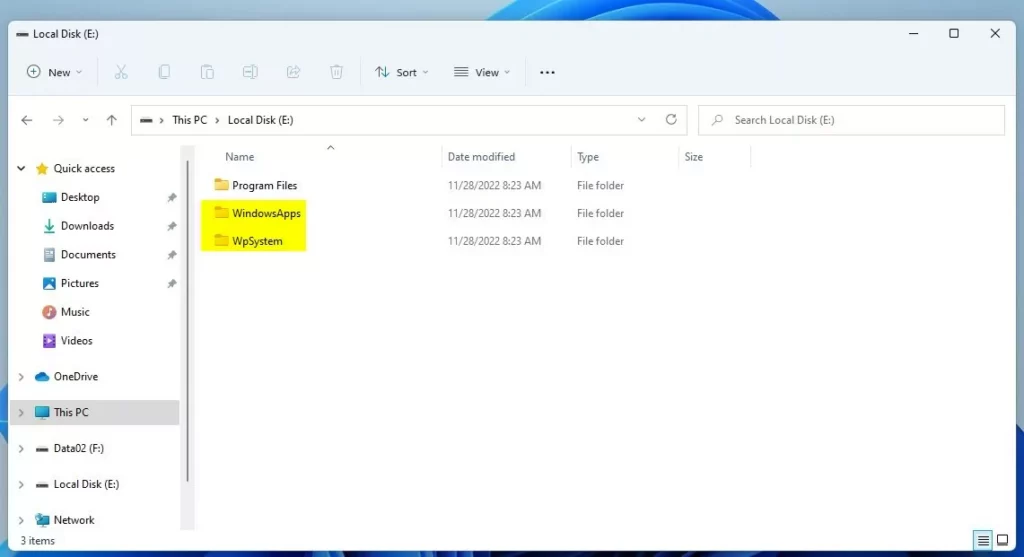
That’s it! Your app is now running from the new drive, freeing up space on your main drive.
Why move apps to another drive?
- Free up space on your main system drive (C:), which helps your PC run better.
- Use a larger or faster drive for apps.
- You can move apps to internal or external drives formatted with NTFS.
Additional tips:
- You can only move apps installed from the Microsoft Store this way.
- External drives like USB sticks or SD cards must be NTFS (not FAT32 or exFAT) to move apps.
- If you remove the drive with the moved app, the app will not work until you reconnect it.
If you want to learn more about managing apps on Windows 11, check out this guide on how to reset Microsoft Store apps.
Leave a Reply Cancel reply