
This article describes the steps to install and use X-Cart on Ubuntu Linux with Nginx support.
X-Cart is a powerful open-source eCommerce platform that enables individuals to set up eCommerce and online stores in minutes. Ubuntu Linux, on the other hand, is a popular open-source operating system that is widely used by developers and businesses alike.
By installing X-Cart on Ubuntu Linux, individuals can benefit from the flexibility and ease of use of the eCommerce platform and the operating system.
Additionally, Ubuntu Linux is known for its security and stability, which makes it an excellent choice for hosting an eCommerce website.
X-Cart is not free; however, you only pay a one-time licensing fee! No fees for transactions and no hefty monthly fees. If other eCommerce platforms are unsuitable for your environment, you may consider X-Cart.
How to install X-Cart on Ubuntu Linux with Nginx support
As described above, X-Cart is a powerful open-source eCommerce platform written in PHP. It enables individuals to set up eCommerce and online stores in minutes.
Below is how to install X-Cart on Ubuntu Linx with Nginx support.
Install Nginx
X-Cart requires a webserver to function, and the second most popular web server in use today is Nginx.
So, go and install Nginx on Ubuntu by running the commands below:
sudo apt update
sudo apt-get install nginx
Next, run the commands below to stop, start, and enable the Nginx service to always start up with the server boots.
sudo systemctl stop nginx.service
sudo systemctl start nginx.service
sudo systemctl enable nginx.service
Install MariaDB
X-Cart also requires a database server to function, and the MariaDB database server is a great place to start when looking for an open-source database server.
To install it, run the commands below.
sudo apt-get install mariadb-server mariadb-client
After installation, the commands below can stop, start, and enable the MariaDB service to start up when the server boots.
sudo systemctl stop mariadb.service
sudo systemctl start mariadb.service
sudo systemctl enable mariadb.service
After that, run the commands below to secure the MariaDB server.
sudo mysql_secure_installation
When prompted, answer the questions below by following the guide.
- Enter current password for root (enter for none): Just press the Enter
- Set root password? [Y/n]: Y
- New password: Enter password
- Re-enter new password: Repeat password
- Remove anonymous users? [Y/n]: Y
- Disallow root login remotely? [Y/n]: Y
- Remove test database and access to it? [Y/n]: Y
- Reload privilege tables now? [Y/n]: Y
Install PHP-FPM and Related Modules
X-Cart is a PHP-based application and requires PHP to function. To install PHP and related modules, run the commands below.
sudo apt-get install php-fpm php-common php-mbstring php-xmlrpc php-soap php-gd php-xml php-intl php-mysql php-cli php-mcrypt php-ldap php-zip php-curl
After installing PHP, run the commands below to open the PHP-FPM default file.
sudo nano /etc/php/7.1/fpm/php.ini      # Ubuntu 17.10
sudo nano /etc/php/7.0/fpm/php.ini      # Ubuntu 17.04
Then, change the following lines below in the file and save. You may increase the value to suit your environment.
max_execution_time = 180
max_input_time = 60
memory_limit = 256M
upload_max_filesize = 64M
Create X-Cart Database
Now that you’ve installed all the required packages continue below to start configuring the servers.
First, run the commands below to create an X-Cart database.
Run the commands below to log on to the database server. When prompted for a password, type the root password you created above.
sudo mysql -u root -p
Then, create a database called xcart
CREATE DATABASE xcart;
Create a database user called xcartuser with a new password
CREATE USER 'xcartuser'@'localhost' IDENTIFIED BY 'new_password_here';
Then, grant the user full access to the database.
GRANT ALL ON xcart.* TO 'xcartuser'@'localhost' IDENTIFIED BY 'user_password_here' WITH GRANT OPTION;
Finally, save your changes and exit.
FLUSH PRIVILEGES;
EXIT;
Download X-Cart Latest Release
Next, visit the X-Cart site and register for a free account. You must enter your email address before you’re allowed to download a copy.
The English edition is what you’ll want to download.
https://www.x-cart.com/download.html
After downloading, run the commands below to extract the downloaded file into the Nginx root directory.
unzip x-cart-5.3.3.4-gb.zip
sudo mv x-cart /var/www/html/xcart
Change or modify the directory permission to fit the Nginx configuration.
sudo chown -R www-data:www-data /var/www/html/xcart
sudo chmod -R 755 /var/www/html/xcart
Configure Nginx
Finally, configure the Nginx server block configuration file for X-Cart. This file will control how users access X-Cart content.
Run the commands below to create a new configuration file called xcart
sudo nano /etc/nginx/sites-available/xcart
Then copy and paste the content below into the file and save it. Replace the highlighted line with your domain name and directory root location.
server {
    listen 80;
    listen [::]:80;
    root /var/www/html/xcart;
    index  index.php index.html index.htm;
    server_name  example.com www.example.com;

     location @handler {
        index cart.php;
        rewrite ^/sitemap.xml(\?.+)?$ /cart.php?target=sitemap;
        rewrite ^/(.*)$ /cart.php?url=$1 last;
    }

    location / {
        try_files $uri $uri/ @handler;
    }

    location ~ \.php$ {
    try_files     $uri @handler;
    fastcgi_split_path_info  ^(.+\.php)(/.+)$;
    fastcgi_index            index.php;
    fastcgi_pass             unix:/var/run/php/php7.1-fpm.sock;          #Ubuntu 17.10
  # fastcgi_pass             unix:/var/run/php/php7.0-fpm.sock;          #Ubuntu 17.04
    include                  fastcgi_params;
    fastcgi_param   PATH_INFO       $fastcgi_path_info;
    fastcgi_param SCRIPT_FILENAME $document_root$fastcgi_script_name;
    }

}
Save the file and exit.
Enable the X-Cart Site
After configuring the VirtualHost above, please enable it by running the commands below.
sudo ln -s /etc/nginx/sites-available/xcart /etc/nginx/sites-enabled/
Restart Nginx by running the commands below to load all the settings above.
sudo systemctl restart nginx.service
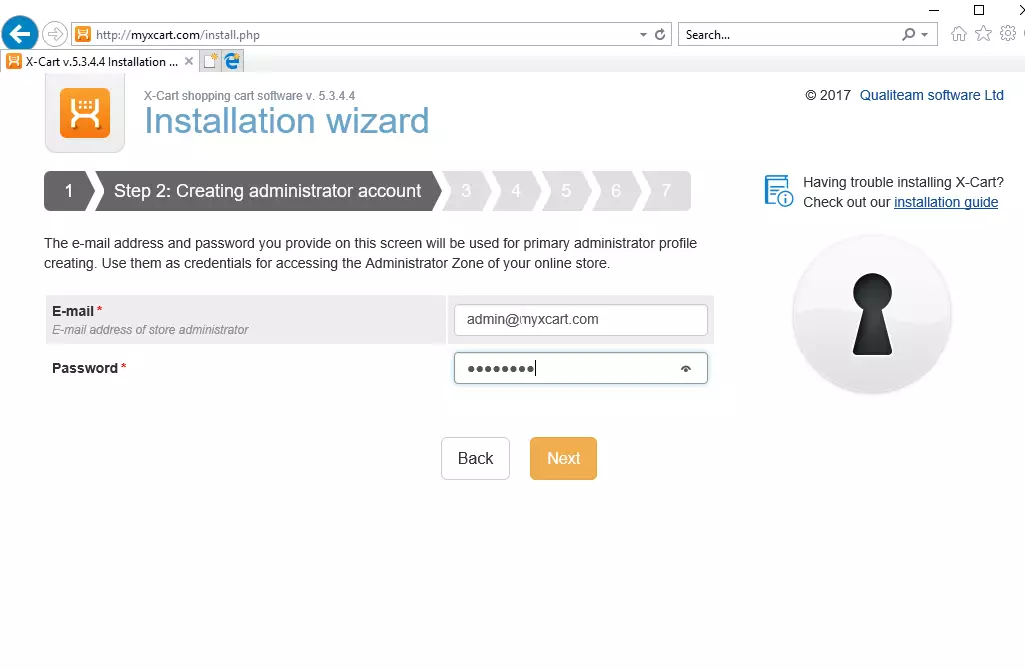
Next, open your browser and browse the server domain name. Finally, you should see the X-Cart setup wizard complete.
Please follow the wizard carefully.
http://example.com/install
Type the database connection info and continue.
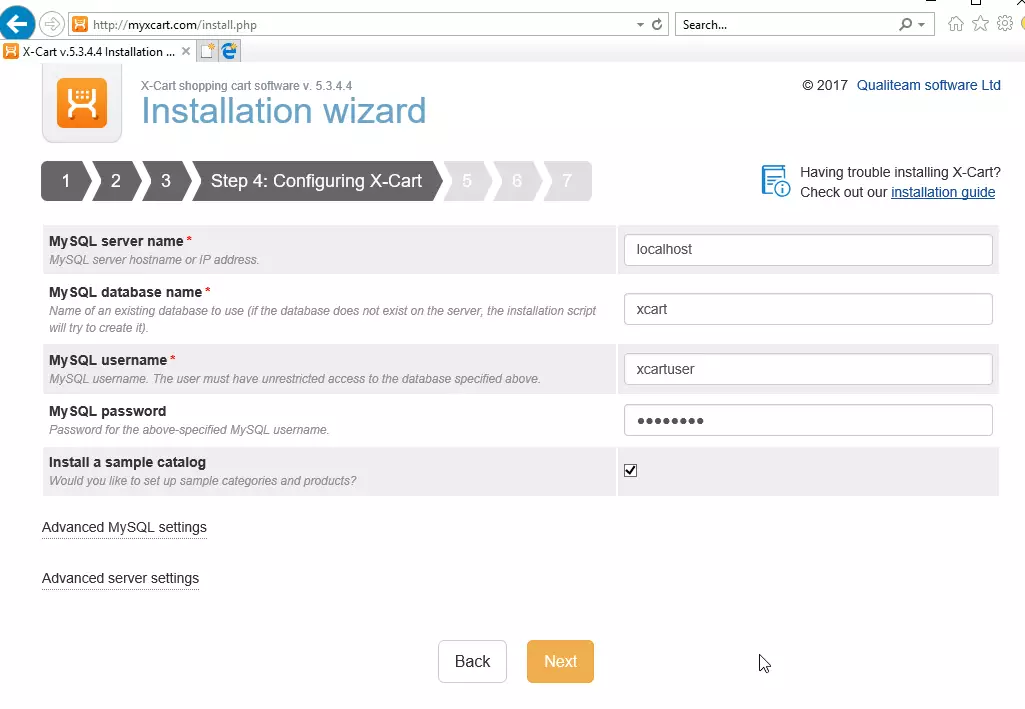
Wait a few seconds, and X-Cart should be installed.
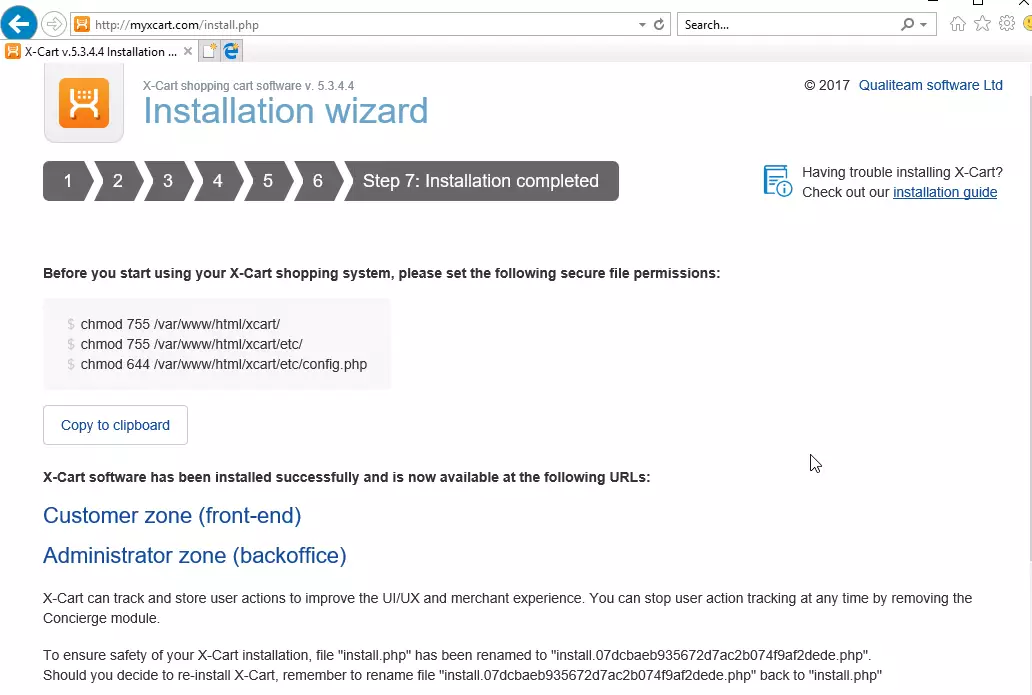
Enjoy!
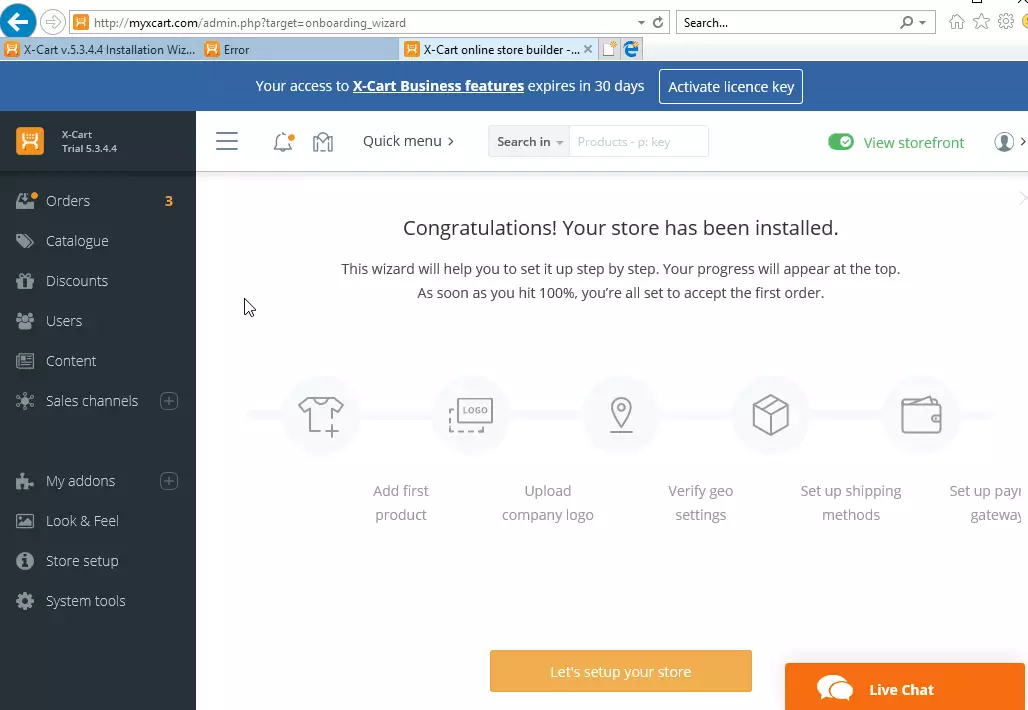
Congratulations! You’ve just successfully installed X-Cart on Ubuntu.


Leave a Reply Cancel reply