

This article explains how to install Foswiki with Nginx support on Ubuntu 24.04.
Foswiki is an open-source, Perl-based collaboration platform designed to create and manage content collaboratively. It combines wiki functionality with structured data, allowing teams to build knowledge bases, document projects, and manage workflows.
Ubuntu is a stable, secure OS with regular updates, and Nginx excels at handling high concurrent traffic with minimal resource usage, making it ideal for busy Foswiki instances.
Deploying Foswiki with Nginx on Ubuntu combines a flexible collaboration platform with a high-performance web server and a reliable OS.
Install Nginx HTTP server on Ubuntu
Foswiki requires a web server. This post will install and use the Nginx web server to run Foswiki.
To do that, open the Ubuntu terminal and run the commands below to install the Nginx web server.
sudo apt update
sudo apt install nginx
Once Nginx is installed, the commands below can start, stop, and enable the Nginx web server to start automatically when your server boots up.
sudo systemctl stop nginx
sudo systemctl start nginx
sudo systemctl enable nginx
You can test the Nginx web server by opening your web browser and browsing to the server’s localhost or IP address.
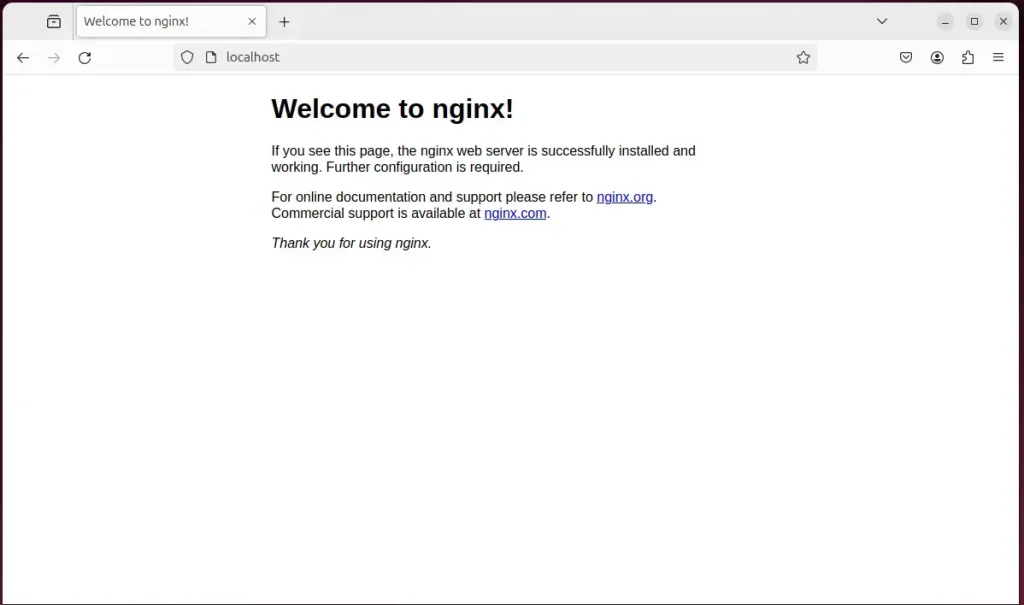
When you see the Welcome to nginx!, it means the Nginx HTTP server is successfully installed.
Additional help on installing Nginx on Ubuntu is in the link below.
How to install Nginx on Ubuntu
Install Perl and Related Modules
Foswiki is written in Perl and is supported on any platform. To install Perl and related modules to support Foswiki, run the commands below:
sudo apt-get install rcs libalgorithm-diff-perl libarchive-tar-perl libauthen-sasl-perl libcgi-pm-perl libcgi-session-perl libcrypt-passwdmd5-perl libdigest-sha-perl libemail-address-xs-perl libemail-mime-perl libencode-perl liberror-perl libfile-copy-recursive-perl libhtml-parser-perl libhtml-tree-perl libio-socket-ip-perl libio-socket-ssl-perl libjson-perl liblocale-codes-perl liblocale-maketext-perl liblocale-maketext-lexicon-perl liblocale-msgfmt-perl libwww-perl liblwp-protocol-https-perl liburi-perl libversion-perl libfcgi-perl libfcgi-procmanager-perl fcgiwrap spawn-fcgi libfcgi-perl
Download Foswiki files
Let’s begin downloading and configuring the Foswiki files on Ubuntu Linux.
To always install the latest version, check the download page for Foswiki. Get the download link and download the archived package to your computer. Then, extract it.
First, navigate to the /tmp/ directory and download the Foswiki files. Next, extract the content into the Foswiki folder in the Nginx root directory.
The final step is to change the permissions. This will allow the Nginx web server to interact safely with the files, ensuring a secure environment for your Foswiki installation.
Next, run the commands below to change Nginx root folder permissions so the Foswiki app can function correctly.
cd /tmp
wget https://github.com/foswiki/distro/releases/download/FoswikiRelease02x01x09/Foswiki-2.1.9.zip
unzip Foswiki-*.zip
sudo cp -rf Foswiki-2.1.9 /var/www/foswiki
sudo chown -R www-data:www-data /var/www/foswiki/
If, for some reason, the file permissions have been modified, the shell script tools/fix_file_permissions.sh can be used to repair the installation.
cd /var/www/foswiki
sudo -u www-data sh tools/fix_file_permissions.sh
Next, run the script below to fix the bin scripts and ensure all is set up correctly.
cd /var/www/foswiki/tools
sudo -u www-data perl rewriteshebang.pl
When prompted, select y to apply your changes.
Next, copy these files from the Foswiki tools folder to the /etc/ directory by running the commands below.
sudo cp /var/www/foswiki/tools/foswiki.defaults /etc/default/foswiki
sudo cp /var/www/foswiki/tools/foswiki.init-script /etc/init.d/foswiki
Next, change the permissions and reload the services.
sudo chmod 755 /etc/init.d/foswiki
sudo service foswiki start
Once you have completed all the above steps, continue configuring the Nginx web server below to serve the Foswiki content.
Run the commands below to create a Nginx virtual host file for Foswiki.
sudo nano /etc/nginx/sites-available/foswiki.conf
Then, copy and paste the content block below into the Nginx server block.
server {
    listen       80;
    server_name  foswiki.example.com;

    set $foswiki_root "/var/www/foswiki";
    root $foswiki_root;

    location / {
        root $foswiki_root;
        rewrite ^/?$ http://foswiki.example.com/bin/view.pl/Main permanent;
    }

   location /bin/configure {
        allow 127.0.0.1;
        fastcgi_pass unix:/var/run/fcgiwrap.socket;
        fastcgi_split_path_info ^/foswiki(/bin/configure)(?:.pl)?(.*);
        fastcgi_param  SCRIPT_FILENAME  $foswiki_root$fastcgi_script_name;
        fastcgi_param  PATH_INFO $fastcgi_path_info;
        include fastcgi_params;
    }

   location /bin/ {
        fastcgi_pass unix:/var/run/fcgiwrap.socket;
        fastcgi_split_path_info  ^(/bin/w+)(.*);
        fastcgi_param  SCRIPT_FILENAME $foswiki_root/$fastcgi_script_name;
        fastcgi_param  PATH_INFO $fastcgi_path_info;
        fastcgi_param  SCRIPT_NAME $fastcgi_script_name;
        include fastcgi_params;
       }
}
Save the file.
Then, run the commands below to enable the virtual host and restart the Nginx server.
sudo ln -s /etc/nginx/sites-available/foswiki.conf /etc/nginx/sites-enabled/
sudo systemctl restart nginx.service
Setup Let’s Encrypt SSL/TLS for Foswiki
You may want to install an SSL/TLS certificate to secure your Foswiki site. Secure your Foswiki installation with HTTPS from Let’s Encrypt.
Please read the post below for additional resources on installing and creating Let’s Encrypt SSL certificates for Nginx.
How to set up Let’s Encrypt SSL certificate for Nginx on Ubuntu Linux
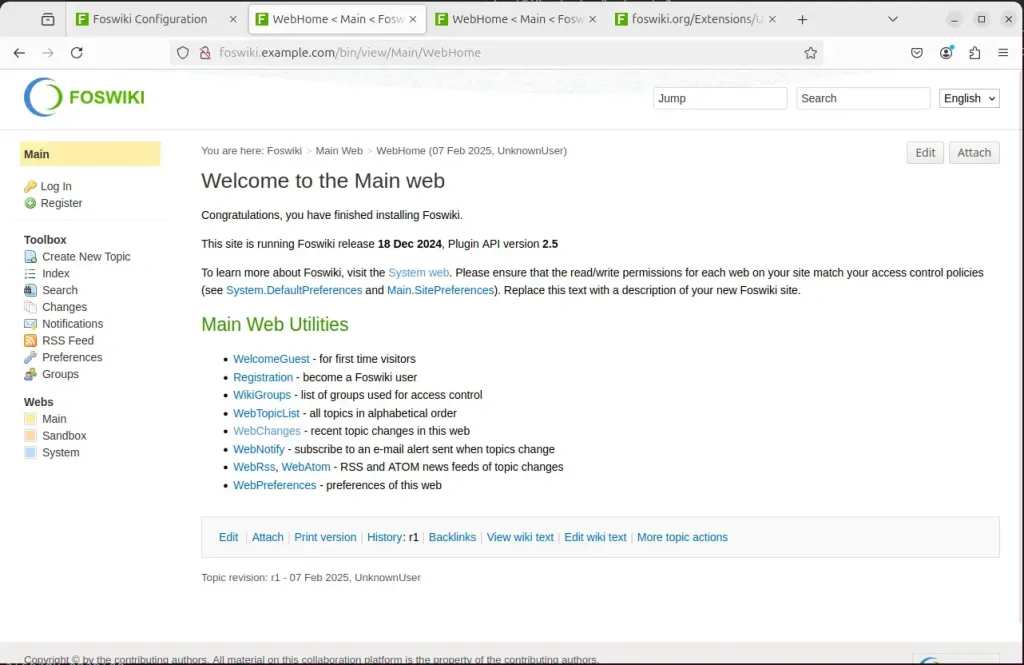
Once you have restarted the Nginx web server, open your browser and browse to the server hostname or IP address defined in the Nginx server block.
http://foswiki.example.com/bin/view
The Foswiki setup wizard should appear.
Click on the configure link to configure the app.

Begin configuring all the necessary settings for your site. Click the Save button in the upper right corner of the configuration page.
The login section at the top of the left-hand menu should show that you are still be logged in as a temporary Admin user. Click on the “Log Out” link to exit that user.

You now have set up your Foswiki installation! At this point, you can start creating and editing pages.
Foswiki should be ready to use.
Conclusion:
Installing Foswiki with Nginx support on Ubuntu 24.04 provides a robust collaboration environment. Here are the key takeaways:
- Foswiki Overview: A powerful open-source platform for collaborative content management.
- Nginx Benefits: Efficient handling of high traffic with minimal resource usage.
- Installation Process: Involves installing Nginx, Perl modules, and Foswiki files.
- Configuration Steps: Setting up Nginx virtual hosts to serve Foswiki effectively.
- Security Measures: Implementing SSL/TLS with Let’s Encrypt for secure access.
- User-Friendly Setup: The setup wizard guides you through the final configuration steps.
With these steps completed, you can now leverage the full potential of Foswiki for your team’s collaborative needs.
Frequently Asked Questions
How do I install Nginx on Ubuntu 24.04?
What is Foswiki and why should I use it?
Can I run Foswiki without a web server?
What Perl modules are needed for Foswiki?
How can I verify if Nginx is installed correctly?


Leave a Reply