
Windows 11 gives you different ways to sign in to your computer. One of the safest and easiest ways is using Windows Hello. Windows Hello lets you log in using a PIN, your face, your fingerprint, or a passkey instead of typing a password every time.
If you use a Microsoft account to sign in to your Windows 11 device (instead of a local account), you can make it even safer by only allowing sign-ins through Windows Hello.
This means no more passwords. Only you can unlock your PC using your face, fingerprint, or PIN. It’s quick, personal, and keeps your information safe.
How to Enable Windows Hello Sign-In for Microsoft Accounts
Follow these simple steps to turn on this feature:
- Open Windows Settings:
- Click the Start button and select Settings, or
- Press
Windows key + Ion your keyboard.
- In the Settings window, click on Accounts from the left menu.
- Select Sign-in options on the right side.
- Scroll down to the section labeled Additional settings.
- Find the option that says: “For improved security, only allow Windows Hello sign-in for Microsoft accounts on this device” and click the toggle switch to turn it On.
- Close the Settings app.
Here are some helpful pictures showing these steps:
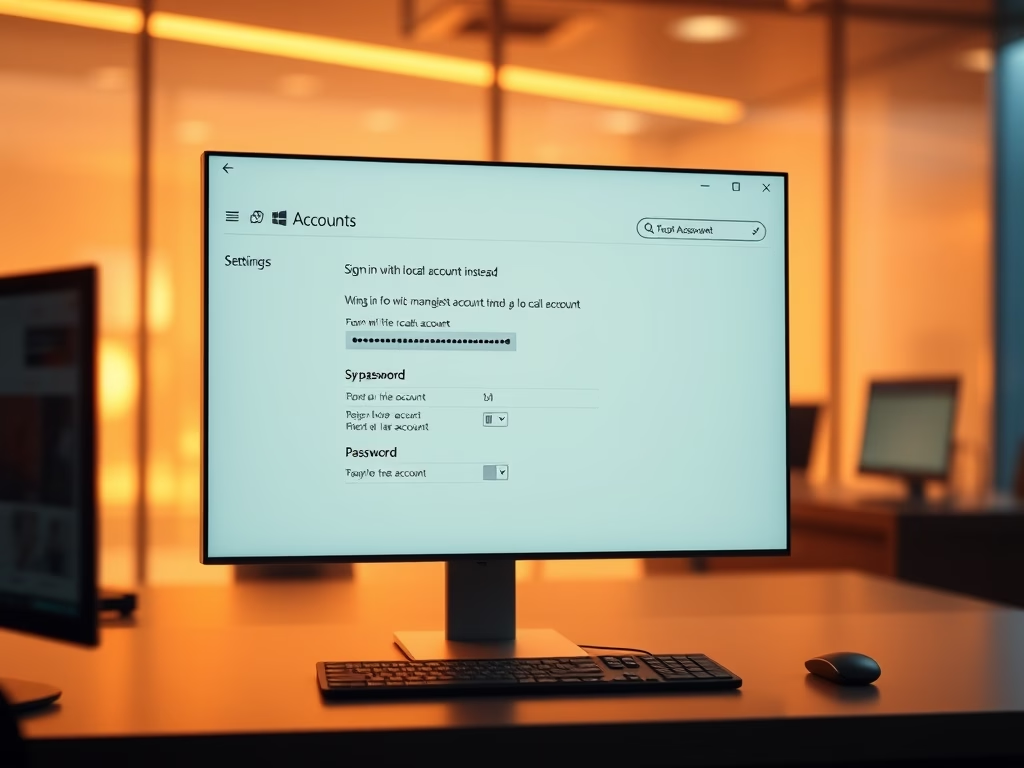
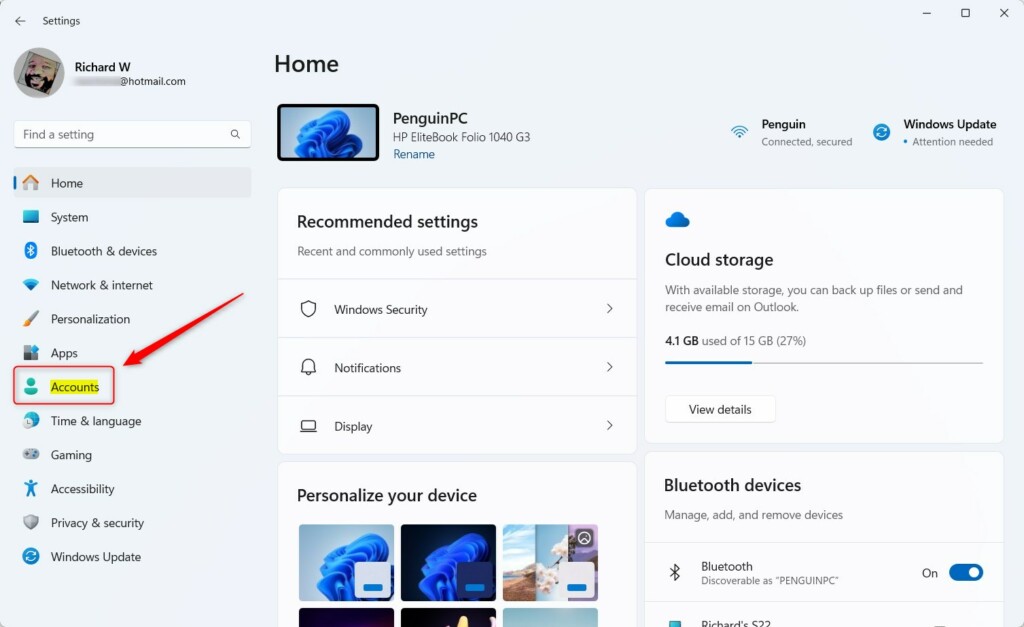 Step 2: Click on Accounts in Windows Settings.
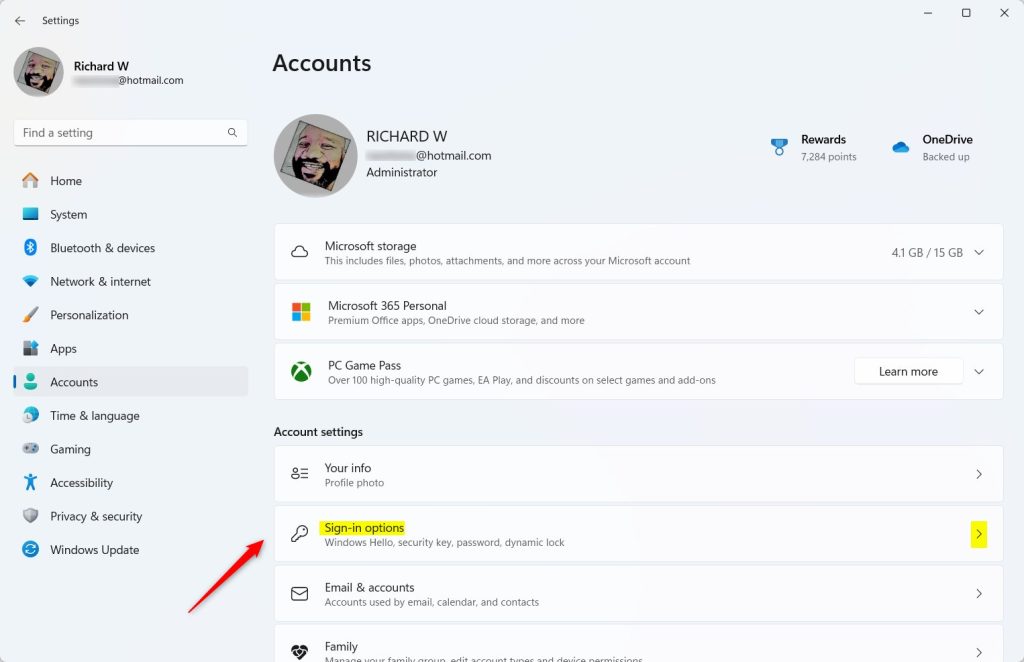 Step 3: Choose Sign-in options.
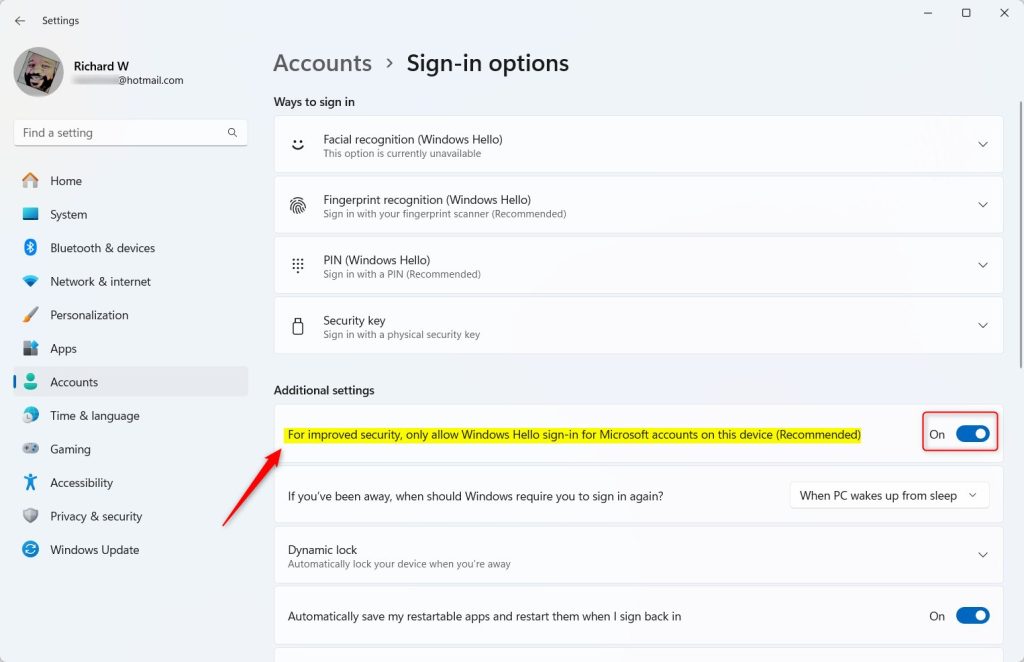 Step 5: Turn on the setting to allow only Windows Hello sign-in for Microsoft accounts.
Why Use Windows Hello Only for Microsoft Accounts?
- Better security: Only you can unlock your computer using your face, fingerprint, or PIN.
- No more passwords to remember: Signing in is fast and easy.
- Protects your personal info: Helps keep your data safe from others.
Want to learn more about Windows Hello options? Check out these quick guides:
How to Use Fingerprint Sign-In
That’s it! You’ve made your Windows 11 device safer and easier to use.
Summary
Windows Hello is a quick and secure way to sign in to your Windows 11 computer. By enabling Windows Hello sign-in for your Microsoft account, you can unlock your PC using your face, fingerprint, or PIN instead of typing a password. This takes just a few clicks in your Settings app under Accounts > Sign-in options > Additional settings. The result? Better security, easier access, and protection for your personal information.
Leave a Reply Cancel reply