
This guide will help everyday Windows 11 users understand how to enable or disable the Dev Drive feature on their computer.
What is Dev Drive?
Dev Drive is a feature in Windows 11 that lets you create a special separate space on your hard drive. This space is mainly for developers to keep coding tools and files safe and organized, away from regular system files.
Why use Dev Drive? It keeps your development work separate from your everyday files. What happens when you use it? Your coding projects stay organized and protected in their own dedicated area.
If you’re not a developer or want to stop other users from creating this special drive on your computer, you can easily turn this feature off. This can also help keep your computer more secure.
How to Turn Dev Drive On or Off
There are three simple ways to enable or disable the Dev Drive feature on your Windows 11 PC:
1. Using Windows Terminal
Open Windows Terminal as an administrator. To do this, search for “Windows Terminal” in the Start menu, right-click it, and select Run as administrator. ⚠️ Requires admin privileges.
To turn on Dev Drive, type this command and press Enter:
fsutil devdrv enableTo turn off Dev Drive, type this command and press Enter:
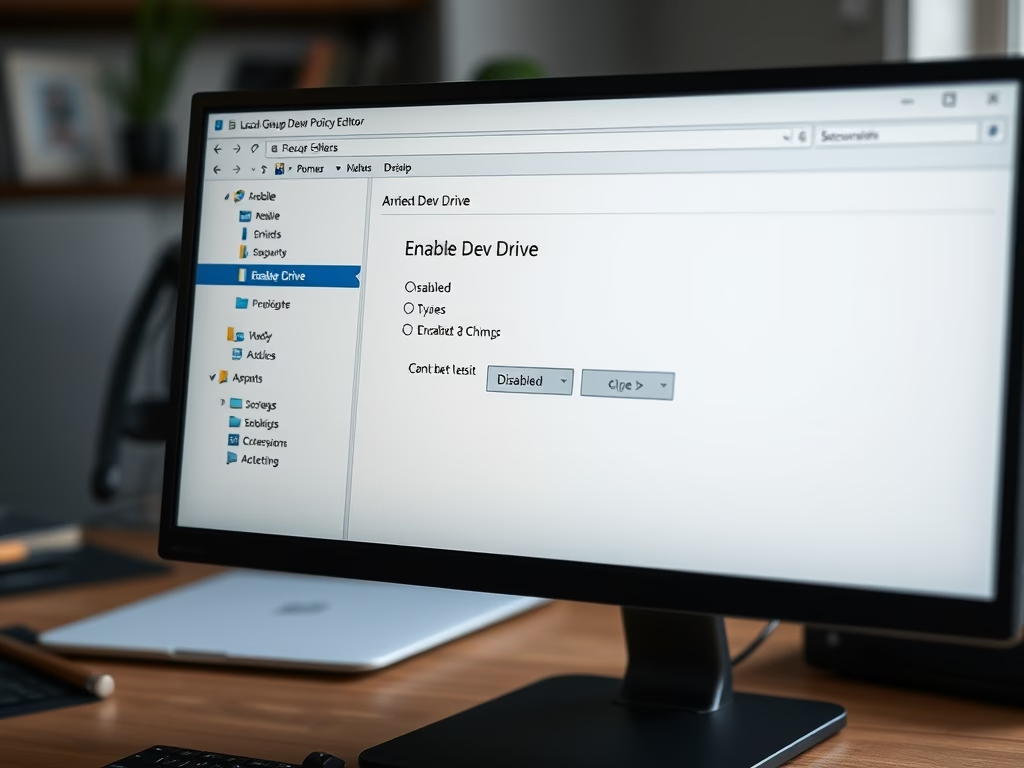
fsutil devdrv disable2. Using Local Group Policy Editor
Press Windows + S, type Edit group policy, and press Enter to open the Local Group Policy Editor. ⚠️ Requires admin privileges.
In the editor, go to:
Computer Configuration > Administrative Templates > System > FilesystemFind Enable dev drive on the right side and double-click it.
Choose one of the options:
- Not Configured – This is the default setting.
- Enabled – Allows Dev Drive and lets antivirus work on it.
- Disabled – Stops users from creating new Dev Drives.
Click OK to save your choice.
Tip: You might need to restart your computer for the change to take effect.

3. Using Windows Registry Editor
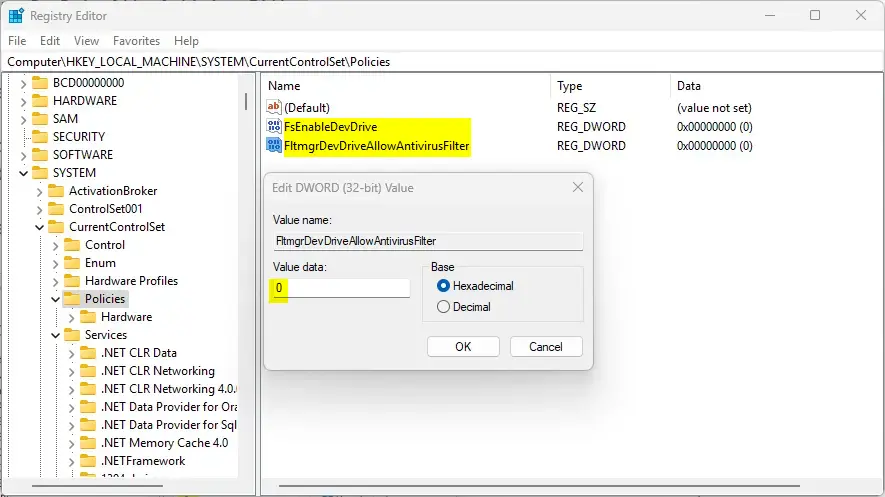
Open the Registry Editor by pressing Windows + R, typing regedit, and clicking OK. ⚠️ Requires admin privileges.
Navigate to this folder:
HKEY_LOCAL_MACHINE\SYSTEM\CurrentControlSet\PoliciesLook for these two values in the right pane:
- FsEnableDevDrive
- FltmgrDevDriveAllowAntivirusFilter
If they don’t exist, right-click an empty space, select New > DWORD (32-bit) Value, and create both names exactly as above.
Double-click each and set the value to:
- 0 to disable Dev Drive.
- 1 to enable Dev Drive.
Close Registry Editor and restart your PC to apply changes.
Summary
You can choose to turn Dev Drive on or off using Windows Terminal, Group Policy Editor, or Registry Editor. All three methods do the same thing—they just give you different ways to make the change based on what you’re comfortable with.
Turning off Dev Drive can help keep your computer safer by stopping unwanted special drives from being made. This is useful if you share your computer with others or don’t need the feature.
Admins or everyday users can use these simple steps depending on their comfort level. Windows Terminal is the fastest option if you know how to use the command line. Group Policy Editor and Registry Editor are good choices if you prefer a visual approach.
If you have any questions or want to share your experience, feel free to leave a comment below!
Leave a Reply Cancel reply