
This article explains how to stop Windows from automatically connecting to a Wi-Fi network that was previously connected.
You can automatically tell Windows not to connect to certain Wi-Fi networks anytime.
When you do that, Windows 11 will still remember the password and other connection details but will not automatically connect whenever you’re in range. A connection will only take place when you manually initiate it.
This might be useful if you’ve previously connected to a public Wi-Fi network but don’t always want to reconnect automatically when in range. Some public networks will display an authentication page where you must agree to the terms of use.
If you are automatically connecting every time and not following up with the second step to agree to its usage terms, access to the internet will not work.
You’ll have to either follow up with the follow-up authentication steps or disconnect from the Wi-Fi to regain access to the internet.
How to prevent Windows 11 from automatically connecting to a Wi-Fi network
As mentioned above, Windows will automatically connect to a previously connected Wi-Fi network whenever it’s in range. If you want to prevent that, the steps below should help you.
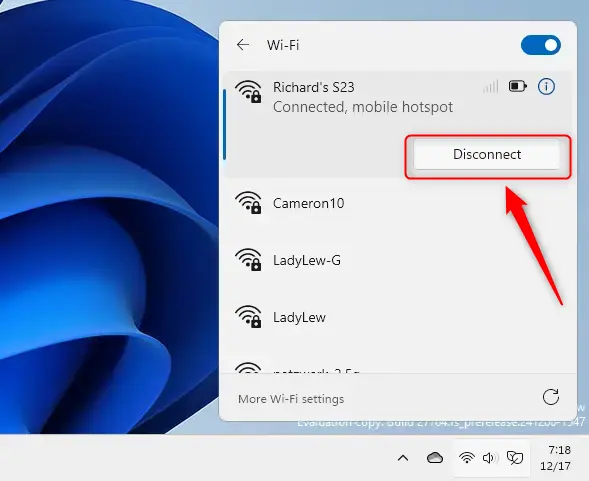
First, disconnect from the Wi-Fi network if you’re already connected. Click on Quick Settings and expand the Wi-Fi connection settings, then select the Wi-Fi you’re connected to and click Disconnect.
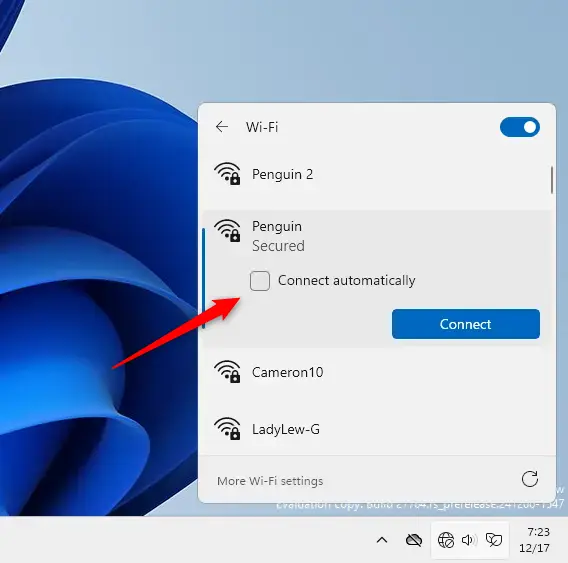
Once disconnected, uncheck the box next to Connect automatically for the Wi-Fi network you don’t want to connect to automatically.
That should do it!
How to turn off the automatic connection to Wi-Fi in Windows Settings
If you’re not in range of the Network, you may not be able to see it on the Wi-Fi connection panel from the Quick Settings window. You will have to go to Windows Settings to edit the connection behavior.
Windows 11 has a centralized location for the majority of its settings. Everything can be done, from system configurations to creating new users and updating Windows from its System Settings pane.
To get to System Settings, you can use the Windows key + I shortcut or click on Start ==> Settings, as shown in the image below:

Alternatively, you can use the search box on the taskbar and search for Settings. Then select to open it.
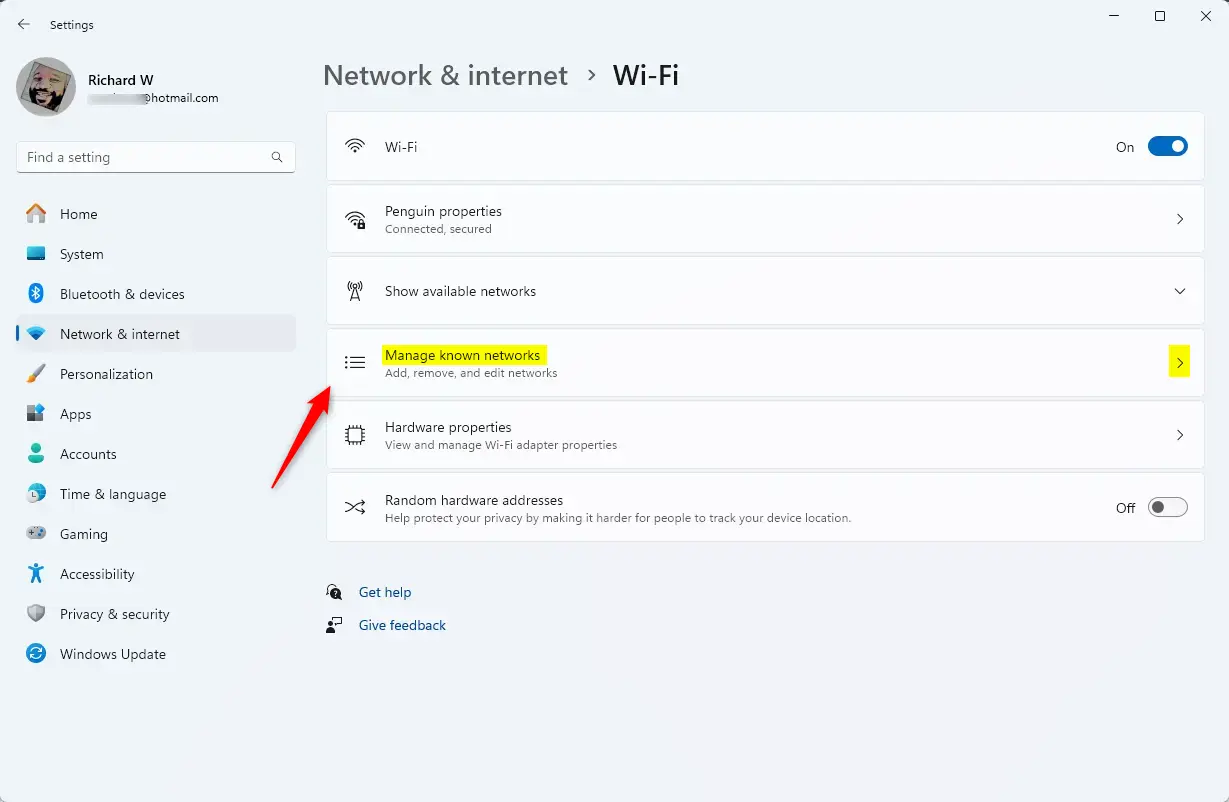
In Windows Settings, click Network & Internet, and select Wi-Fi on the right pane of your screen, as shown in the image below.

On the Wi-Fi settings pane, select Manage known networks.
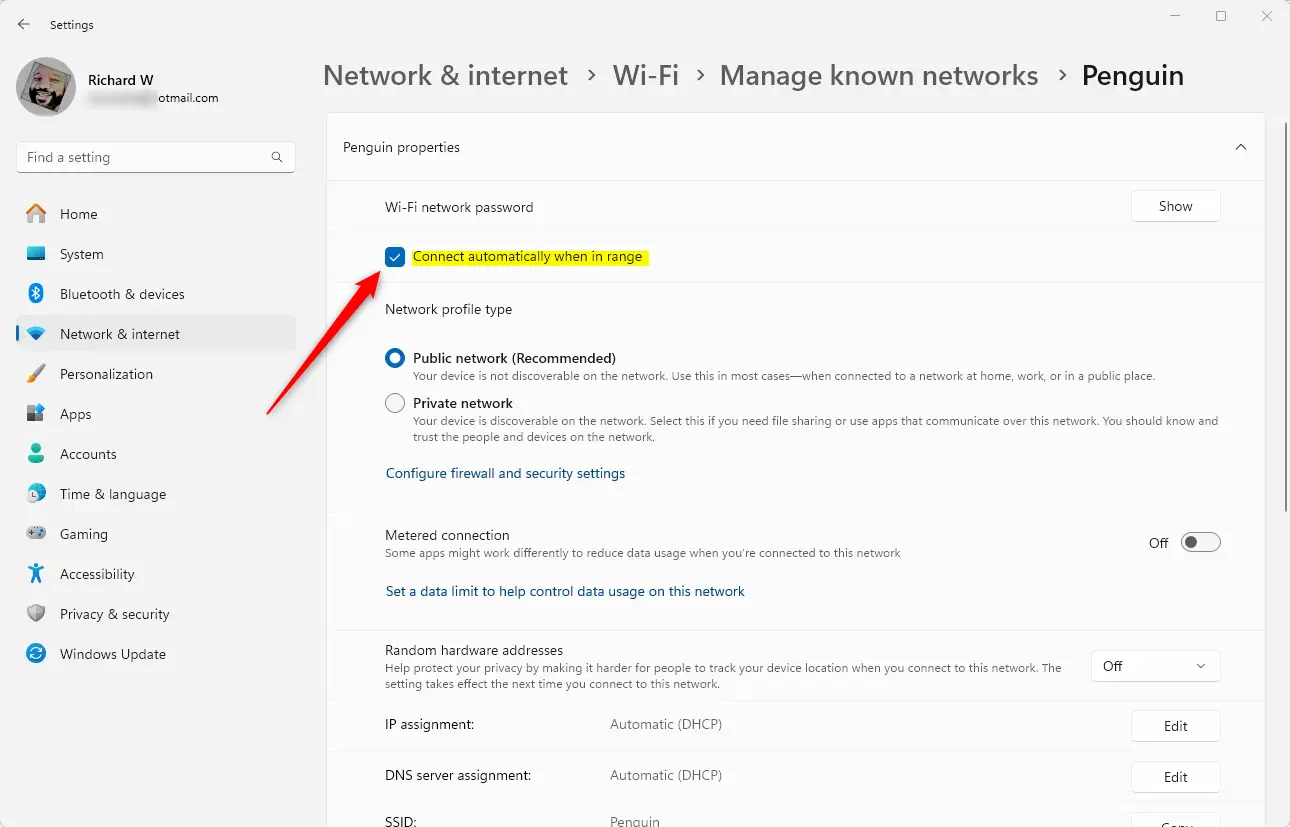
Next, select the Wi-Fi network you don’t want to connect to automatically and uncheck the box next to Connect automatically when in range, as shown in the image below.
That should do it!
The Wi-Fi connection details are kept, and will connect when you initiate the connection. However, Windows will not automatically connect to the Wi-Fi network when you’re in range.
Conclusion:
- Following the steps outlined, you can prevent Windows 11 from automatically connecting to specific Wi-Fi networks.
- Disabling automatic connection can enhance your control over your device’s internet accessibility.
- You’ll still retain the network’s connection details, allowing you to connect manually when needed.
- This is particularly useful for public Wi-Fi networks that require additional authentication for access.
- Maintaining this control can help avoid unwanted reconnects and streamline your internet usage experience.


Leave a Reply to freewheel Cancel reply