
Do you have more than one printer connected to your Windows 11 computer? Windows might pick the wrong one to print by default. This guide will show you easy steps to pick your favorite printer as the default. Then you won’t have to choose every time you print.
Why Change Your Default Printer?
Windows 11 tries to be smart. It picks the last printer you used as the default. But if you use more than one printer, this can cause confusion. You might print to the wrong device.
By setting your default printer yourself, you make sure your computer always sends print jobs to the right printer.
How to Set Your Default Printer in Windows 11
Step 1: Open Settings
You can open the Settings window by pressing Windows key + I on your keyboard. Or click the Start button (the Windows logo on the bottom left). Then click Settings.
Step 2: Go to Printers Settings
In the Settings window, click on Bluetooth & devices from the left menu. Then click Printers & scanners on the right side.
Step 3: Turn Off Automatic Default Printer Management
Look for the option called Let Windows manage my default printer. Switch the button to Off. This stops Windows from changing your default printer on its own.
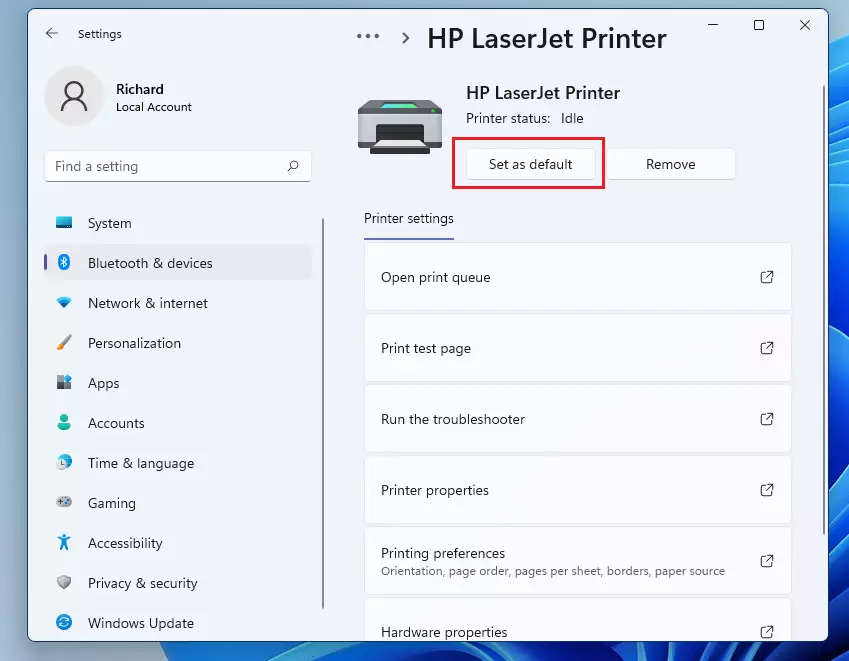
Step 4: Pick Your Default Printer
Now, from the list of printers, click the printer you want to use as your default. Click the Set as default button.
Step 5: Close Settings
Once done, you can close Settings. Your chosen printer will now be the default printer.
Summary
- Windows 11 tries to pick your last used printer as default. This can cause printing to the wrong device.
- Turning off Let Windows manage my default printer gives you control.
- Set the printer you want as default manually for a smooth printing experience.
- Knowing how to adjust printer settings helps avoid printing mistakes and saves time.
If you want to learn more about managing printers, here is a helpful official guide from Microsoft: Set a printer as the default printer in Windows 11
Leave a Reply Cancel reply