
This article explains how to rename a microphone in Windows 11.
A microphone is an input device that captures sound on your computer. It lets you record audio or communicate through your computer systems.
By default, Windows will assign a name for microphones connected to your device. This typically will resemble the brand or model name of the microphone.
If you don’t like the default name provided in Windows, you can change it to suit your needs.
Renaming a microphone on Windows can help you organize and identify multiple audio inputs, especially if you have various microphones connected, such as an external mic, headset, or camera mic. This makes selecting the correct input for recording or communication purposes easier.
The steps below walk you through renaming your microphone on Windows 11.
Rename the microphone in the Settings app
As mentioned, you can rename your microphone on Windows 11.
Here’s how to do it.
First, open the Windows Settings app.
You can do that by clicking on the Start menu and selecting Settings. Or press the keyboard shortcut (Windows key + I) to launch the Settings app.
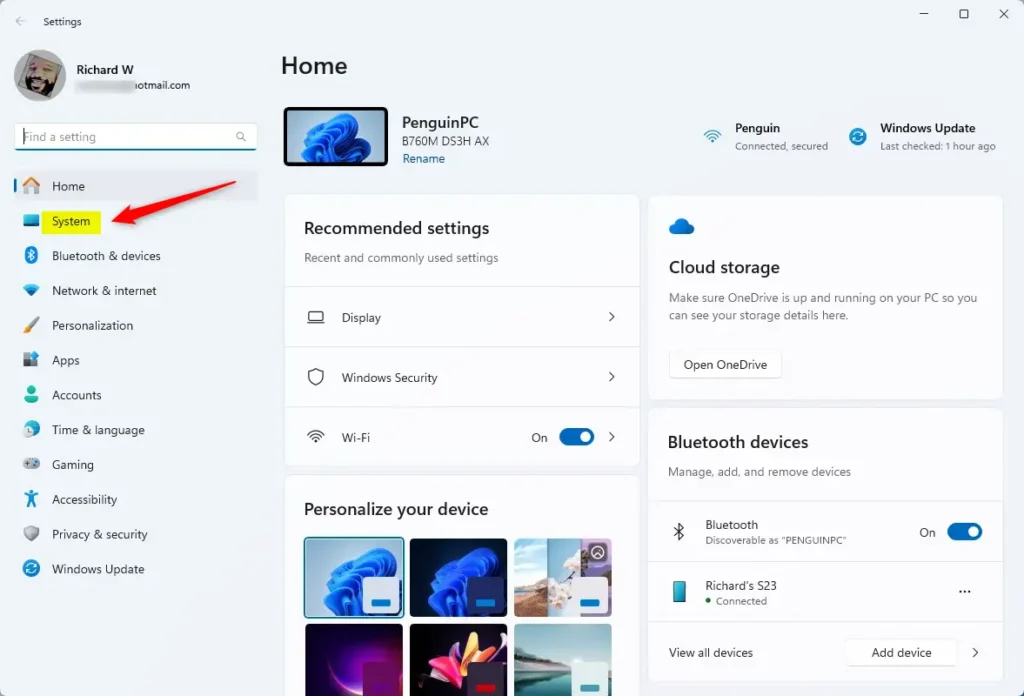
When the Setting app opens, click the System button on the left.
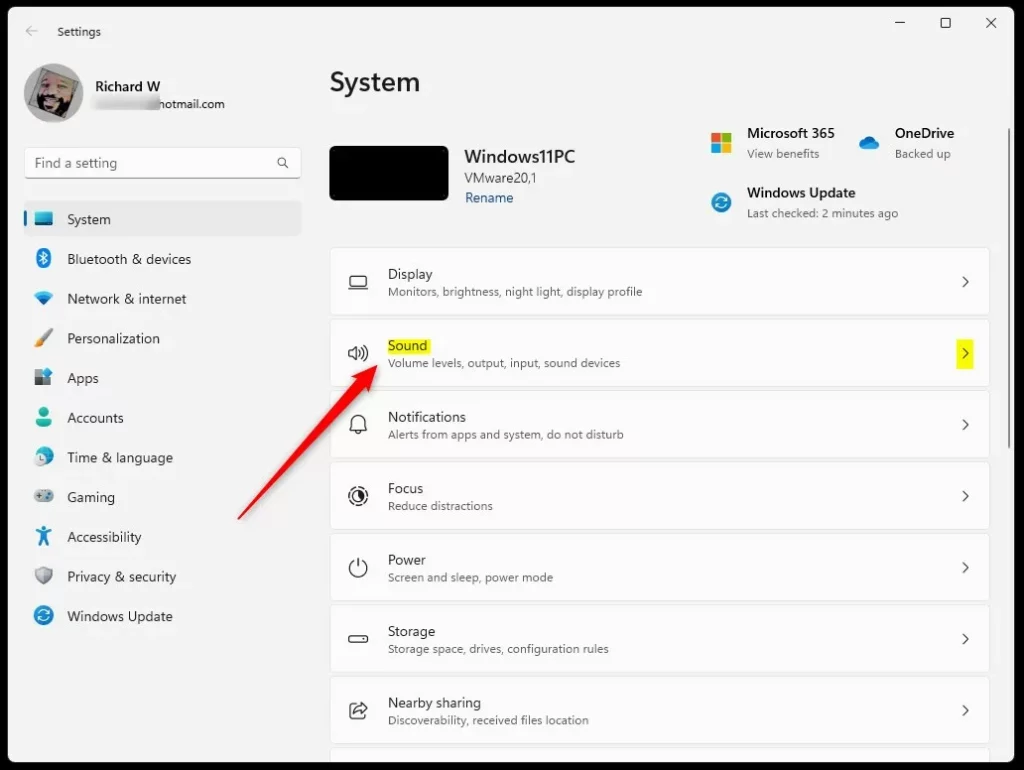
On the right, select the Sound tile to expand it.
Select the “All sound devices” tile under Advanced on the Sound settings pane to expand it.
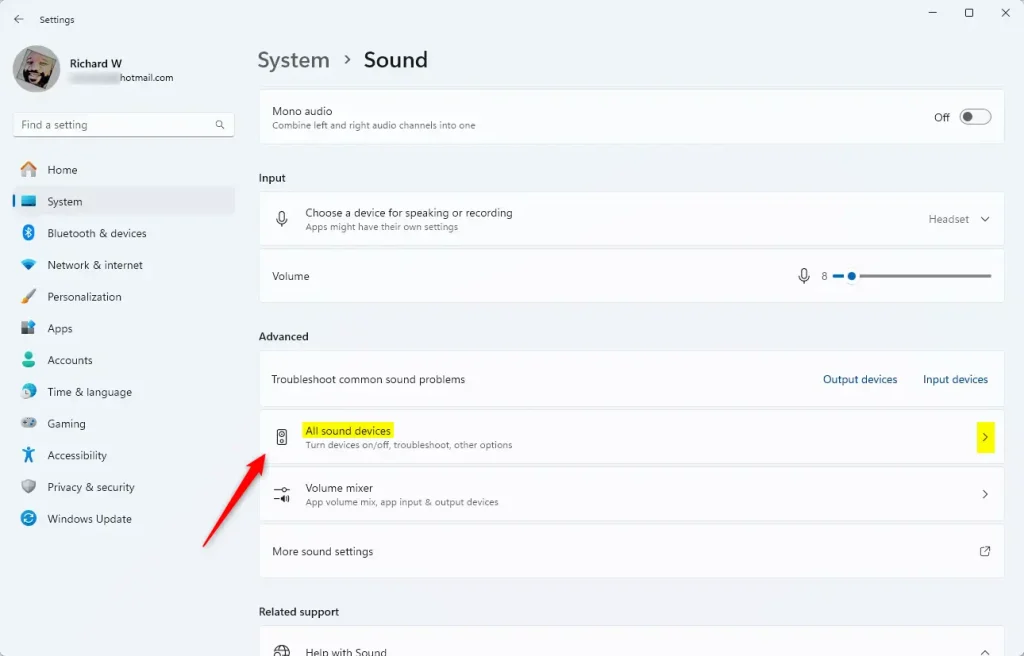
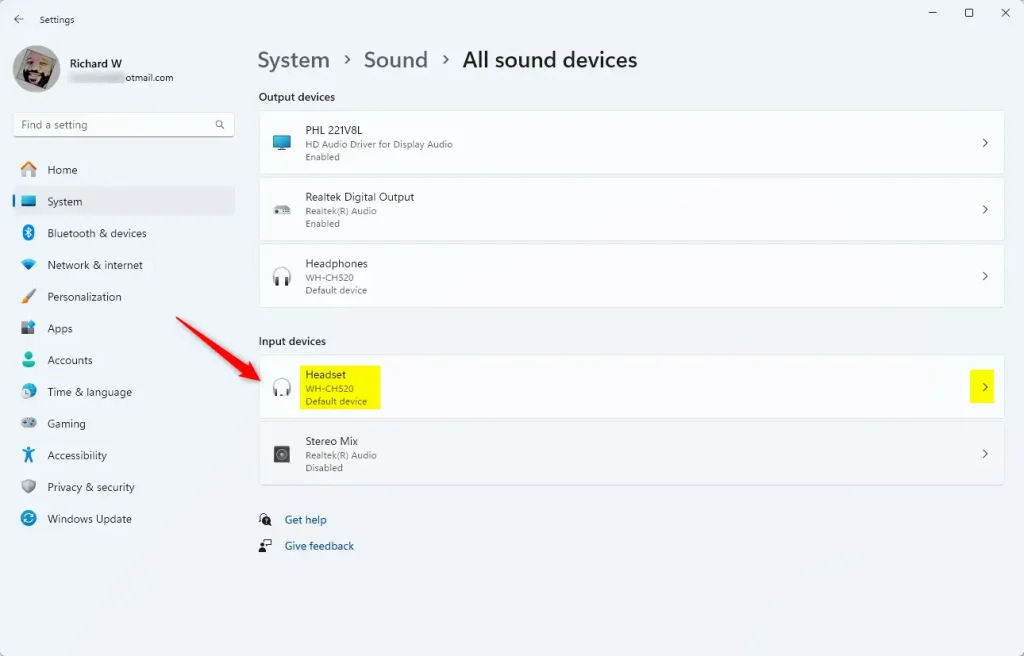
On the “All sound devices” pane, under Input device, select the microphone device you want to rename from the list.
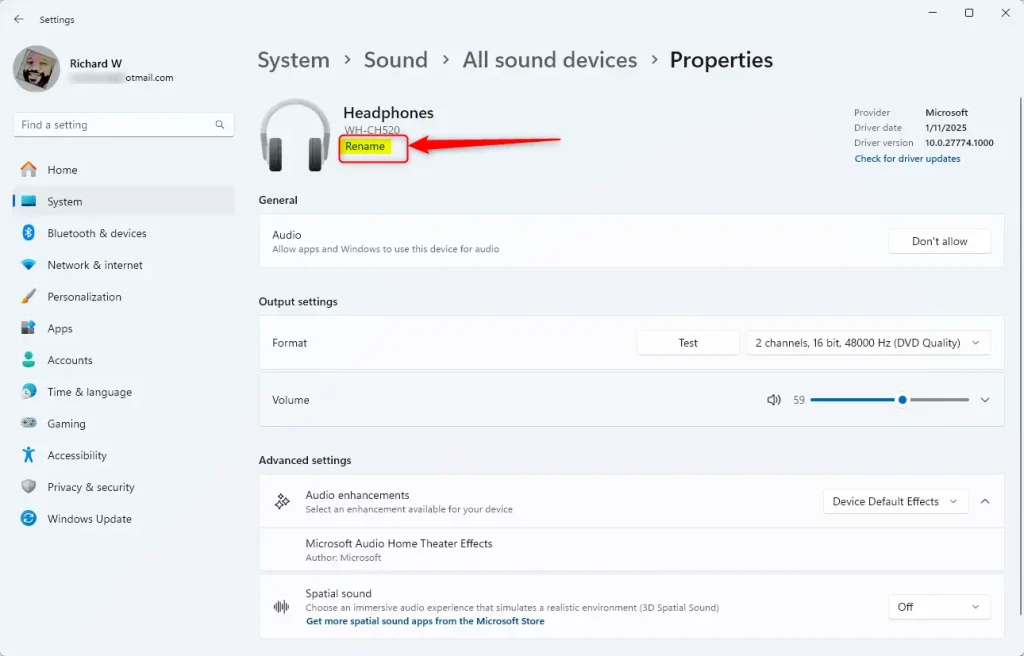
On the device properties page, click the “Rename” link under the device name you want to rename.
Enter a new name you want to use and save your changes.
Close the Settings app when you are finished.
Rename a microphone from the Control Panel
Another way to rename your microphone in Windows is to use the Control Panel app.
To do that, first, open the Control Panel app.
Then, browse to Control Panel > Hardware and Sound > Sound.
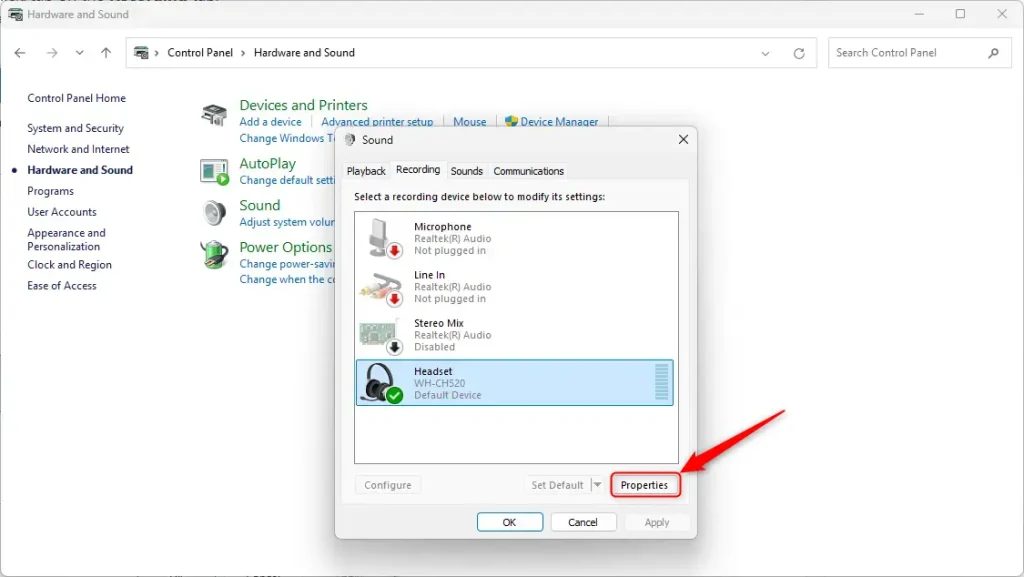
On the Sound pop-up window, under “Recording,” select the microphone you want to rename and click “Properties.”
Type in a new name and click Apply.

That should do it!
Conclusion:
Renaming your microphone in Windows 11 can significantly enhance your user experience and organization. Following the steps outlined above, you can tailor device names to suit your needs better. Here are the key takeaways:
- Customization: Personalize microphone names to reflect their usage or type.
- Organization: Easily identify multiple audio input devices among various connected microphones.
- Improved Workflow: Streamline your recording or communication tasks by selecting the desired input quickly.
- Accessibility: Access the renaming options through the Settings app and Control Panel for convenience.
- User-Friendly: The process is straightforward and requires minimal time to complete.
By renaming your microphones, you’ll enhance the efficiency and ease of managing your audio devices in Windows 11.


Leave a Reply Cancel reply