
This article describes the steps to move apps installed from the Microsoft Store to another drive on Windows 11.
There are two main types of apps one can install in Windows. Apps from the Microsoft Store and standalone apps that are packaged with their installers, typically from third-party vendors.
Apps from the Microsoft Store can be moved between drives. Transferring apps to a larger drive can help free up space when your system storage is low.
The apps you download and install from the Microsoft Store are saved on the “Windows (C:)” drive within the %ProgramFiles%\WindowsApps and %LocalAppData%\Packages folders by default.
You can relocate Microsoft Store app packages to any internal or external NTFS drive, including SD cards and USB drives.
How to move apps to another drive on Windows 11
Apps from the Microsoft Store can be moved to different drives. Transferring apps to a larger drive helps reclaim storage space when your system is low on space.
Here’s how to do that in Windows 11.
First, open the Windows Settings app.
You can do that by clicking on the Start menu and selecting Settings. You can also use the keyboard shortcut ( Windows key + I ).

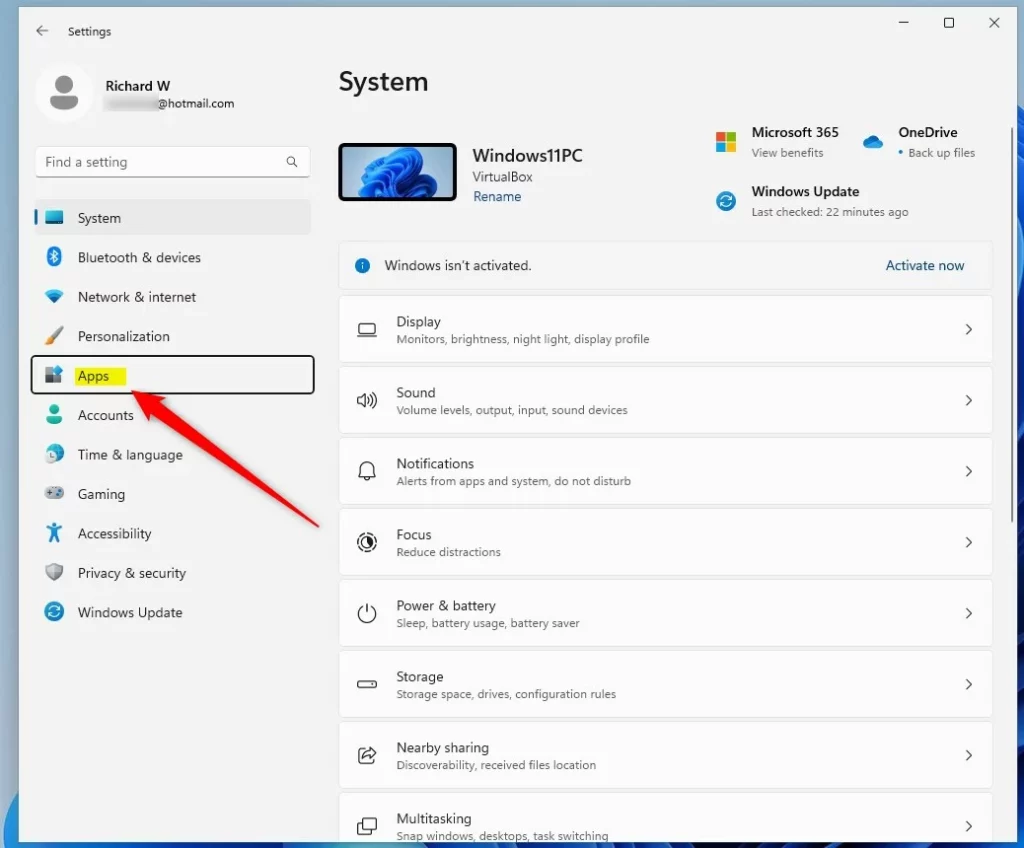
When the Settings app opens, click the Apps button on the left.
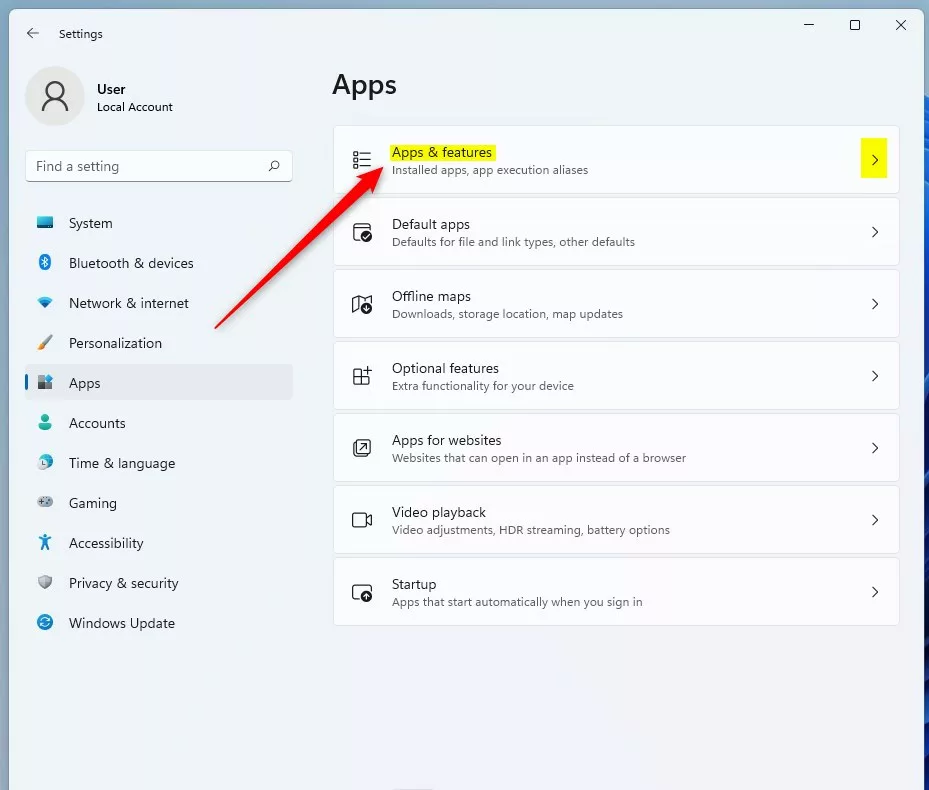
On the right, click Apps & features tile to expand.
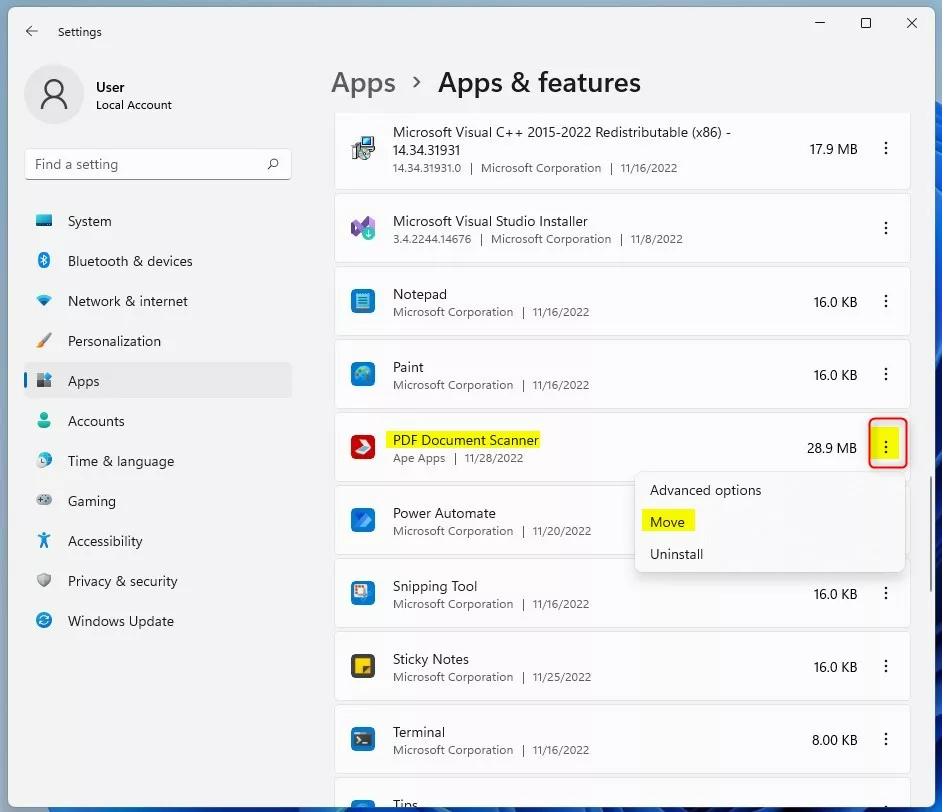
On the Apps -> Apps & features settings pane, locate the Windows Store app you want to move to another storage drive.
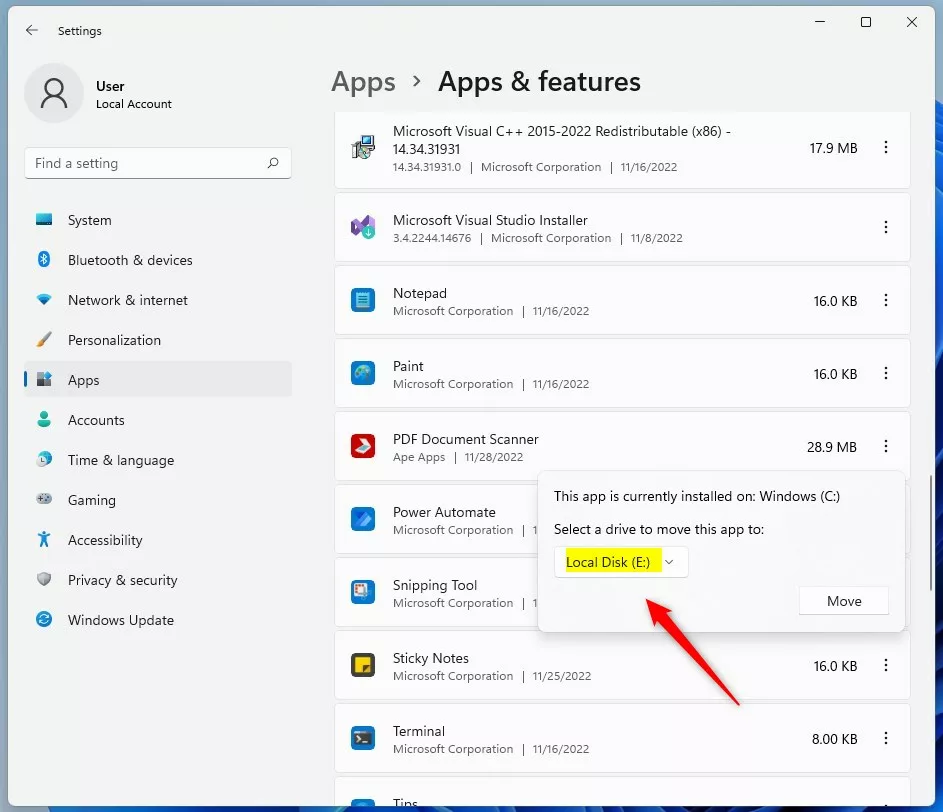
Then click on the app’s options menu ( 3 vertical dots ) and select Move.
When you click the Move command, a pop-up window will notify you that the app is currently installed on Windows (C:).
Choose the drive you want to move to the app to. Then, select the drive, and click the Move button.
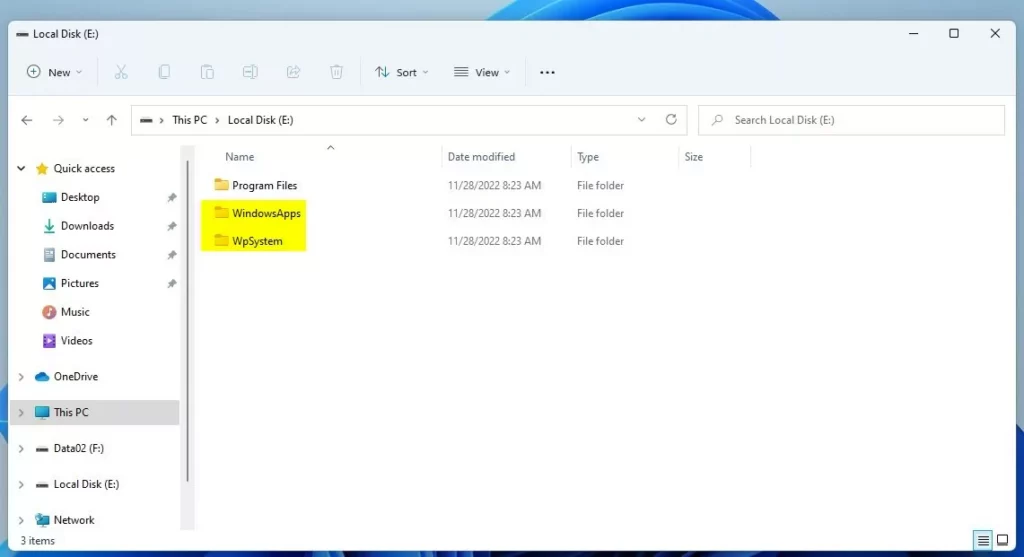
The app will be moved to the drive you specified. Two new folders WindowsApps and WpSystem, will be created at the root of the drive you specified.
That should do it!
Conclusion:
- Moving Microsoft Store apps from one drive to another in Windows 11 can effectively reclaim free space on the system storage.
- The process involves accessing the Windows Settings app, navigating to the Apps & features settings pane, and selecting the app to be moved.
- After choosing the new storage drive, the app will be relocated, creating two new folders at the root of the specified drive: WindowsApps and WpSystem.
This method offers a practical solution for users running low on system storage, allowing them to optimize the space allocation for Microsoft Store apps.


Leave a Reply Cancel reply