

This article explains how to install Zabbix with Apache support on Ubuntu 24.04.
Zabbix is an open-source monitoring solution designed to track and monitor the status of various network services, servers, and hardware.
Apache is a widely-used web server that can serve this front end, making it accessible via a web browser. Ubuntu is a popular choice for server environments, and installing Zabbix on it with Apache ensures compatibility and stability.
Installing Zabbix with Apache support on Ubuntu enables a robust, flexible, and accessible monitoring solution suitable for small-scale and enterprise-level environments.
Install PostgreSQL server
Zabbix uses databases to store its content and supports SQL databases like MySQL and PostgreSQL.
For this post, we’re going to be using the PostgreSQL database to use with Zabbix.
Run the command below to install PostgreSQL.
sudo apt update
sudo apt install postgresql postgresql-contrib
After the installation, run the command below to enable PostgreSQL services to start up automatically and check the PostgreSQL service status.
sudo systemctl is-enabled postgresql
sudo systemctl status postgresql
Please read the post below for more information about installing PostgreSQL and using it on Ubuntu.
How to install PostgreSQL on Ubuntu
Install Zabbix packages
With Apache support, you must install some required packages to install Zabbix on Ubuntu.
First, download and install the Zabbix repository for Ubuntu by running the command below.
wget https://repo.zabbix.com/zabbix/7.0/ubuntu/pool/main/z/zabbix-release/zabbix-release_latest+ubuntu24.04_all.deb
Next, run the command below to install the Zabbix repository.
sudo dpkg -i zabbix-release_latest+ubuntu24.04_all.deb
After adding a new repository, you must refresh your package index by running the command below.
sudo apt update
With the Zabbix repository installed on Ubuntu, you can run the command below to install these packages from the repository.
sudo apt install zabbix-server-pgsql zabbix-frontend-php php8.3-pgsql zabbix-apache-conf zabbix-sql-scripts zabbix-agent
With this command, you’ll install the following packages:
- Zabbix with PostgreSQL database support
- Zabbix web application or frontend
- PHP and modules, including the ‘pgsql’ module for the PostgreSQL driver
- Apache and configuration for Zabbix
- Zabbix SQL scripts
- Zabbix agent for monitoring the Zabbix system
Configure Zabbix
With all the packages to support Zabbix installed, you can continue configuring the Zabbix environment.
First, create a new database and account to use with Zabbix.
Run the two commands below to create a new PostgreSQL user and database called ‘zabbix‘.
When prompted, create a password for the account.
sudo -u postgres createuser --pwprompt zabbix
sudo -u postgres createdb -O zabbix zabbix
After creating the database and user, run the following command to import the database schema to the database created.
Confirm the password created above.
zcat /usr/share/zabbix-sql-scripts/postgresql/server.sql.gz | sudo -u zabbix psql zabbix
You’ll see a success message if everything works.
Next, run the command below to open Zabbix configuration ‘/etc/zabbix/zabbix_server.conf‘.
sudo nano /etc/zabbix/zabbix_server.conf
Change the default configuration of ‘DBName‘, ‘DBUser‘, and ‘DBPassword‘ with your PostgreSQL database details.
### Option: DBName
# Database Name
# Mandatory: yes
# Default:
# DBName=

DBName=zabbix

### Option: DBUser
#Database user.
# Mandatory: no
# Default:
# DBUser=

DBUser=zabbix

### Option: DBPassword
#Database password.
# Mandatory: no
# Default:
 DBPassword=Type_DBuser_password
Save the file and exit the editor when finished.
Restart Zabbix services
PostgreSQL and Apache should be configured and ready. However, you must restart Zabbix services.
Run the commands below to restart the services.
sudo systemctl restart zabbix-server zabbix-agent apache2
sudo systemctl enable zabbix-server zabbix-agent apache2
You can check the status when the services are restarted by running the command below.
sudo systemctl status zabbix-server zabbix-agent apache2
Access Zabbix
Zabbix services should be configured and running. Now, open your browser and browse to the server’s hostname to access the installation wizard.
http://localhost/zabbix
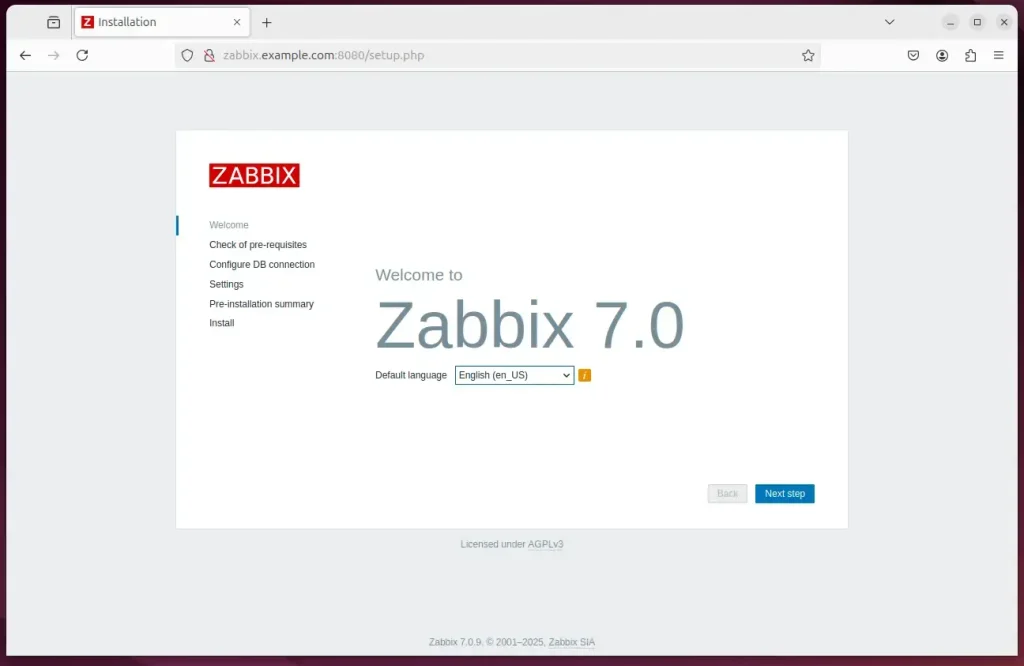
Select the installation language and continue.
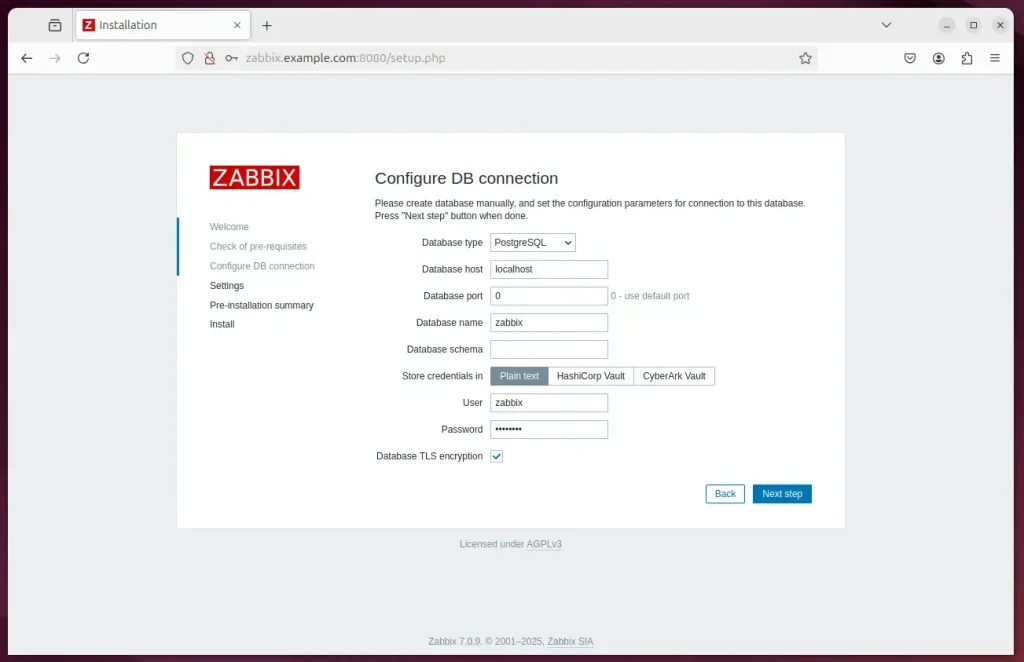
Configure the database
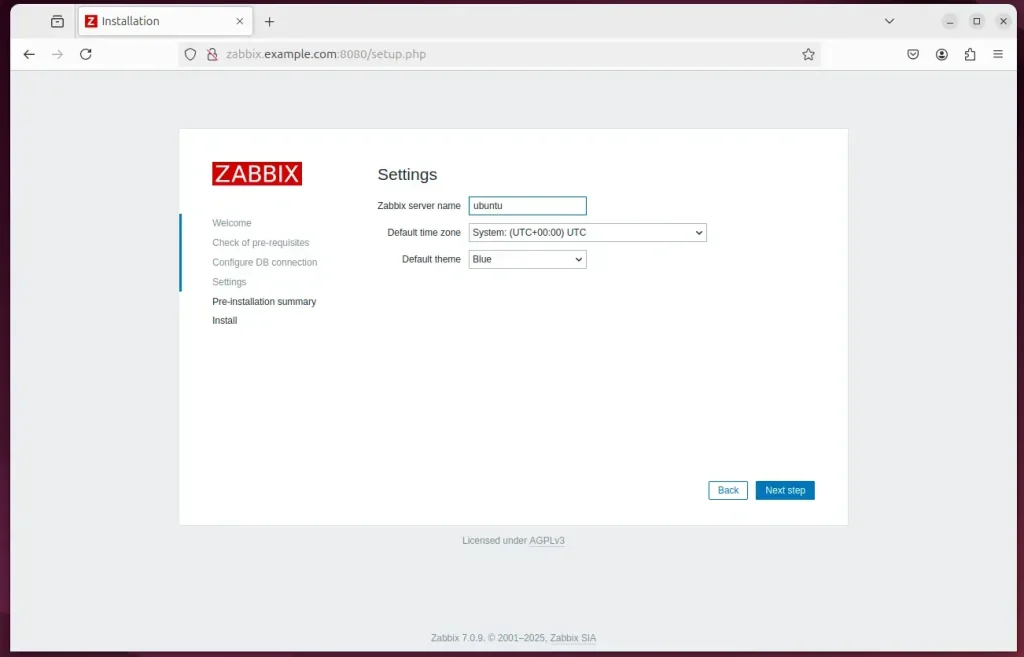
Type in the server name and continue.
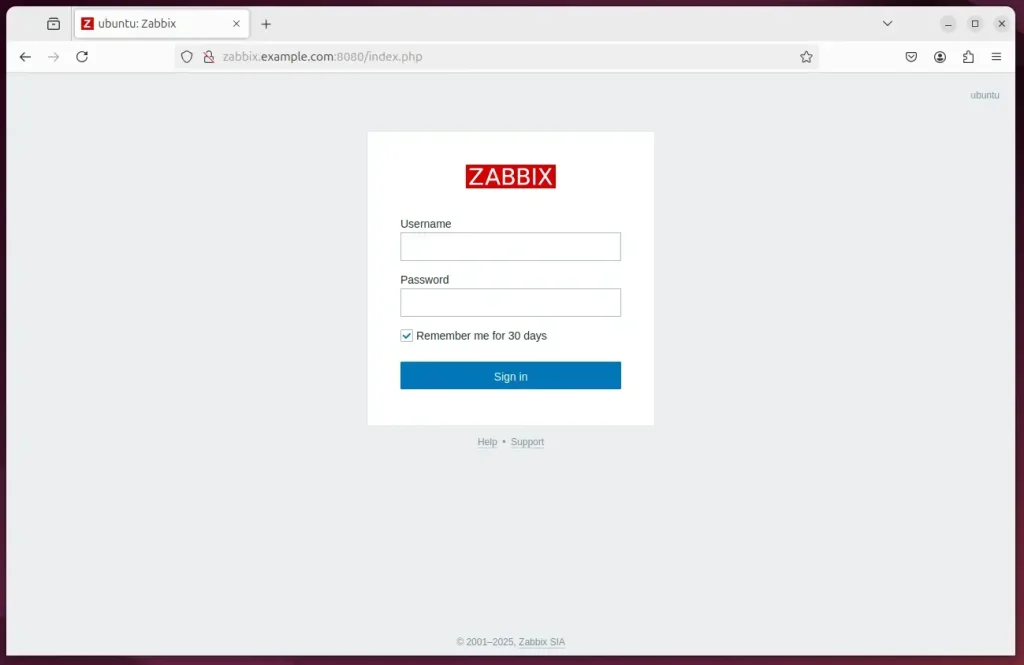
Zabbix should be installed and ready to use.
Enter the default account below and sign in.
- Username: Admin
- Password zabbix
That should do it!
Conclusion:
In summary, installing Zabbix with Apache support on Ubuntu 24.04 is a straightforward process that provides a powerful monitoring solution. Here are the key takeaways:
- Open-source Solution: Zabbix is a robust, open-source tool for monitoring network services, servers, and hardware.
- Compatibility: Installing Zabbix on Ubuntu with Apache ensures compatibility and stability in your server environment.
- Database Support: The installation process involves setting up PostgreSQL as the database backend for Zabbix.
- Package Installation: Essential Zabbix packages and dependencies, such as the Zabbix server, frontend, and agent, are easily installed via the repository.
- Configuration Simplicity: Configuring the application is straightforward, including creating a PostgreSQL user and database.
- Access to Monitoring: Once setup is complete, you can access the Zabbix web interface through your browser, allowing easy monitoring and management.
- Default Credentials: Users can log in using default credentials, enabling quick access after installation.
By following the steps outlined in this guide, you can effectively monitor your systems with Zabbix on Ubuntu.

Leave a Reply