

This guide shows you how to install XAMPP on your Windows 11 computer. It’s easy to do, even if you’ve never done it before.
What is XAMPP?
XAMPP is a free program. It lets you run a web server on your own computer. A web server is the software that displays websites. XAMPP includes everything you need to build and test websites and apps using PHP and databases. You don’t need the internet to use it.
What Does XAMPP Stand For?
- X = Works on many types of computers (Cross-platform)
- A = Apache web server (shows websites)
- M = MariaDB database (stores your website data)
- P = PHP programming language (makes websites work)
- P = Perl programming language (another coding language)
With XAMPP, you can create and test your website on your computer before putting it online.
Why Use XAMPP?
Testing on your own computer is safer. You don’t have to worry about breaking a live website. You can learn web development without paying for hosting. You can work offline.
Installation Steps
Step 1: Download XAMPP
Go to the official XAMPP download page. Find the Windows version. Choose the PHP version you want.
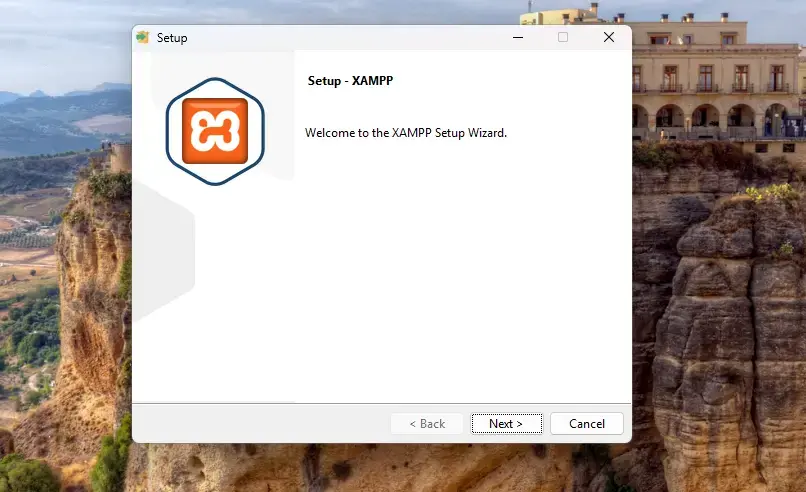
Step 2: Run the Installer
Open your Downloads folder. Double-click the installer file. The installer window will open.
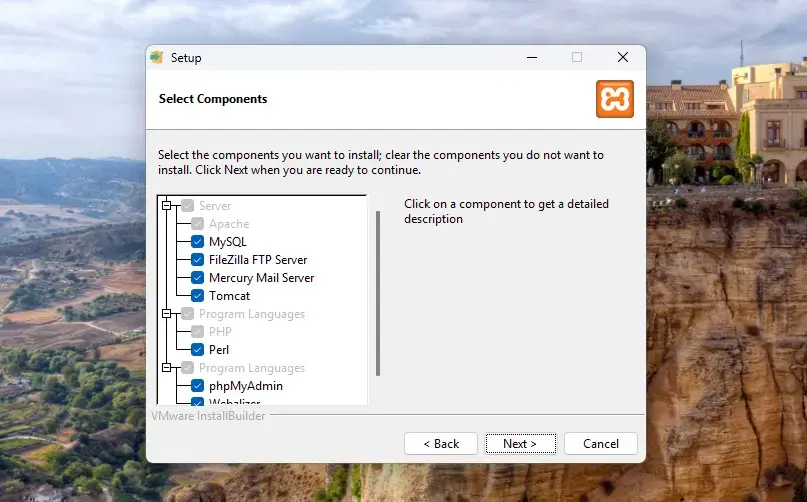
Step 3: Choose Components
The installer shows you different parts of XAMPP. You can pick which ones to install. If you’re not sure, leave the default choices. Click Next.
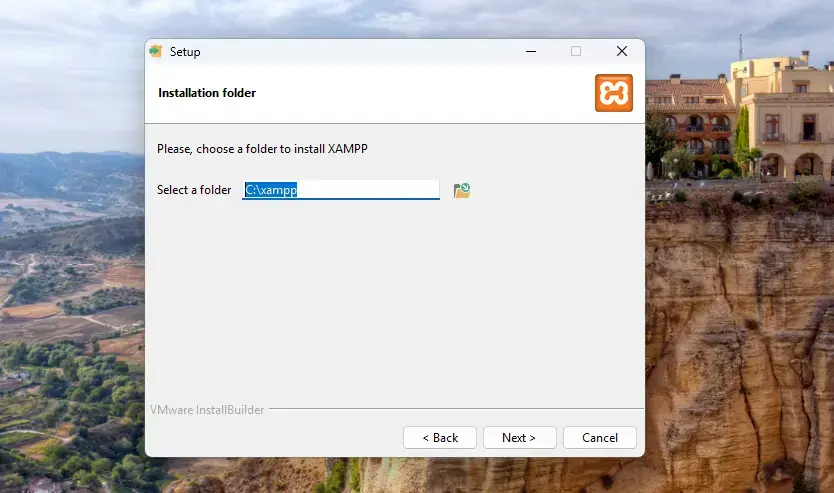
Step 4: Choose Installation Folder
The default folder is C:\xampp. Keep this folder. It’s the best place for XAMPP. Click Next.
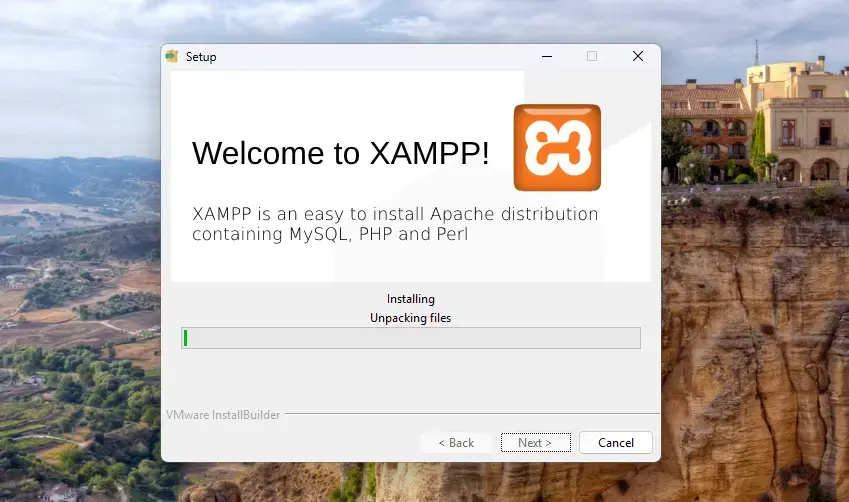
Step 5: Wait for Installation
The installer copies files and sets everything up. This takes a few minutes. Don’t close the window.
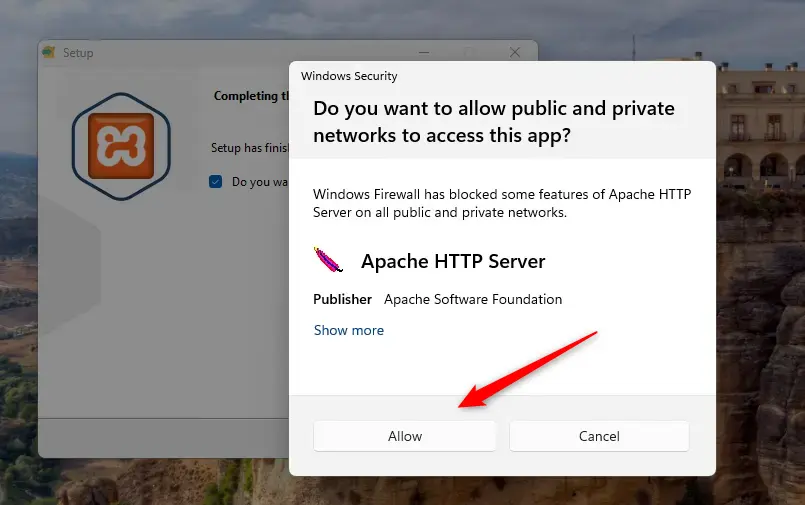
Step 6: Allow Apache Through Firewall [Admin Privileges Required]
Windows will ask for permission. Apache needs to run on your computer. Click Allow access. This lets your computer show websites.
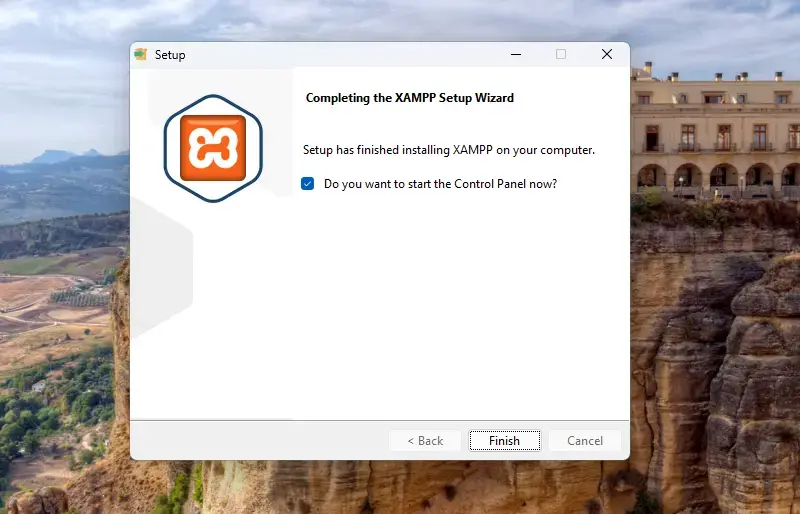
Step 7: Finish and Open XAMPP
When setup is done, click Finish. The XAMPP Control Panel opens automatically.
Using the XAMPP Control Panel
The Control Panel is your main tool. It starts and stops the web server (Apache) and database (MariaDB). You can click buttons to turn services on or off.
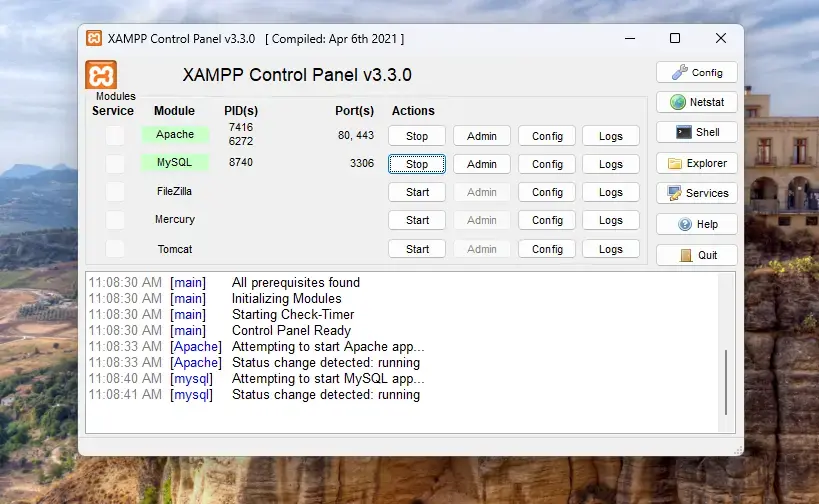
You can also click the Shell button. This opens a command window. Type these commands to start or stop all servers:
xampp\xampp_start.exe
xampp\xampp_stop.exe
Where to Put Your Website Files
Your website files go in C:\xampp\htdocs. Anything you put here can be viewed in your web browser. Create folders inside htdocs for different projects.
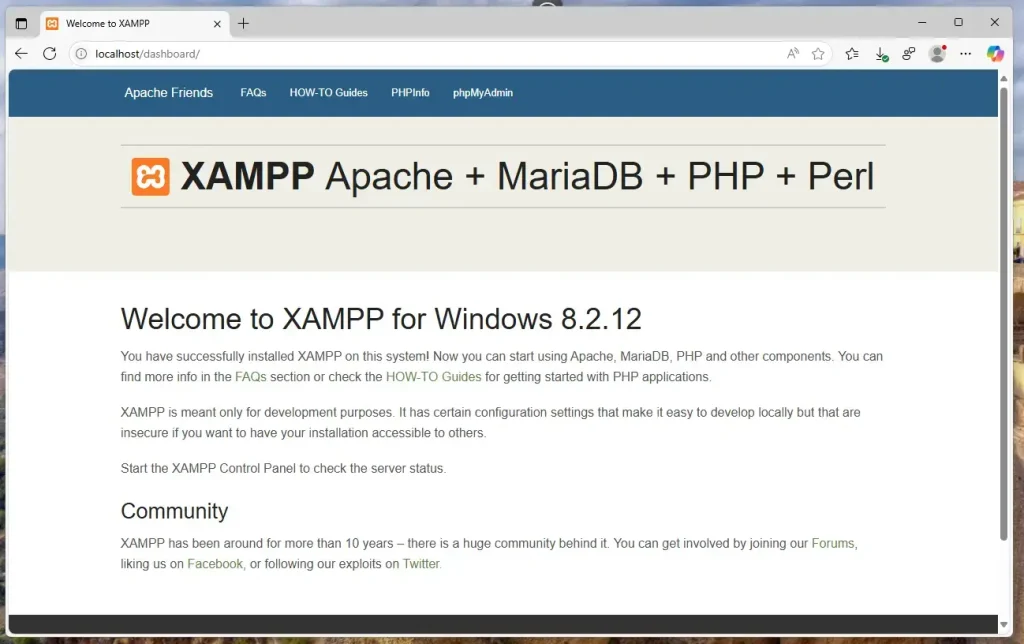
Test Your Web Server
Open your web browser. Type http://localhost in the address bar. You should see the XAMPP welcome page. This means everything is working.
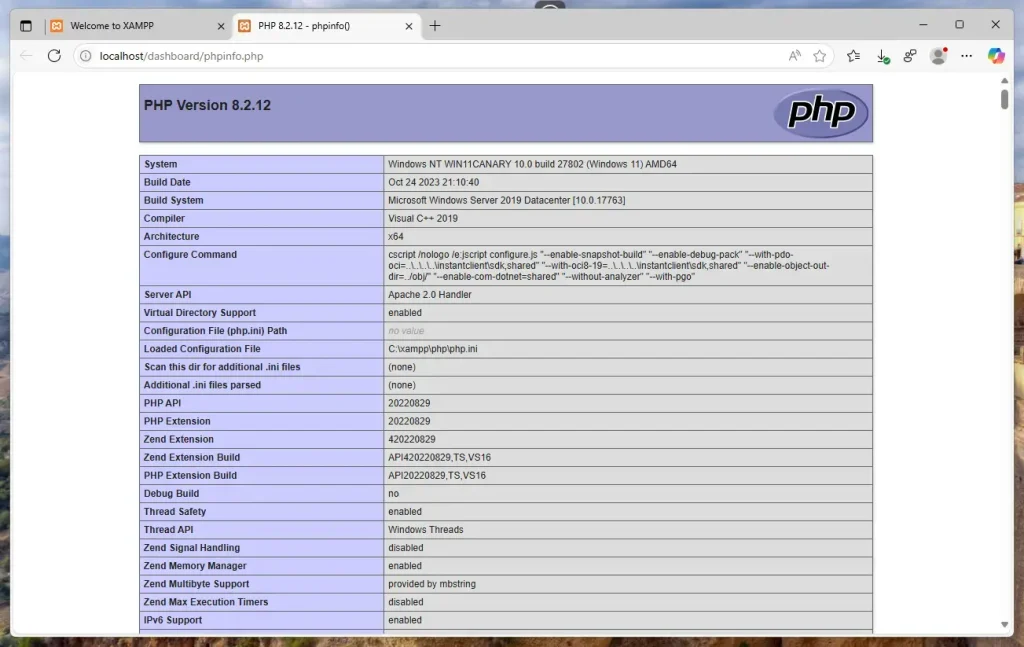
Click PHPInfo. This shows details about PHP on your computer.
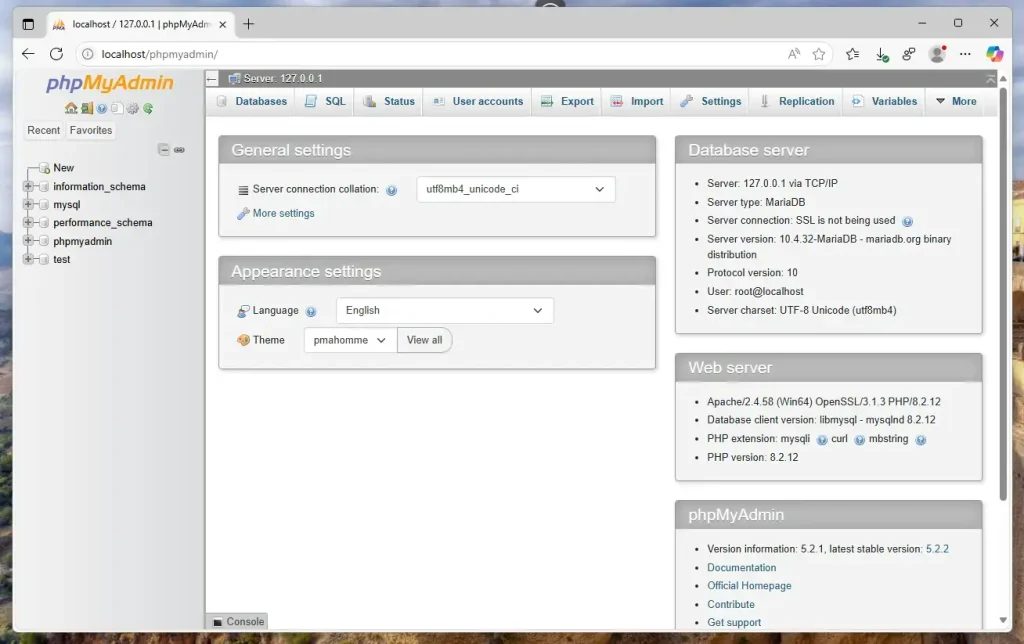
Click phpMyAdmin. This is where you manage your databases (MariaDB). It’s easy to use. You don’t need to type commands.
Summary
- XAMPP is a free program that runs a web server on your Windows 11 PC.
- It installs everything you need in one place.
- The Control Panel makes starting and stopping servers simple.
- You can manage PHP and databases with helpful web tools.
- XAMPP helps you build and test websites before sharing them online.
Now you’re ready to start creating your own websites locally with XAMPP!


Leave a Reply