
This brief tutorial shows students and new users how to install Windows 10 Pro on VirtualBox virtualization software.
There are several reasons to install Windows 10 on VirtualBox. Firstly, it allows you to run Windows 10 on a non-Windows system, such as a Mac or Linux machine. Secondly, it provides a safe and isolated environment to test software or perform other tasks without affecting the host machine.
It also allows you to create multiple virtual machines with different configurations and settings. Additionally, it is helpful for learning purposes, as you can experiment with other versions of Windows and practice troubleshooting techniques without the risk of damaging your primary operating system.
So, to get started with installing Windows 10 on VirtualBox, follow the steps below:
Create a Windows 10 Guest Machine
To run Windows 10 OS on VirtualBox, you’ll have to create a guest machine. Follow the guide below to create a Windows 10 guest machine.
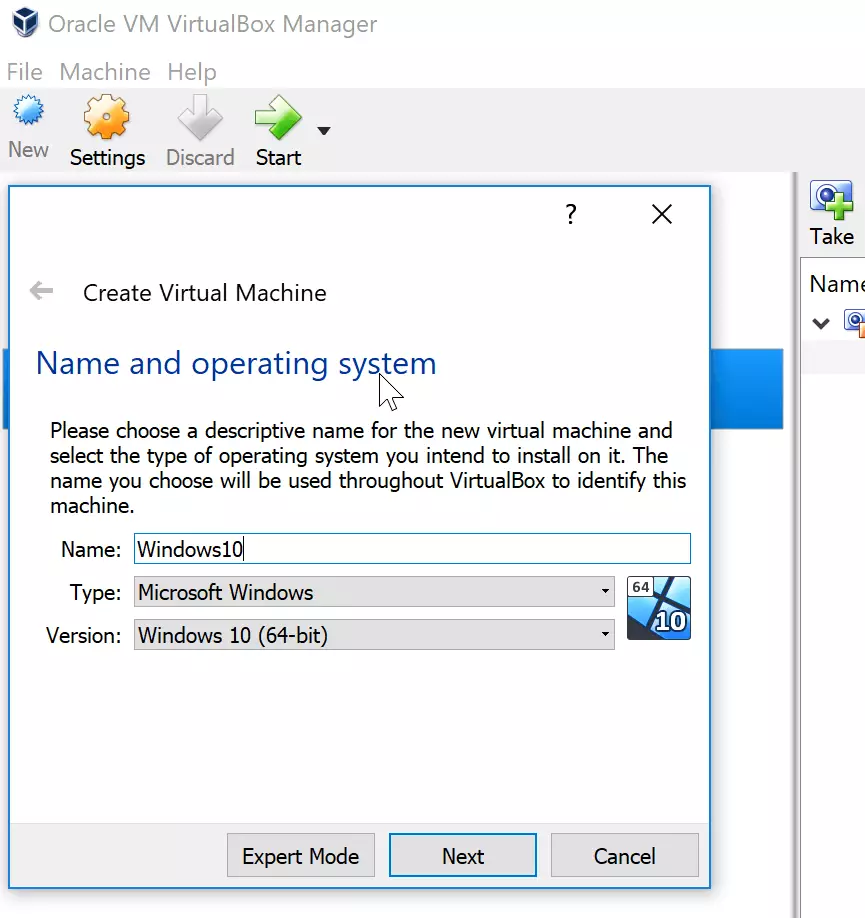
Open VirtualBox software and click New to create a new virtual machine. Then, type the machine name and select the type and the version, as shown in the image below. And click Next
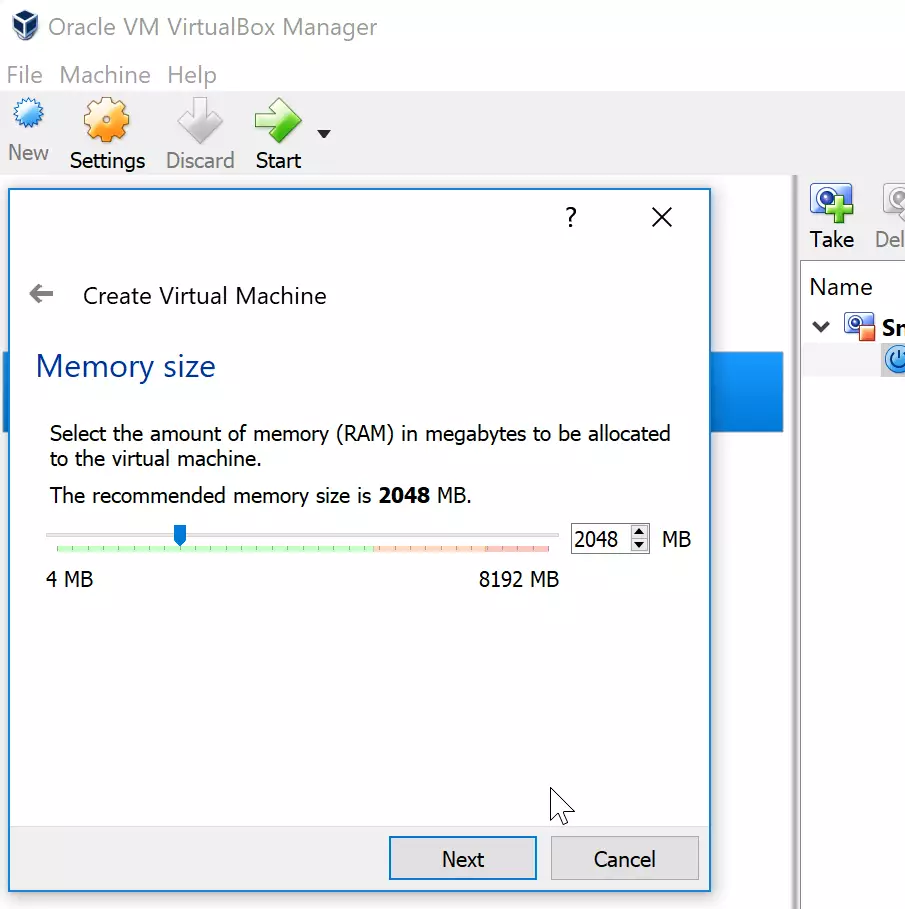
On the next screen, select the Memory size. The default and recommended values are Okay. Click Next to continue.
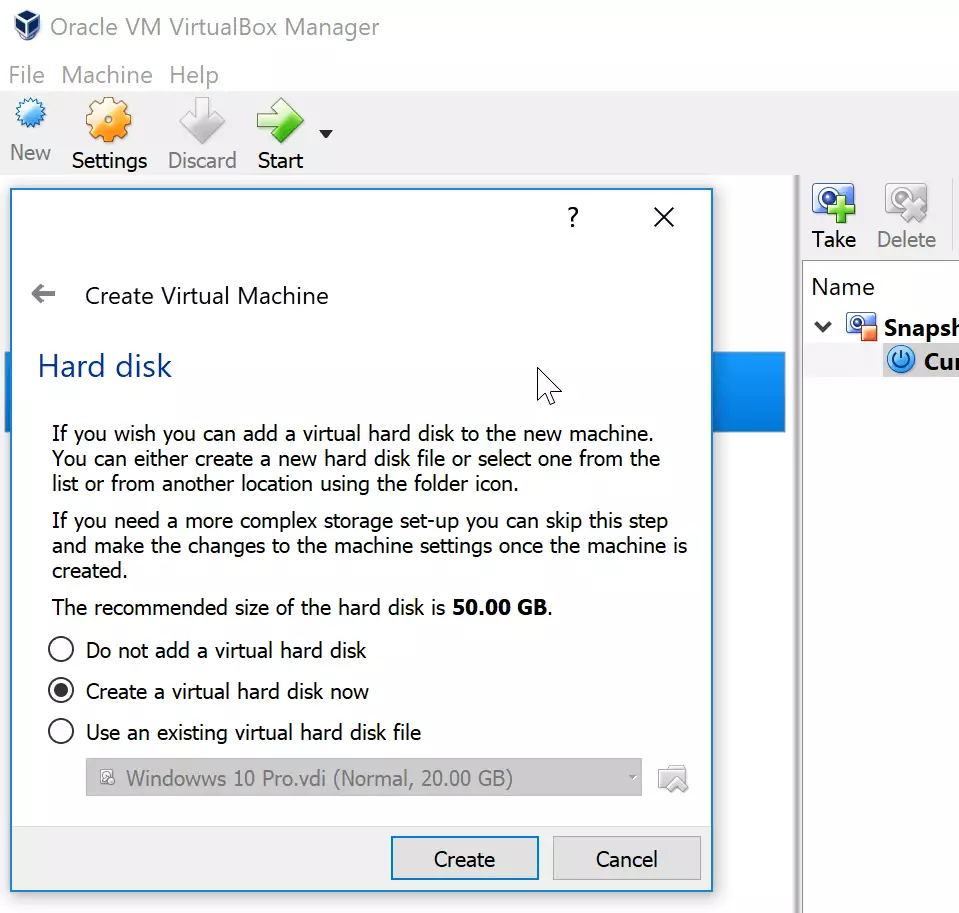
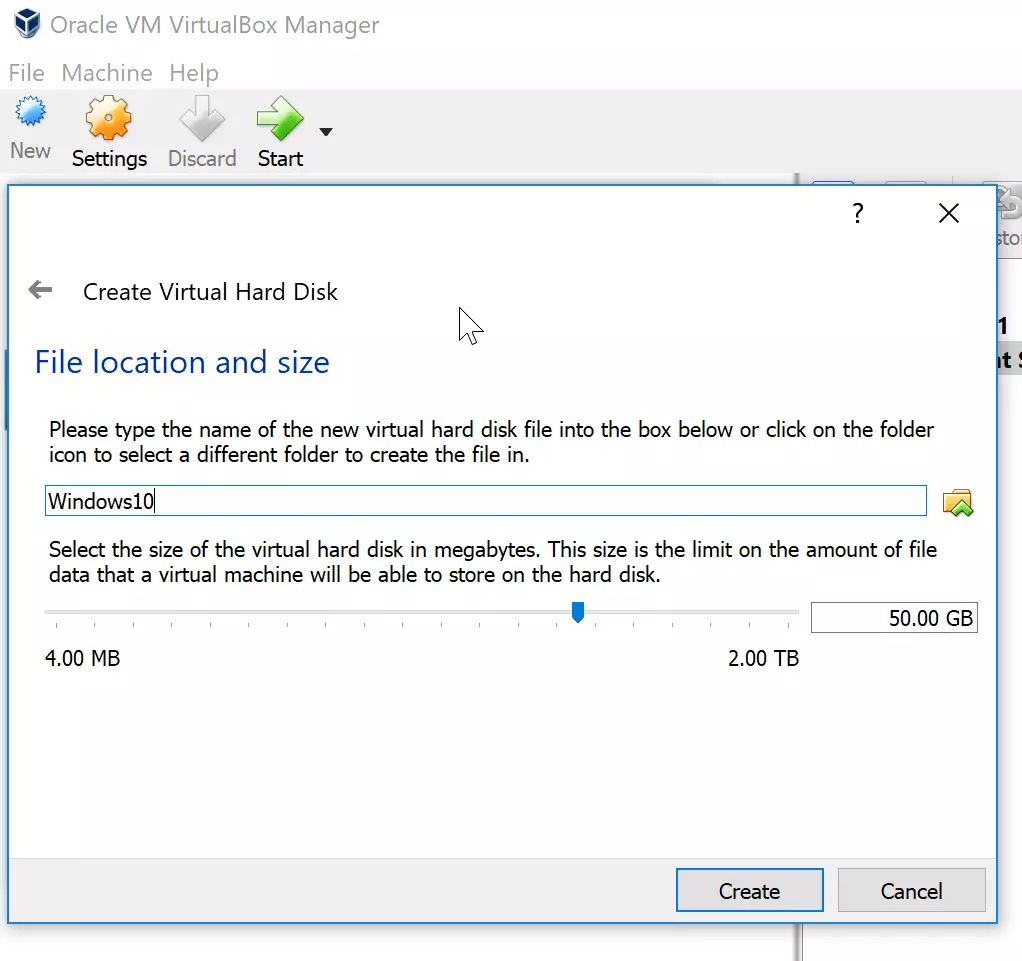
On the next screen, create a new virtual hard drive. The default and recommended values are also Okay. So click Next to continue.
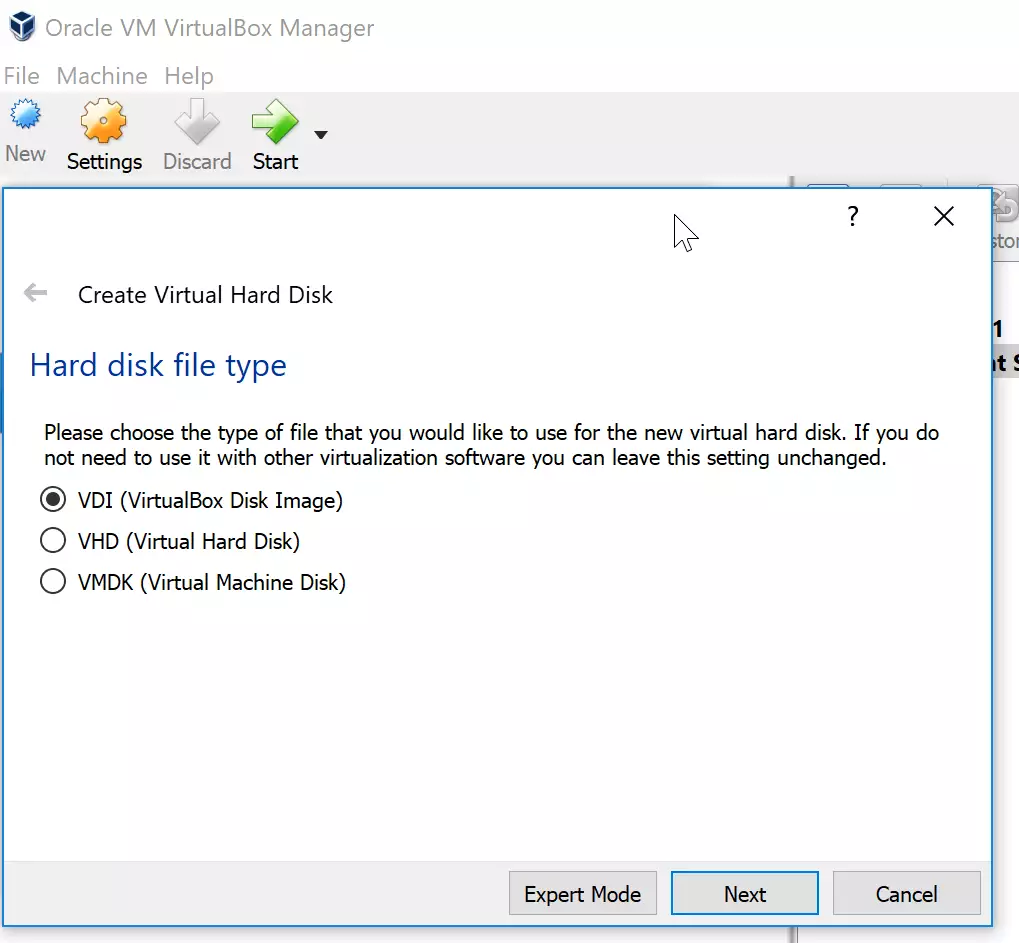
Then select the hard disk type. Again, the default VDI is recommended and selected by default. Continue to the next page.
Choose Dynamically Allocated Storage Disk on the next page and click Next to continue.

On the final screen, click Create to complete the guest machine creation.
 It would be best to have a blank guest machine without any operating system.
Install Windows 10 Pro
You may get Windows 10 Pro on a DVD or an ISO image format. Windows 10 comes in either a 32-bit or 64-bit arch. Whichever version you have, insert the DVD or copy the ISO image on the host computer running VirtualBox software.
Next, click the guest machine settings and go to Storage ==> Controller: SATA – Empty ==> Select the drive with the DVD or browse for the ISO image.
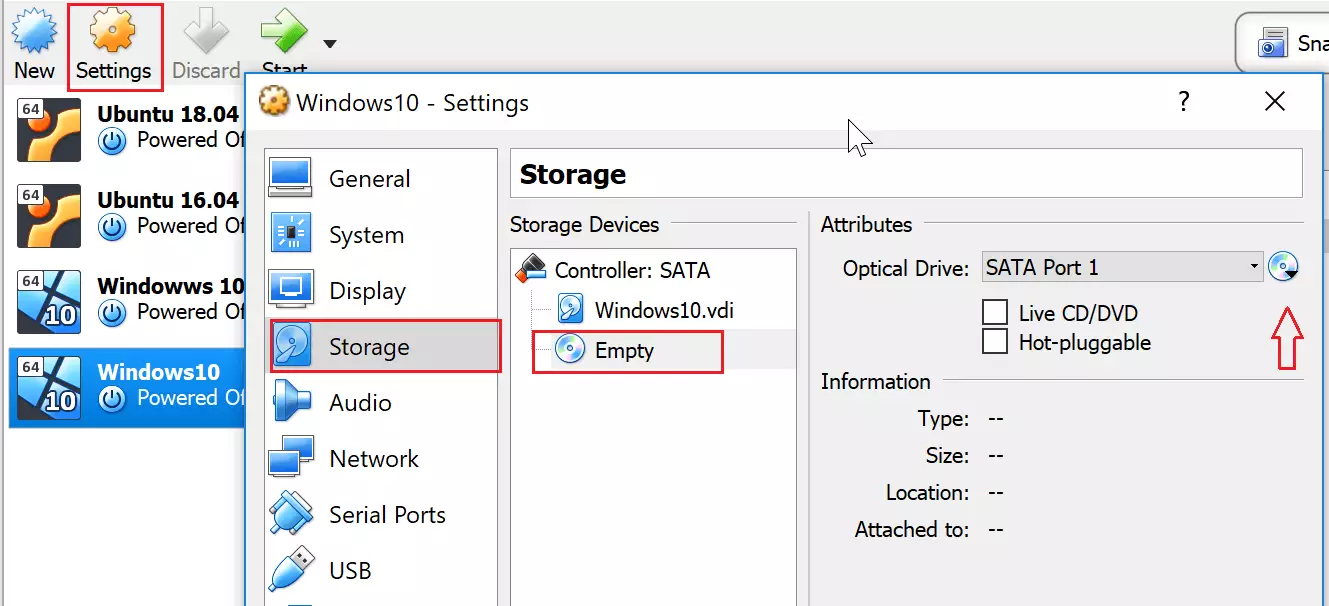
Save the settings and start the virtual machine.
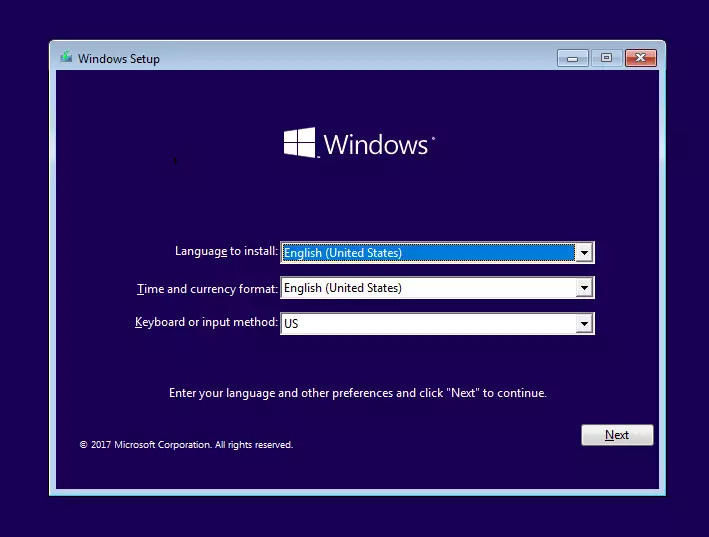
You should see the Windows 10 boot screen when you boot up, as shown below. Click Next to continue.
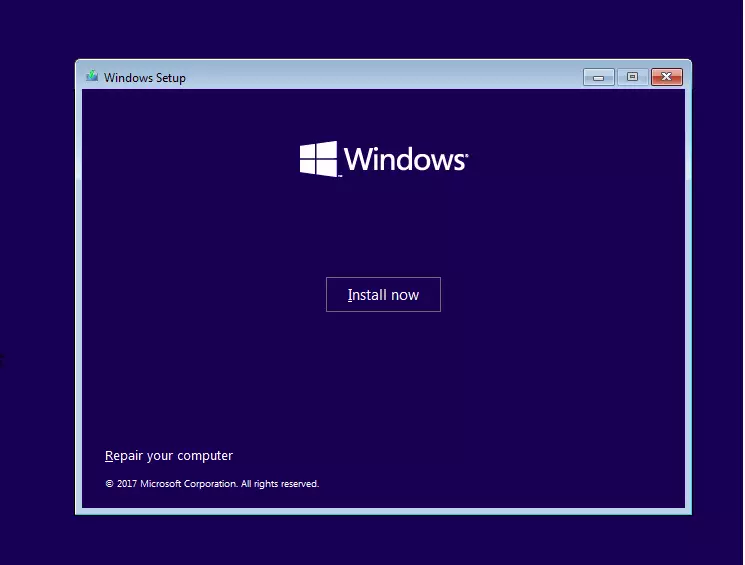
Then click Install Now to begin the installation.
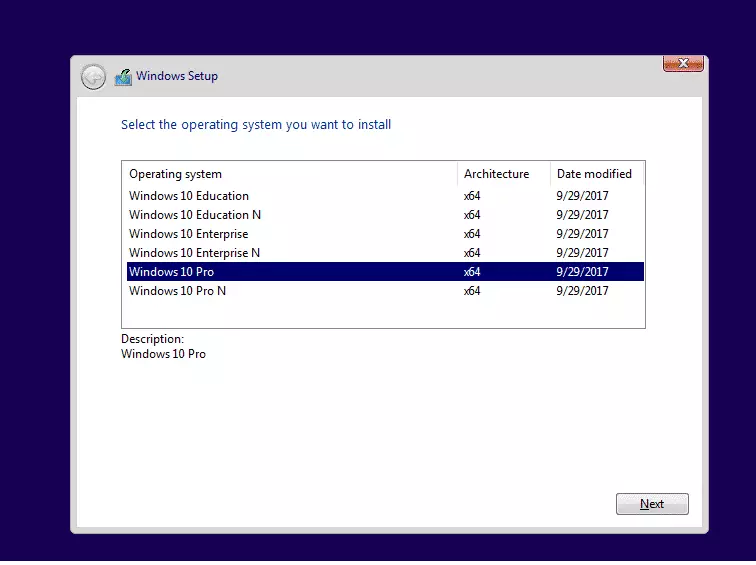
Select the operating system you wish to install on the next screen and click Next. You may not see the screen if a single OS is on the DVD.
Select Custom: Install Windows only (advanced) on the next screen and continue. 
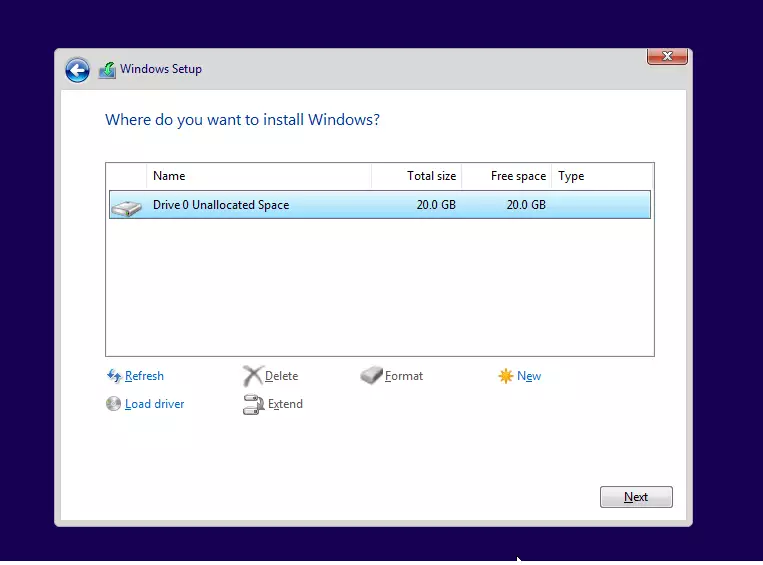
Next, choose the drive to install Windows 10 Pro and click Next to continue.
Then, wait for the installation to complete. This should take about 15 minutes, depending on the speed of the host computer.
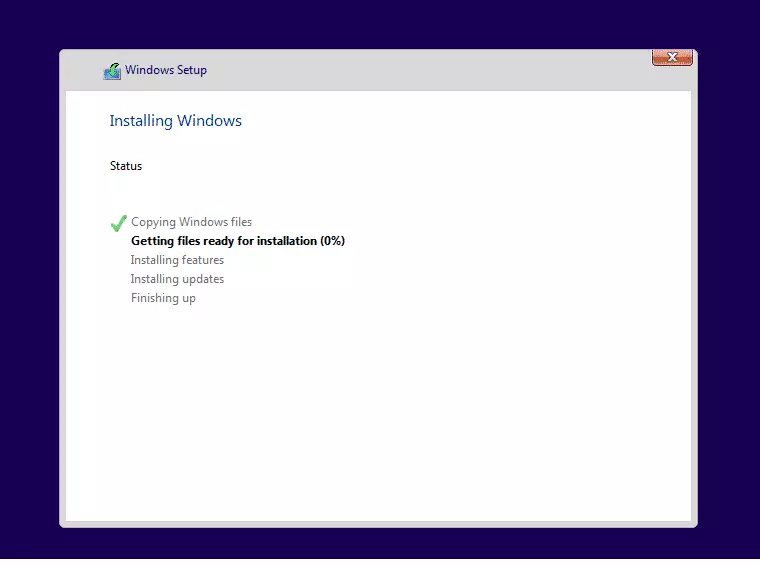
After installing, the computer may reboot.
Configure Windows 10 Pro
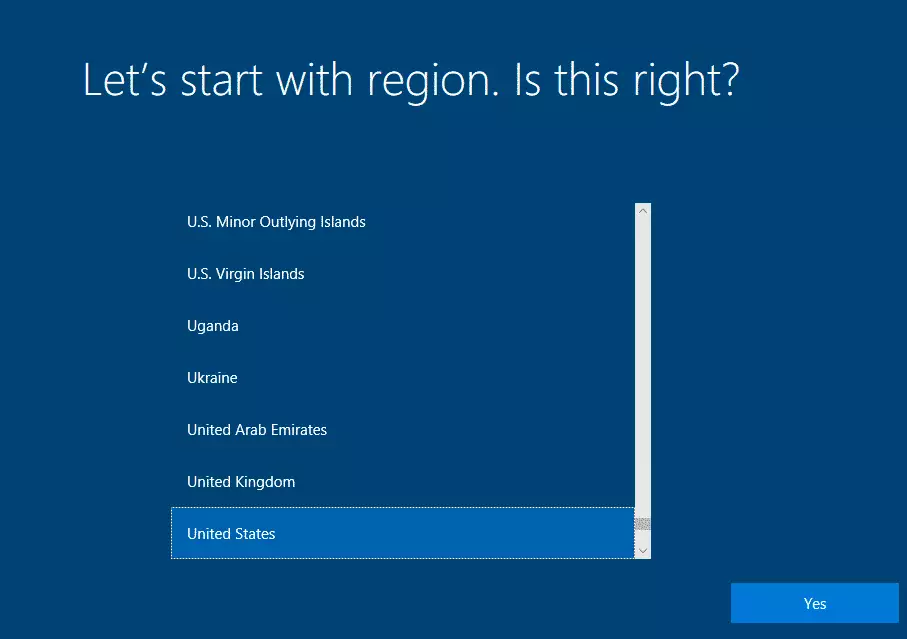
After the guest machine has rebooted, you can configure Windows 10. Choose your region (timezone) and continue.
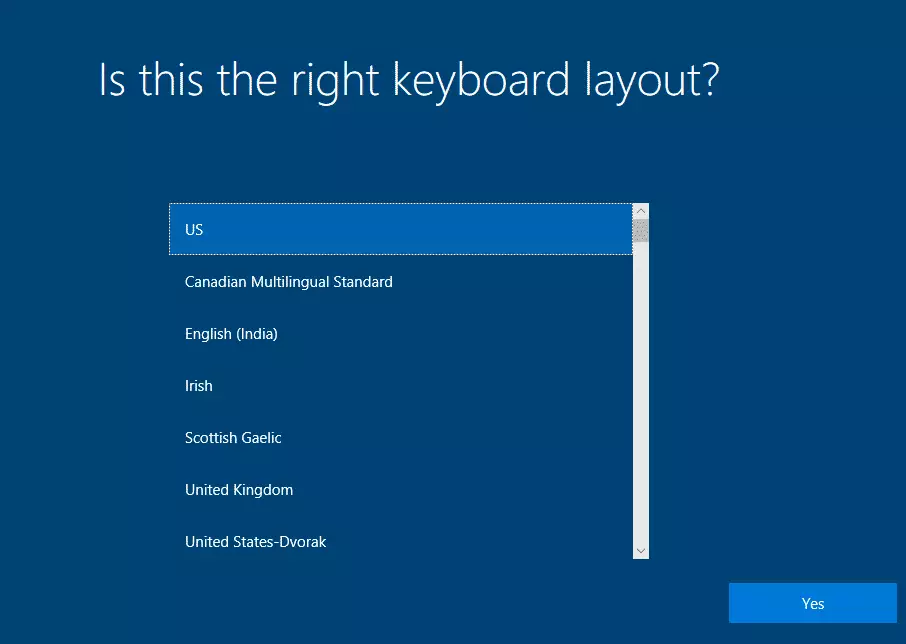
Next, select your keyboard layout and continue.
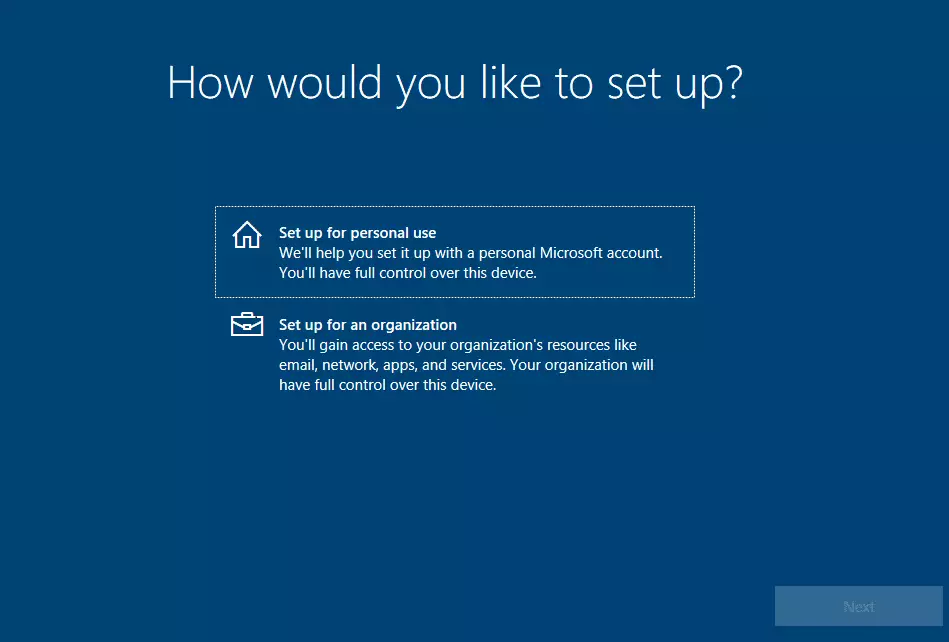
Then, choose the select to use. Personal use or for an organization—usually a business entity.
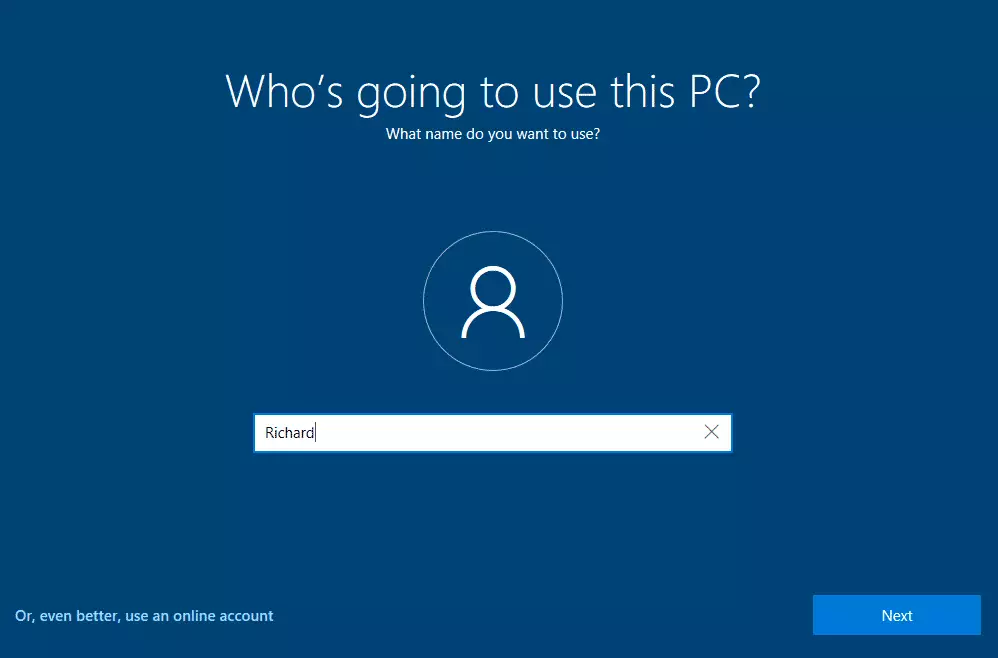
Next, create an offline account if you don’t want to use a Microsoft online account to log on. The offline account type is used in previous versions of Windows when you type a username and password to sign on to the computer.
You’ll then be prompted to create a username, password, and hint.
After that, choose to enable Cortina, accept the recommended settings, and finish the setup. After a few minutes, you’ll log on to Windows.
When you log on to Windows 10, you should first install VirtualBox guest additions software.

To do this, a virtual CD/DVD drive should be inserted into the guest’s machine. If you don’t get an installation launcher, browse File Explorer to the D drive and double-click it. This should start the installation. Reboot after that.
This is it. a new Windows 10 guest machine should be ready to use
Enjoy!
Leave a Reply