
This brief tutorial shows students and new users how to install Rocket easily. The chat server is on Ubuntu 16.04 | 18.04 LTS servers.
Rocket. Chat is an excellent open-source, free chat software solution that you can host on your servers in your environment. It’s considered an alternative to Slack and offers similar functionalities, including video chat and conferencing, file sharing, help ticketing systems, and many more.
Rocket.Chat brings teams together to collaborate on projects so work can get done as quickly and efficiently as possible. Whether you’re a small or large enterprise, this platform can help your team communicate and share ideas. These conversations will be available on desktop and mobile devices, and everywhere you have the Rocketed chat app installed.
For more about Rocket. Chat, please visit its homepage.
Some of the features available are listed below:
- Real-time translation
- Incoming and outgoing WebHook integrations to Rocket.Chat
- Live chat / Messaging call center / Audio Calls
- Powerful APIs
- File Upload and sharing
- Web, Desktop and Mobile applications for Linux, Android, iOS, Windows and Mac
- Remote Video Monitoring
- Custom themes, emojis, sounds, and company assets
- and many more…
When you’re ready to install Rocket. Chat, follow the steps below:
Install MongoDB
Rocket.Chat relies on the MongoDB database server. You’ll have to get MongoDB installed and configured before continuing. To do that, follow the guide below:
To get the latest version of MongoDB, you must add its repository to Ubuntu. To do that, run the commands below to add the official repository key.
sudo apt-key adv --keyserver hkp://keyserver.ubuntu.com:80 --recv 9DA31620334BD75D9DCB49F368818C72E52529D4
After adding the repository key to Ubuntu, run the commands below to add the MongoDB repository to your system…
echo "deb [ arch=amd64 ] https://repo.mongodb.org/apt/ubuntu bionic/mongodb-org/4.0 multiverse" | sudo tee /etc/apt/sources.list.d/mongodb-org-4.0.list
Now that the repository and key have been added to Ubuntu run the commands below to install the package.
sudo apt update
sudo apt install -y mongodb-org
After installing MongoDB, the commands below can be used to stop, start, and enable MongoDB to automatically startup when the system boots up.
sudo systemctl stop mongod.service
sudo systemctl start mongod.service
sudo systemctl enable mongod.service
By default, MongoDB listens on port 27017. After installation, the local server should be able to communicate with MongoDB. To verify whether MongoDB is running and active, run the commands below:
sudo systemctl status mongod
You should see something like the lines below:
richard@ubuntu1604:~$ sudo systemctl status mongod
● mongod.service - High-performance, schema-free document-oriented database
   Loaded: loaded (/lib/systemd/system/mongod.service; enabled; vendor preset: enabled)
   Active: active (running) since Sat 2018-01-27 08:53:42 CST; 13min ago
     Docs: https://docs.mongodb.org/manual
 Main PID: 2383 (mongod)
    Tasks: 23
   Memory: 60.7M
      CPU: 2.613s
   CGroup: /system.slice/mongod.service
           └─2383 /usr/bin/mongod --config /etc/mongod.conf

Jan 27 08:53:42 ubuntu1604 systemd[1]: Started High-performance, schema-free document-oriented database.
Jan 27 09:05:49 ubuntu1604 systemd[1]: Started High-performance, schema-free document-oriented database.
Configure MongoDB
Rocket.Chat uses the MongoDB replica set to improve performance via Meteor Oplog tailing.
Please check the release notes to ensure you use a compatible MongoDB version.
Add this section into /etc/mongod to configure the replica set.conf:
sudo nano /etc/mongod.conf
Then copy and paste the lines at the end of the file and save.
replication:
 replSetName: "rs01"
You can accomplish the same settings above by running the command below:
echo -e "replication:n replSetName: "rs01"" | sudo tee -a /etc/mongod.conf
After running the commands above, run this to restart the MongoDB service:
sudo systemctl restart mongod
Next, start the MongoDB shell
mongo
Then, the commands below to initiate the replica set
rs.initiate()
The output of the command should look like this:
{
	"operationTime" : Timestamp(1562351876, 1),
	"ok" : 0,
	"errmsg" : "already initialized",
	"code" : 23,
	"codeName" : "AlreadyInitialized",
	"$clusterTime" : {
		"clusterTime" : Timestamp(1562351876, 1),
		"signature" : {
			"hash" : BinData(0,"AAAAAAAAAAAAAAAAAAAAAAAAAAA="),
			"keyId" : NumberLong(0)
		}
	}
}
Exit, and you’re done with MongoDB.
Install Node.js
Rocket.Chat also requires Node.js; the steps below show you how to install it on Ubuntu. At the time of this writing, Rocket.Chat only supports Node.js from the 8. x repository.
sudo apt install nodejs npm build-essential curl software-properties-common graphicsmagick
After that, run the commands to get the recommended node and n packages.
sudo npm install -g inherits n && sudo n 8.11.4
After installing, both Node.js and NPM modules should be installed and ready to use….
Install Rocket.Chat Server
Now that you have installed MongoDB and Node.js run the commands below to install Rocket. Chat.
First, run the commands below to create a new user account for Rocket. Chat. You probably don’t want to run it as root.
sudo useradd -m -U -r -d /opt/rocketchat rocketchat
Switch over to the rocket user:
sudo su - rocketchat
The following commands assume you are operating as a user rocket chat.
Next, download the latest Rocket. The chat server package is in the rocketchat user home directory.
curl -L https://releases.rocket.chat/latest/download -o rocket.chat.tgz
Once it is downloaded, extract the Rocket.Chat archive and run npm install:
tar zxvf rocket.chat.tgz
mv bundle Rocket.Chat
cd /opt/rocketchat/Rocket.Chat/programs/server
npm install
After that, run the lines below:
export ROOT_URL=http://example.com:3000
export MONGO_URL=mongodb://localhost:27017/rocketchat
export MONGO_OPLOG_URL=mongodb://localhost:27017/local?replSet=rs01
export PORT=3000
Then, change into the Rocketchat home directory.
cd /opt/rocketchat/Rocket.Chat/
Run the commands below.
node main.js
If everything runs as expected. You should see the status of the server running.
➔ System ➔ startup
➔ +---------------------------------------------+
➔ |                SERVER RUNNING               |
➔ +---------------------------------------------+
➔ |                                             |
➔ |  Rocket.Chat Version: 1.2.1                 |
➔ |       NodeJS Version: 8.11.4 - x64          |
➔ |      MongoDB Version: 4.0.10                |
➔ |       MongoDB Engine: wiredTiger            |
➔ |             Platform: linux                 |
➔ |         Process Port: 3000                  |
➔ |             Site URL: http://0.0.0.0:3000/  |
➔ |     ReplicaSet OpLog: Enabled               |
➔ |          Commit Hash: 7475d7628a            |
➔ |        Commit Branch: HEAD                  |
➔ |                                             |
➔ +---------------------------------------------+
Exit from the rocketchat user process. by typing exit (maybe twice). This should bring you to your account profile.
After that, run the commands below to create Rocket.Chat service.
sudo nano /etc/systemd/system/rocketchat.service
Then copy and paste the lines below into the file and save.
[Unit]
Description=Rocket.Chat server
After=network.target nss-lookup.target mongod.target

[Service]
StandardOutput=syslog
StandardError=syslog
SyslogIdentifier=rocketchat
User=rocketchat
Environment=MONGO_URL=mongodb://localhost:27017/rocketchat MONGO_OPLOG_URL=mongodb://localhost:27017/local?replSet=rs01 ROOT_URL=http://example.com PORT=3000
ExecStart=/usr/local/bin/node /opt/rocketchat/Rocket.Chat/main.js

[Install]
WantedBy=multi-user.target
Save the file and exit.
Next, enable the rocketchat services we just created above.
sudo systemctl daemon-reload
sudo systemctl enable rocketchat
sudo systemctl start rocketchat
Check the status of Rocket.Chat by running the commands below:
sudo systemctl status rocketchat
You should see similar lines below:
● rocketchat.service - Rocket.Chat server
   Loaded: loaded (/etc/systemd/system/rocketchat.service; enabled; vendor preset: enabled)
   Active: active (running) since Fri 2019-07-05 13:09:07 CDT; 21s ago
 Main PID: 4077 (node)
    Tasks: 10 (limit: 4915)
   CGroup: /system.slice/rocketchat.service
           └─4077 /usr/local/bin/node /opt/rocketchat/Rocket.Chat/main.js

Jul 05 13:09:26 ubuntu1804 rocketchat[4077]: ➔ |      MongoDB Version: 4.0.10                |
Jul 05 13:09:26 ubuntu1804 rocketchat[4077]: ➔ |       MongoDB Engine: wiredTiger            |
Jul 05 13:09:26 ubuntu1804 rocketchat[4077]: ➔ |             Platform: linux                 |
Jul 05 13:09:26 ubuntu1804 rocketchat[4077]: ➔ |         Process Port: 3000
Jul 05 13:09:26 ubuntu1804 rocketchat[4077]: ➔ +---------------------------------------------+
Now everything is installed and configured.
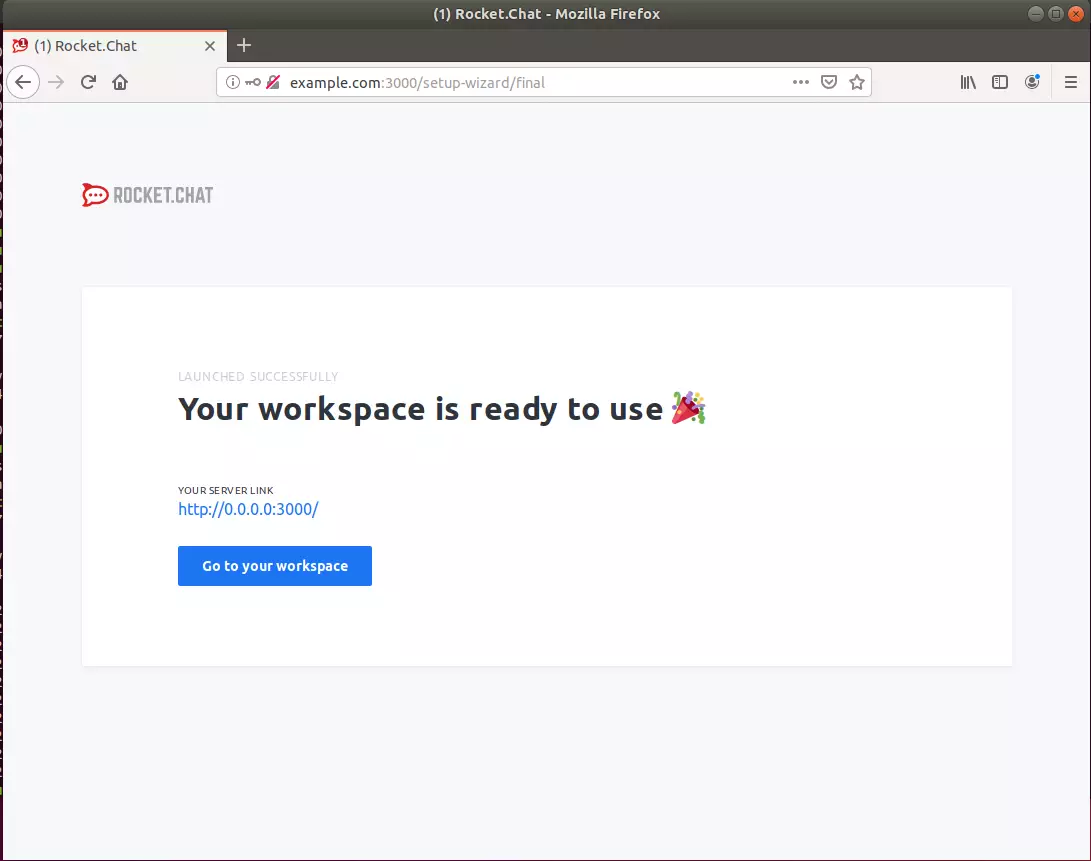
Open your browser and browse to the server name followed by port 3000
http://example.com:3000
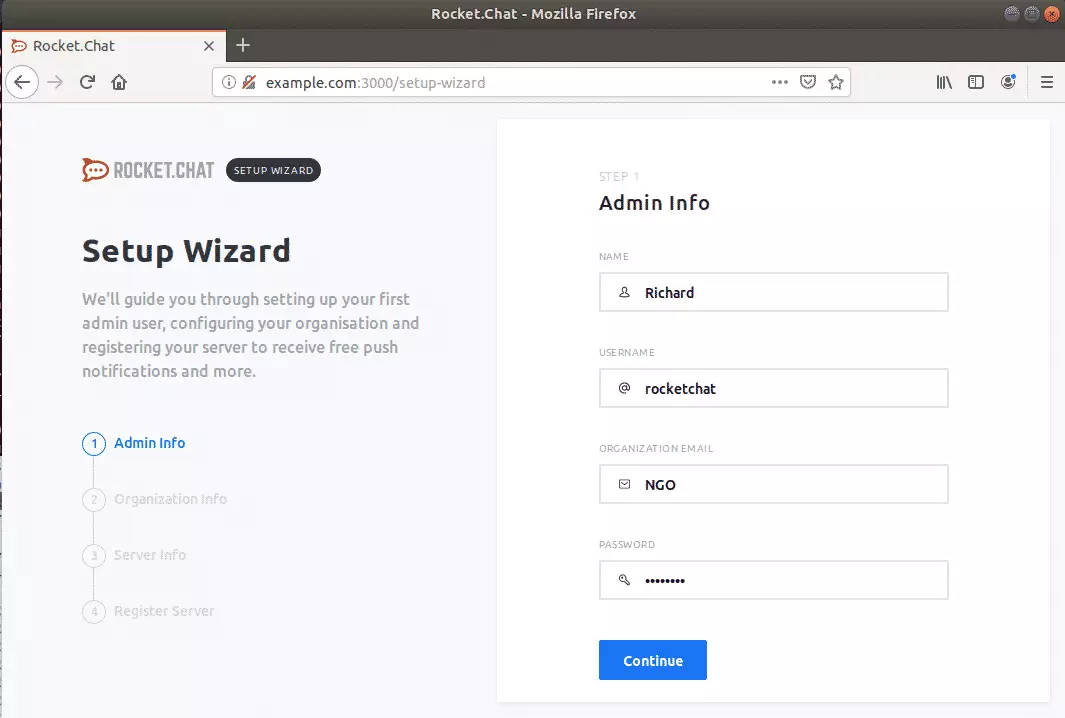
The installation wizard will guide you through setting up your first administrative user, configuring your organization, registering your server to receive free push notifications, and more.
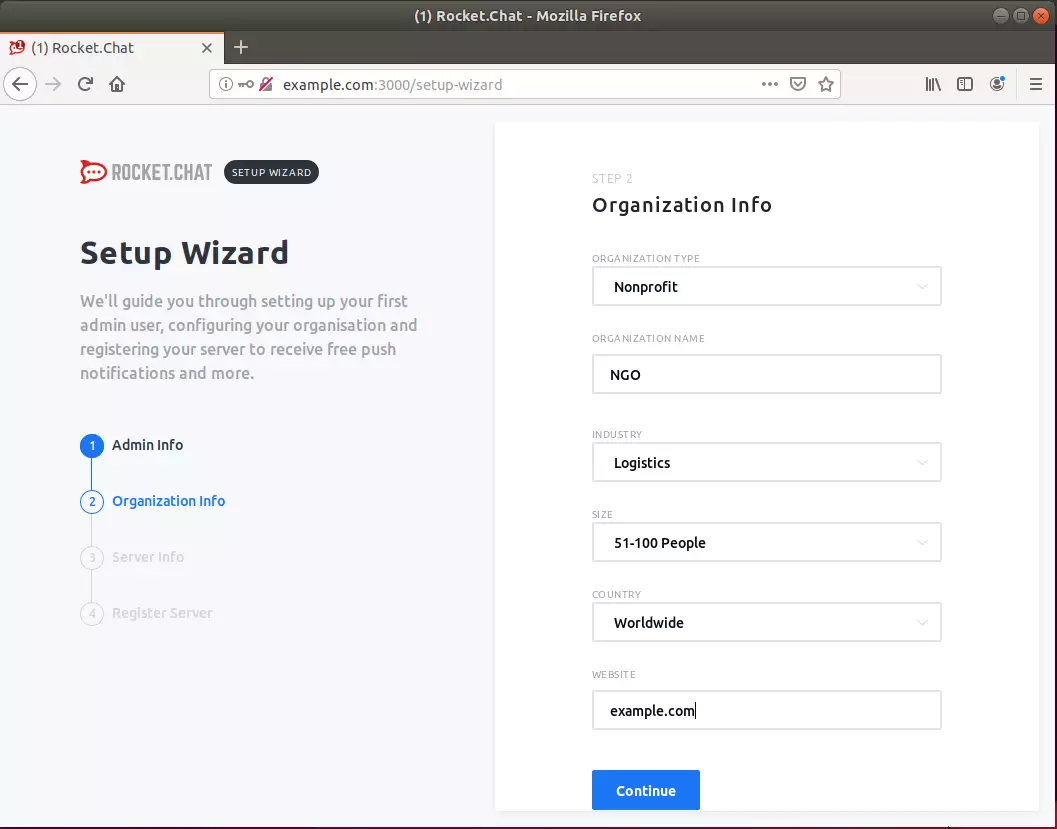
Next, type in your organization info and continue
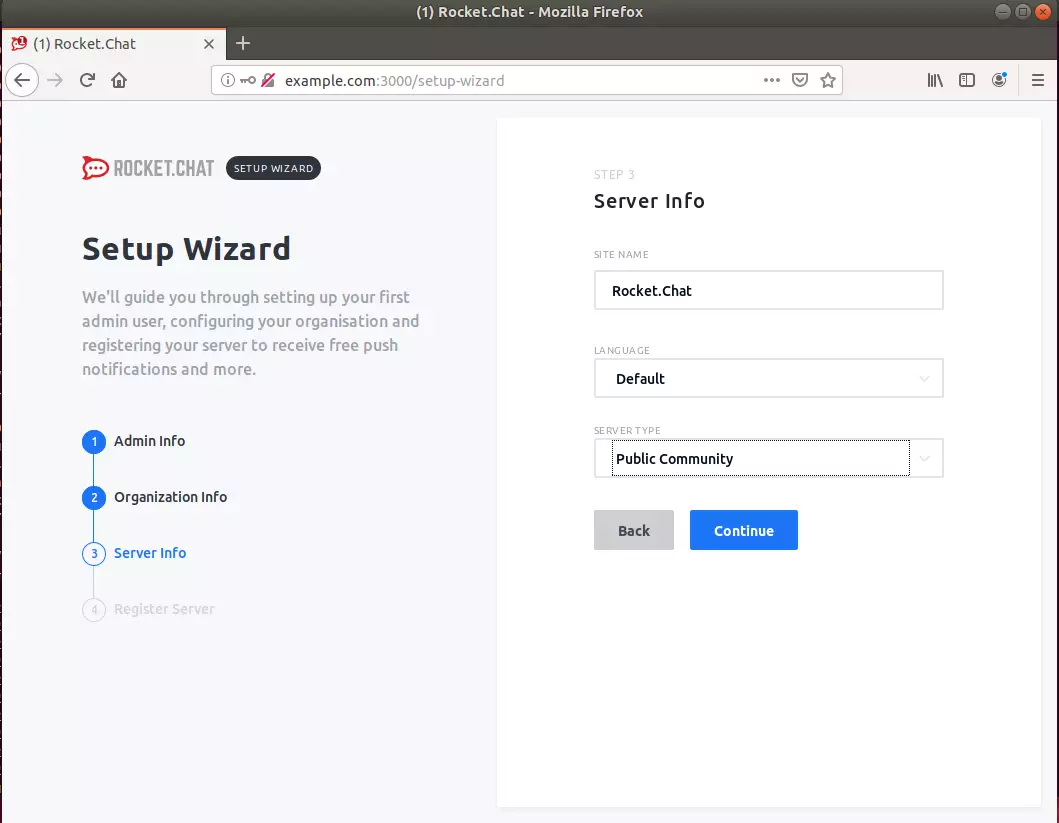
After that, provide your server info
Then, Register your server.
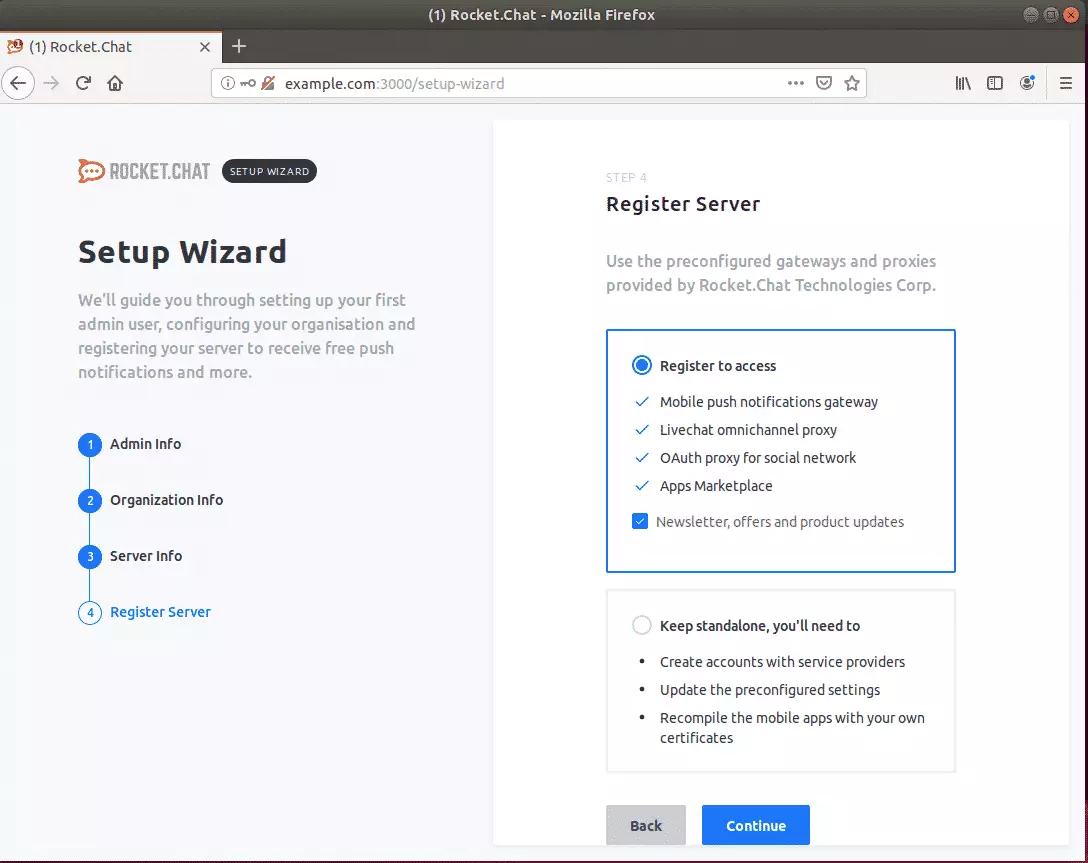
Next,
That’s it!
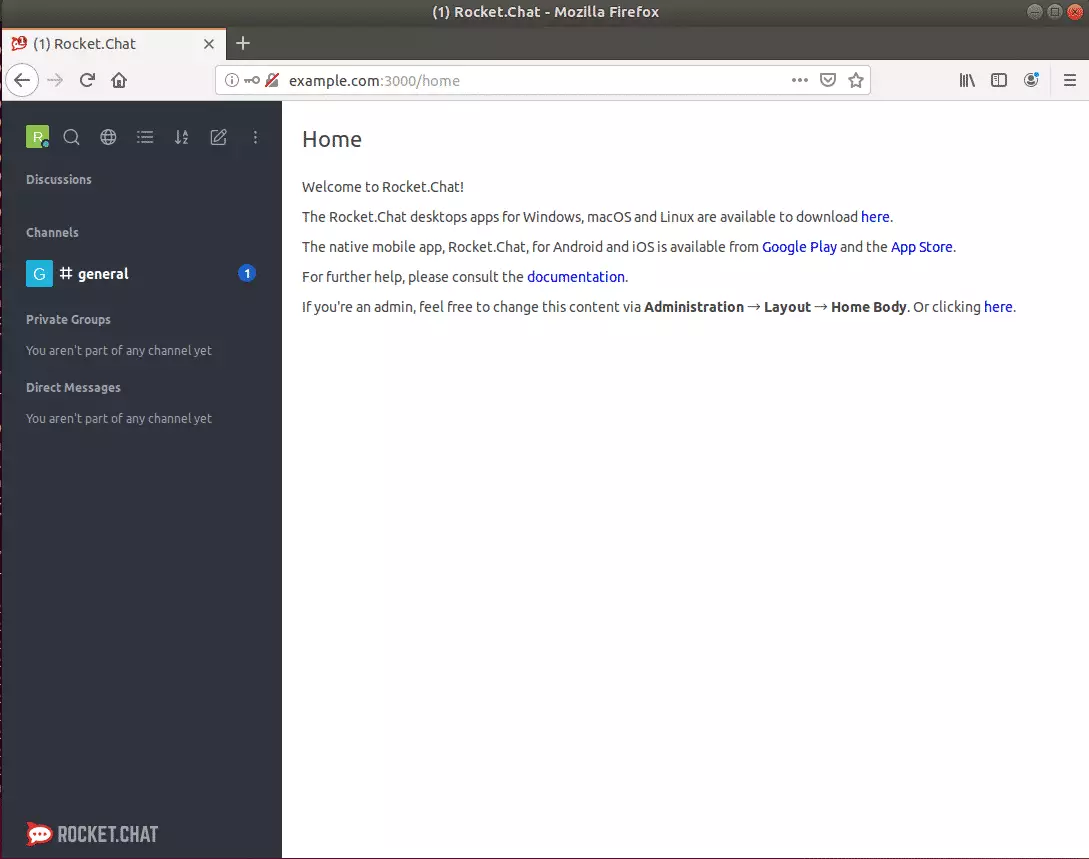
Congratulations! You have successfully installed and configured Rocket. Chat server on Ubuntu 16.04 | 18.04 LTS
You may also like the post below:

Leave a Reply