How to install phpMyAdmin with Nginx on Ubuntu 24.04
This article explains how to install phpMyAdmin with Nginx on Ubuntu 24.04.
Installing phpMyAdmin with Nginx on Ubuntu allows for easy management of MySQL databases through a user-friendly web interface. Nginx is the web server providing a secure way to access phpMyAdmin. This setup is typical for hosting environments or systems where Apache is not preferred.
The steps below walk you through installing phpMyAdmin with Nginx on Ubuntu 24.04.
Install Nginx HTTP server on Ubuntu
phpMyAdmin requires a web server. This post will install and use the Nginx web server to run phpMyAdmin.
To do that, open the Ubuntu terminal and run the commands below to install the Nginx web server.
sudo apt update
sudo apt install nginx
Once Nginx is installed, the commands below can start, stop, and enable the Nginx web server to start automatically when your server boots up.
sudo systemctl stop nginx
sudo systemctl start nginx
sudo systemctl enable nginx
You can test that the Nginx web server is running by opening your web browser and browsing to the server’s local host or IP address.
http://localhost
When you see the “Welcome to nginx” page, it means the Nginx HTTP server is successfully installed.
Additional help on installing Nginx on Ubuntu is in the link below.
Install the MariaDB database server on Ubuntu
The next component required to run phpMyAdmin is a database server. This post will install and use the MariaDB database server.
To install and use the MariaDB database server, use the instructions below.
Open the Ubuntu terminal and run the commands below to install the MariaDB database server.
sudo apt update
sudo apt install mariadb-server
Once the MariaDB database server is installed, use the commands below to stop, start, and enable the MariaDB server to start automatically when the server boots.
sudo systemctl stop mariadb
sudo systemctl start mariadb
sudo systemctl enable mariadb
Run the following commands to validate and test if the MariaDB database server is installed successfully.
sudo mariadb
Once you run the commands above, it will log you onto the MariaDB console and display a message similar to the one below.
Welcome to the MariaDB monitor.  Commands end with ; or g.
Your MariaDB connection id is 32
Server version: 10.11.2-MariaDB-1 Ubuntu 23.04

Copyright (c) 2000, 2018, Oracle, MariaDB Corporation Ab and others.

Type 'help;' or 'h' for help. Type 'c' to clear the current input statement.

MariaDB [(none)]>
The message tells you that the server is installed successfully.
Additional help on installing MariaDB.
- How to install MariaDB on Ubuntu Linux
- MariaDB without password prompt
Create a phpMyAdmin user account
By default, the latest MariaDB server allows the auth_socket Authentication method for the root user.
The auth_socket plugin authenticates users that connect from the local host through the Unix socket file. You can’t authenticate as a root by providing a password.
This can cause issues with some apps that need to connect to the database via root. To fix that, you’ll need to change the default authentication mechanism from auth_socket to mysql_native_password.
However, doing so might introduce security risks since root users shouldn’t be used to connect remotely to the database. A recommended method is to create a dedicated user to connect remotely to your database servers.
Since you don’t want to connect to the MariaDB database server from phpMyAdmin as the root user, you should probably create a separate account instead of connecting with the root.
All the database steps above can be done using the commands below:
But first, log on to the MariaDB database server:
sudo mariadb
Then run the commands below to complete the steps:
CREATE USER phymyadmin@localhost IDENTIFIED BY 'type_your_password_here';
GRANT ALL ON *.* TO phymyadmin@localhost WITH GRANT OPTION;
FLUSH PRIVILEGES;
exit
Ensure to replace ‘type_your_password_here ‘with your password.
Install PHP-FPM on Ubuntu Linux
The last component you will need to run phpMyAdmin is PHP-FPM. The phpMyAdmin application is PHP-based and supports the latest versions of PHP.
Run the commands below to install PHP-FPM.
sudo apt install php-fpm php-intl php-mysql php-curl php-cli php-zip php-xml php-gd php-common php-mbstring php-xmlrpc php-json php-sqlite3 php-soap php-ldap php-zip
Additional help on installing PHP
Install phpMyAdmin
Now that Nginx and MariaDB are installed, let’s install phpMyAdmin packages. The installation packages are available in Ubuntu repositories.
There’s no need to install additional tools.
Run the commands below to phpMyAdmin on Ubuntu.
sudo apt install phpmyadmin
When prompted to choose the web server that should be automatically configured to run phpMyAdmin, tap Ok and press ENTER.
+------------------------+ Configuring phpmyadmin +------------------------+
| Please choose the web server that should be automatically configured to   |
| Web server to reconfigure automatically:                                  |
|                                                                           |
|    [ ] apache2                                                            |
|    [ ] lighttpd                                                           |
|                                 <ok>                                      |
 +---------------------------------------------------------------
When prompted again to allow web config-common to install a database and configure, select Yes and press Enter.
┌────────────────────────┤ Configuring phpmyadmin ├─────────────────────────┐
│                                                                           │
│ The phpmyadmin package must have a database installed and configured      │
│ before it can be used. This can be optionally handled with                │
│ dbconfig-common.                                                          │
│                                                                           │
│ If you are an advanced database administrator and know that you want to   │
│ perform this configuration manually, or if your database has already      │
│ been installed and configured, you should refuse this option. Details on  │
│ what needs to be done should most likely be provided in                   │
│ /usr/share/doc/phpmyadmin.                                                │
│                                                                           │
│ Otherwise, you should probably choose this option.                        │
│                                                                           │
│ Configure database for phpmyadmin with dbconfig-common?                   │
│                                                                           │
│                    <Yes>                       <No>                       │
│
Next, type and confirm a phpMyAdmin password to the database registry. It can be any password you want to use.
Set up Nginx with phpMyAdmin
There are several ways to configure phpMyAdmin to work with Nginx. One way is to use an existing domain server block and create a symbolic link to phpMyAdmin installation files.
To do that, run the commands below to create a phpMyAdmin snippet that can be used on an existing server block.
sudo nano /etc/nginx/snippets/phpmyadmin.conf
Then copy and paste the code below into the file and save.
location /phpmyadmin {
    root /usr/share/;
    index index.php;
    location ~ ^/phpmyadmin/(.+.php)$ {
        try_files $uri =404;
        root /usr/share/;
        fastcgi_pass unix:/run/php/php8.3-fpm.sock;
        fastcgi_index index.php;
        fastcgi_param SCRIPT_FILENAME $document_root$fastcgi_script_name;
        include /etc/nginx/fastcgi_params;
    }

    location ~* ^/phpmyadmin/(.+.(jpg|jpeg|gif|css|png|js|ico|html|xml|txt))$ {
        root /usr/share/;
    }
}
Save the file and exit.
Finally, include the configuration above in your Nginx server block.
include snippets/phpmyadmin.conf;
If you don’t have an existing domain, open the Nginx default server block by running the commands below.
sudo nano /etc/nginx/sites-available/default
Copy and paste the highlighted line when the file opens, then save.
# Default server configuration
server {
        listen 80 default_server;
        listen [::]:80 default_server;

        include snippets/phpmyadmin.conf;

        root /var/www/html;

        # Add index.php to the list if you are using PHP
        index index.php index.html index.htm index.nginx-debian.html;

        server_name _;
        location / {
                try_files $uri $uri/ =404;

        }
        # pass PHP scripts to FastCGI server
        #
        location ~ .php$ {
                include snippets/fastcgi-php.conf;
                fastcgi_pass unix:/run/php/php8.3-fpm.sock;
        }
}
Restart Nginx
sudo systemctl restart nginx
After installing phpMyAdmin, open your web browser and browse to the server hostname or IP address followed by /phpmyadmin.
Setup Let’s Encrypt SSL/TLS for phpMyAdmin
You may want to install an SSL/TLS certificate to secure your phpMyAdmin site. Secure your phpMyAdmin installation with HTTPS from Let’s Encrypt.
Please read the post below for additional resources on installing and creating Let’s Encrypt SSL certificates for Nginx.
How to set up Let’s Encrypt SSL certificate for Nginx on Ubuntu Linux
Once you have restarted the Nginx web server, open your browser and browse to the server hostname or IP address defined in the Nginx server block.
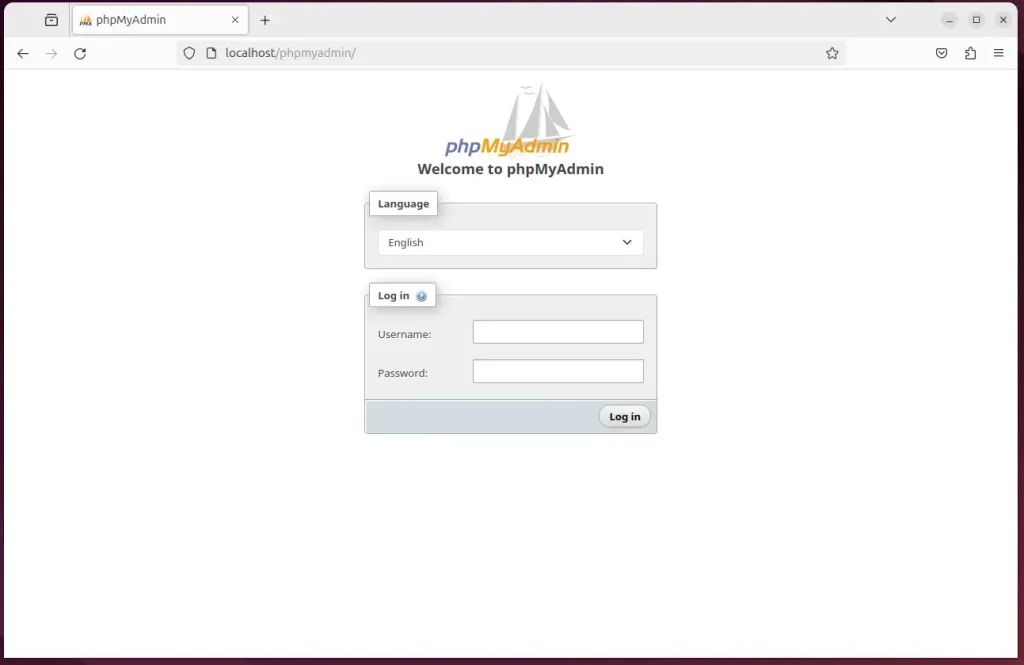
After installing phpMyAdmin, open your web browser and browse to the server hostname or IP address followed by /phpmyadmin.
http://localhost/phpmyadmin
Log on with the account you created earlier for phpMyAdmin.
That should do it!
Conclusion:
- Installing phpMyAdmin with Nginx on Ubuntu 24.04 allows for efficient management of MySQL databases through a user-friendly web interface, providing a secure way to access phpMyAdmin.
- The installation involves setting up the Nginx HTTP server, installing the MariaDB database server, creating a dedicated user account for phpMyAdmin, installing PHP-FPM, and finally setting up Let’s Encrypt SSL/TLS for enhanced security.
- Following the outlined steps ensures a successful installation and configuration of the phpMyAdmin application, allowing users to access and manage databases seamlessly.
Frequently Asked Questions
How do I install phpMyAdmin on Ubuntu 24.04?
What are the prerequisites for installing phpMyAdmin with Nginx?
How can I check if Nginx is running on my Ubuntu server?
What is the purpose of using MariaDB with phpMyAdmin?
How do I create a user account for phpMyAdmin in MariaDB?
Was this guide helpful?

About the Author
Richard
Tech Writer, IT Professional
Richard, a writer for Geek Rewind, is a tech enthusiast who loves breaking down complex IT topics into simple, easy-to-understand ideas. With years of hands-on experience in system administration and enterprise IT operations, he’s developed a knack for offering practical tips and solutions. Richard aims to make technology more accessible and actionable. He's deeply committed to the Geek Rewind community, always ready to answer questions and engage in discussions.

No comments yet — be the first to share your thoughts!