

This article explains how to install phpMyAdmin with Apache on Ubuntu 24.04.
Installing phpMyAdmin with Apache on Ubuntu grants you the ease of managing your MySQL databases through a web interface designed with user-friendliness.
This intuitive tool simplifies tasks such as creating, modifying, or deleting databases, tables, and rows and executing SQL queries. It’s a perfect fit for developers and administrators who find a graphical interface more comfortable than the command line.
The steps below walk you through installing phpMyAdmin with Apache on Ubuntu 24.04.
Install Apache HTTP server on Ubuntu
phpMyAdmin requires a web server. This post will install and use the Apache web server to run phpMyAdmin.
To do that, open the Ubuntu terminal and run the commands below to install the Apache web server.
sudo apt update
sudo apt install apache2
Once Apache is installed, the commands below can start, stop, and enable the Apache web server to start automatically when your server boots up.
sudo systemctl stop apache2
sudo systemctl start apache2
sudo systemctl enable apache2
You can test that the Apache web server is running by opening your web browser and browsing to the server’s localhost or IP address.
http://localhost
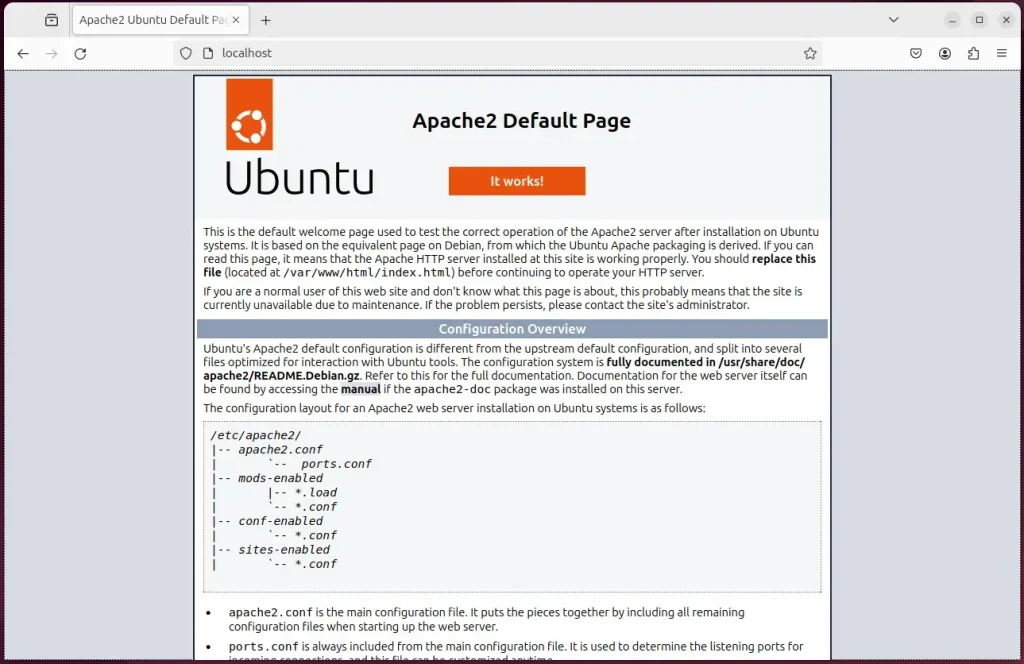
When you see the Apache2 Default Page, it means the Apache HTTP server is successfully installed.
Additional help on installing Apache on Ubuntu is in the link below.
How to install Apache on Ubuntu
Install the MariaDB database server on Ubuntu
The next component required to run phpMyAdmin is a database server. This post will install and use the MariaDB database server.
To install and use the MariaDB database server, use the instructions below.
Open the Ubuntu terminal and run the commands below to install the MariaDB database server.
sudo apt update
sudo apt install mariadb-server
Once the MariaDB database server is installed, use the commands below to stop, start, and enable the MariaDB server to start automatically when the server boots.
sudo systemctl stop mariadb
sudo systemctl start mariadb
sudo systemctl enable mariadb
Run the following commands to validate and test if the MariaDB database server is installed successfully.
sudo mariadb
Once you run the commands above, it will log you onto the MariaDB console and display a message similar to the one below.
Welcome to the MariaDB monitor.  Commands end with ; or g.
Your MariaDB connection id is 32
Server version: 10.11.2-MariaDB-1 Ubuntu 23.04

Copyright (c) 2000, 2018, Oracle, MariaDB Corporation Ab and others.

Type 'help;' or 'h' for help. Type 'c' to clear the current input statement.

MariaDB [(none)]>
The message tells you that the server is installed successfully.
Additional help on installing MariaDB.
Create a phpMyAdmin user account
By default, the latest MariaDB server allows the auth_socket Authentication method for the root user.
The auth_socket plugin authenticates users that connect from the local host through the Unix socket file. You can’t authenticate as a root by providing a password.
This can cause issues with some apps that need to connect to the database via root. To fix that, you’ll need to change the default authentication mechanism from auth_socket to mysql_native_password.
However, doing so might introduce security risks since root users shouldn’t be used to connect remotely to the database. A recommended method is to create a dedicated user to connect remotely to your database servers.
Since you don’t want to connect to the MariaDB database server from phpMyAdmin as the root user, you should probably create a separate account instead of connecting with the root.
All the database steps above can be done using the commands below:
But first, log on to the MariaDB database server:
sudo mariadb
Then run the commands below to complete the steps:
CREATE USER phymyadmin@localhost IDENTIFIED BY 'type_your_password_here';
GRANT ALL ON *.* TO phymyadmin@localhost WITH GRANT OPTION;
FLUSH PRIVILEGES;
exit
Ensure to replace ‘type_your_password_here ‘with your password.
Install PHP on Ubuntu Linux
The last component you will need to run phpMyAdmin is PHP. The phpMyAdmin application is PHP-based and supports the latest versions of PHP.
Run the commands below to install PHP.
sudo apt install php libapache2-mod-php php-intl php-mysql php-curl php-cli php-zip php-xml php-gd php-common php-mbstring php-xmlrpc php-json php-sqlite3 php-soap php-ldap php-zip
Additional help on installing PHP
How to install PHP on Ubuntu Linux
Install phpMyAdmin
Now that Apache and MariaDB are installed let’s install phpMyAdmin packages. The installation packages are available in Ubuntu repositories.
There’s no need to install additional tools.
Run the commands below to phpMyAdmin on Ubuntu.
sudo apt install phpmyadmin
When prompted to choose the web server, select apache2 and continue.
+------------------------+ Configuring phpmyadmin +------------------------+
| Please choose the web server that should be automatically configured to   |
| Web server to reconfigure automatically:                                  |
|                                                                           |
|    [*] apache2                                                            |
|    [ ] lighttpd                                                           |
|                                 <ok>                                      |
 +-------------------------------------------------------------------------+
When prompted again to allow web config-common to install a database and configure, select Yes and press ENTER.
┌────────────────────────┤ Configuring phpmyadmin ├─────────────────────────┐
│                                                                           │
│ The phpmyadmin package must have a database installed and configured      │
│ before it can be used. This can be optionally handled with                │
│ dbconfig-common.                                                          │
│                                                                           │
│ If you are an advanced database administrator and know that you want to   │
│ perform this configuration manually, or if your database has already      │
│ been installed and configured, you should refuse this option. Details on  │
│ what needs to be done should most likely be provided in                   │
│ /usr/share/doc/phpmyadmin.                                                │
│                                                                           │
│ Otherwise, you should probably choose this option.                        │
│                                                                           │
│ Configure database for phpmyadmin with dbconfig-common?                   │
│                                                                           │
│                    <Yes>                       <No>                       │
│
Next, type and confirm a phpMyAdmin password to the database registry. It can be any password you want to use.
Setup Let’s Encrypt SSL/TLS for phpMyAdmin
You may want to install an SSL/TLS certificate to secure your phpMyAdmin site. Secure your phpMyAdmin installation with HTTPS from Let’s Encrypt.
Please read the post below for additional resources on installing and creating Let’s Encrypt SSL certificates for Apache.
How to set up Let’s Encrypt SSL certificate for Apache on Ubuntu Linux
Once you have restarted the Apache web server, open your browser and browse to the server hostname or IP address defined in the Apache server block.
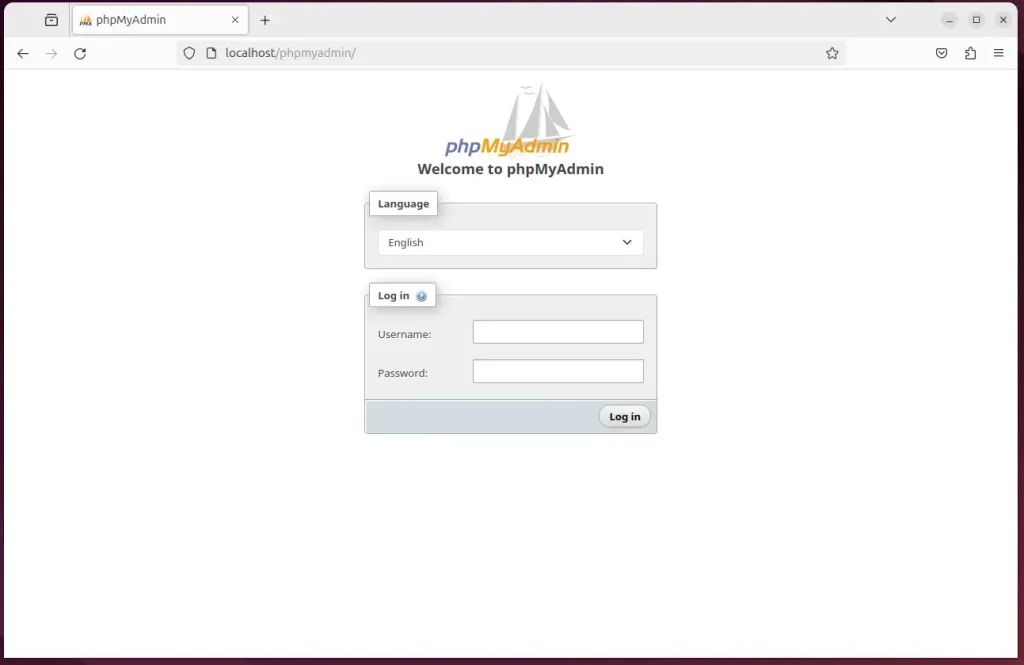
After installing phpMyAdmin, open your web browser and browse to the server hostname or IP address followed by /phpmyadmin.
http://localhost/phpmyadmin
Log on with the account you created earlier for phpMyAdmin.
That’s it!
If you followed the steps above and it didn’t work, try this fix:
sudo nano /etc/apache2/apache2.conf
Then, add the following line to the end of the file.
Include /etc/phpmyadmin/apache.conf
Then restart Apache
sudo systemctl restart apache2
That should do it!
Conclusion
- Installing phpMyAdmin with Apache on Ubuntu 24.04 grants you comprehensive database management capabilities through a user-friendly web interface.
- Apache, MariaDB, and PHP, in conjunction with phpMyAdmin, provide a robust environment for database administration.
- Securing your phpMyAdmin installation with Let’s Encrypt SSL/TLS ensures data privacy and integrity.
- Following the outlined steps will result in a successful setup, allowing seamless access to phpMyAdmin for database management tasks.


Leave a Reply