This brief tutorial shows students and new users how to install phpMyAdmin on Windows 10 WSL (Windows Subsystem for Linux) 2 with Apache HTTP server and Ubuntu OS.
phpMyAdmin is an open-source PHP application built to manage MySQL and MariaDB database servers via the intuitive web interface. All database tasks and queries can be handled by phpMyAdmin.
There are many benefits to installing phpMyAdmin with Apache on Windows WSL. The most significant advantage is that it allows users to manage MySQL and MariaDB database servers via an intuitive web interface.
Additionally, with phpMyAdmin, users can perform various database tasks, such as executing SQL queries, importing and exporting database content, managing user accounts and privileges, and more.
Furthermore, by installing Apache on Windows WSL, users can use the most popular open-source web server that powers most websites online. Apache is fast, secure, and easy to configure, making it an excellent choice for hosting web applications.
Installing phpMyAdmin with Apache on Windows WSL gives users a powerful and flexible environment for managing their databases and hosting web applications.
If you have a machine that meets the requirements above to run WSL 2, continue below.
To get started with running phpMyAdmin on Windows with WSL, follow the steps below:
Enable WSL in Windows
To enable WSL in Windows, you will need to open the PowerShell terminal as an administrator. Click on Start, then begin typing PowerShell.
Next, right-click the Windows PowerShell app and choose to run as administrator.
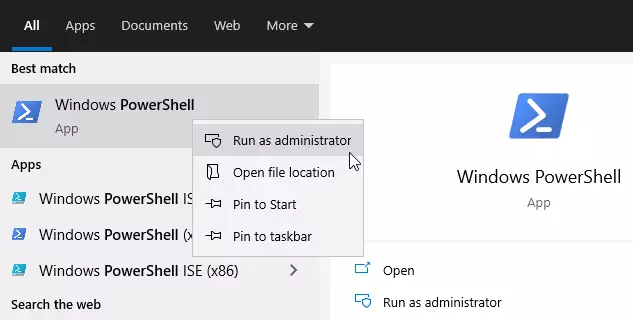
When the console opens, run the commands below:
dism.exe /online /enable-feature /featurename:Microsoft-Windows-Subsystem-Linux /all /norestart
After installing, you should get a success message similar to the lines below:
Deployment Image Servicing and Management tool
Version: 10.0.19041.844

Image Version: 10.0.19042.844

Enabling feature(s)
[==========================100.0%==========================]
The operation completed successfully.
Enable Virtual Machine Platform
WSL 2 requires Windows 10 Virtual Machine Platform to be enabled. This is not Hyper-V. To allow the VM to platform feature in Windows, run the commands below from the same PowerShell administrator’s console.
dism.exe /online /enable-feature /featurename:VirtualMachinePlatform /all /norestart
If you’re using Windows 10 version lower than 2004, then use the commands below:
Enable-WindowsOptionalFeature -Online -FeatureName VirtualMachinePlatform -NoRestart
When you’re done running the commands above, restart your computer for all the configuration changes to apply. If you don’t restart, the below command might not be recognized.
After restarting your computer, log back in and launch PowerShell as administrator. Then, run the commands below to configure WSL 2 as the default version of WSL.
wsl --set-default-version 2
Install Ubuntu on Windows 11
Now that WSL 2 is installed and ready to be used, open the link below to download and install a copy of Ubuntu 20.04 from the Windows store.
Get Ubuntu 20.04 LTS – Microsoft Store
Ubuntu 20.04 LTS on Windows allows you to use Ubuntu Terminal and run Ubuntu command line utilities, including bash, ssh, git, apt, and many more.
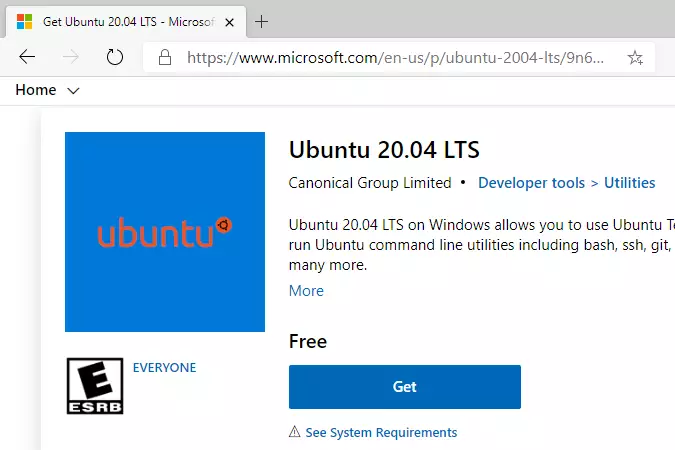
Click the Get button and install. After installing Ubuntu, you’ll want the option to launch Ubuntu from the Windows WSL environment.
After launching, Ubuntu should install and prompt you to create your account.
Installing, this may take a few minutes.
Please create a default UNIX user account. The username does not need to match your Windows username.
For more information visit: https://aka.ms/wslusers
Enter new UNIX username: richard
New password:
Retype new password:
passwd: password updated successfully
Installation successful!
To run a command as administrator (user "root"), use "sudo <command>".
See "man sudo_root" for details.

Welcome to Ubuntu 20.04.2 LTS (GNU/Linux 4.4.0-19041-Microsoft x86_64)

 * Documentation:  https://help.ubuntu.com
 * Management:     https://landscape.canonical.com
 * Support:        https://ubuntu.com/advantage

  System information as of Mon Apr 12 17:57:37 CDT 2021

  System load:    0.52      Processes:             7
  Usage of /home: unknown   Users logged in:       0
  Memory usage:   26%       IPv4 address for eth0: 10.0.2.15
  Swap usage:     0%

1 update can be installed immediately.
0 of these updates are security updates.
To see these additional updates run: apt list --upgradable
That should do it!
Some troubleshooting commands to run when you run into the issues above. These run below and try to relaunch the Ubuntu image.
wsl --set-default-version 1
bcdedit /set hypervisorlaunchtype auto start
Now that the Windows 10 WSL environment is ready, continue to install Apache, MariaDB, and PHP and configure phpMyAdmin.
Since we will be running phpMyAdmin with Apache web server, continue below to install it.
Install Apache HTTP Server
Apache is the most popular open-source web server powering most websites online.
To install Apache on Ubuntu, run the commands below:
sudo apt update
sudo apt install apache2
After installing Apache2, the commands below can be used to stop, start and restart Apache2 services.
sudo service apache2 stop
sudo service apache2 start
sudo service apache2 restart
To validate that Apache is installed and functioning, open your web browser and browse to the server’s hostname or IP address.
You should get a test page if everything works.
http://localhost

Install MariaDB Database Server
MariaDB is a truly open-source database server you can run with your projects. It is fast, secure, and the default server for almost all Linux.
To install MariaDB, run the commands below:
sudo apt-get install mariadb-server mariadb-client
After installing MariaDB, the commands below can be used to stop, start, and restart MariaDB services.
sudo service mysql stop
sudo service mysql start
sudo service mysql restart
Next, run the commands below to secure the database server with a root password if you were not prompted to do so during the installation.
sudo mysql_secure_installation
When prompted, answer the questions below by following the guide.
- Enter current password for root (enter for none): Just press the Enter
- Set root password? [Y/n]: Y
- New password: Enter password
- Re-enter new password: Repeat password
- Remove anonymous users? [Y/n]: Y
- Disallow root login remotely? [Y/n]: Y
- Remove test database and access to it? [Y/n]: Y
- Reload privilege tables now? [Y/n]: Y
To verify and validate that MariaDB is installed and working, log in to the database console using the commands below:
sudo mysql -u root -p
Type the root password when prompted.
Welcome to the MariaDB monitor.  Commands end with ; or \g.
Your MariaDB connection id is 46
Server version: 10.3.29-MariaDB-0ubuntu0.20.04.1 Ubuntu 20.04
Copyright (c) 2000, 2018, Oracle, MariaDB Corporation Ab and others.
Type 'help;' or '\h' for help. Type '\c' to clear the current input statement.
MariaDB [(none)]>
The server was successfully installed if you see a similar screen.
Install PHP and Related Modules
PHP is a general-purpose scripting language that enables the LAMP and LEMP stack and is required by phpMyAdmin.
To install PHP and recommended modules, run the commands below.
sudo apt install php libapache2-mod-php php-common php-mysql php-gmp php-curl php-intl php7.4-mbstring php-xmlrpc php-gd php-xml php-cli php-zip
That should get PHP installed with recommended PHP modules that you can run with many PHP-based applications.
To validate that PHP is installed, run the commands below:
php -v
You should see an output like the one below:
PHP 7.4.3 (cli) (built: Oct  6 2020 15:47:56) ( NTS )
Copyright (c) The PHP Group
Zend Engine v3.4.0, Copyright (c) Zend Technologies
with Zend OPcache v7.4.3, Copyright (c), by Zend Technologies
You can also test with a test PHP script that displays the installed version and related modules that are enabled or disabled.
To do that, run the commands below to create a PHP test file called phpinfo.php
sudo nano /var/www/html/phpinfo.php
Then, type the content below and save the file.
<?php phpinfo( ); ?>
Save the file.
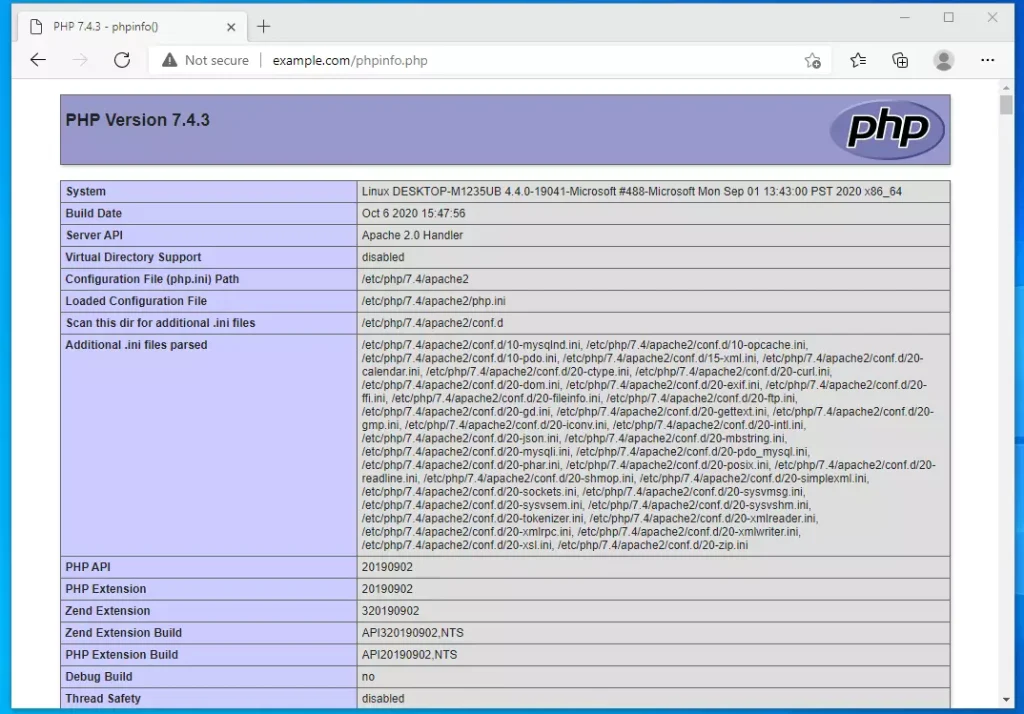
Open your browser and browse to your server hostname followed by phpinfo.php
Restart Apache, then type the address and browse the file.
http://example.com/phpinfo.php
You should see the PHP default test page.
Install phpMyAdmin
Now that you have installed Apache, MariaDB, and PHP, run the commands below to install phpMyAdmin.
sudo apt install phpmyadmin
During the installation, you’ll be prompted to select the webserver to run with phpMyAdmin.
When prompted to choose the web server, select apache2 and continue.
+------------------------+ Configuring phpmyadmin +-------------------------+
 | Please choose the web server that should be automatically configured to   |
 | run phpMyAdmin.                                                           |
 | Web server to reconfigure automatically:                                  |
 |                                                                           |
 |    [*] apache2                                                            |
 |    [ ] lighttpd                                                           |                                                     |
 |                                 <Ok>                                                                            |
 +---------------------------------------------------------------------------+
Select Yes when prompted again to allow web config-common to install a database and configure.
 +------------------------+ Configuring phpmyadmin +-------------------------+
 |                                                                           |
 | The phpmyadmin package must have a database installed and configured      |
 | before it can be used.  This can be optionally handled with               |
 | dbconfig-common.                                                          |
 |                                                                           |
 | If you are an advanced database administrator and know that you want to   |
 | perform this configuration manually, or if your database has already      |
 | been installed and configured, you should refuse this option.  Details    |
 | on what needs to be done should most likely be provided in                |
 | /usr/share/doc/phpmyadmin.                                                |
 |                                                                           |
 | Otherwise, you should probably choose this option.                        |
 |                                                                           |
 | Configure database for phpmyadmin with dbconfig-common?                   |
 |                                                                           |
 |                  <Yes>                  <No>                              |
 |                                                                           |
 +---------------------------------------------------------------------------+
Enter a password and confirm for phpMyAdmin to register with the database, then select OK and complete the installation.
MySQL and MariaDB have a feature that provides root authentication via an auth_socket plugin.
This plugin authenticates users who connect from the local host via a socket file without prompting or using a password. You won’t be allowed if you attempt to log on to phpMyAdmin with the MariaDB root account.
If you wish to use the root account to log on to phpMyAdmin, use the steps below. You’ll need to change the default authentication mechanism from auth_socket to mysql_native_password to fix that.
Login back into the MariaDB console.
sudo mysql
Then, run the commands below to disable the mysql_native_password module.
USE mysql;
UPDATE user SET plugin='' WHERE user ='root';
Save your changes and exit:
FLUSH PRIVILEGES;
EXIT;
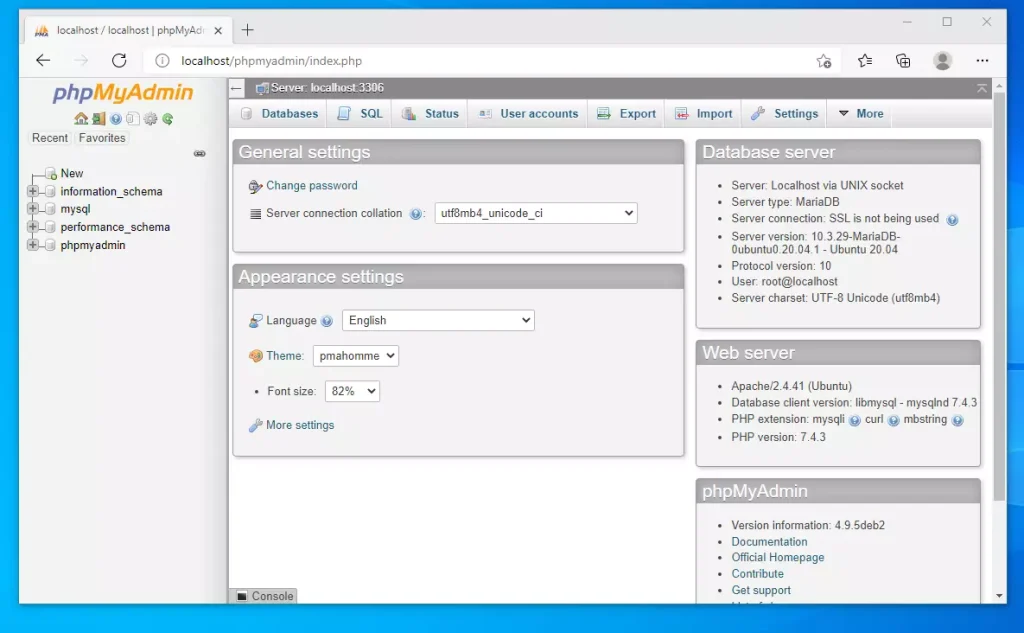
Restart Apache and browse the phpMyAdmin web portal using the URL:
http://localhost/phpmyadmin
That will bring up the login page, where you should be able to do so with the root account.
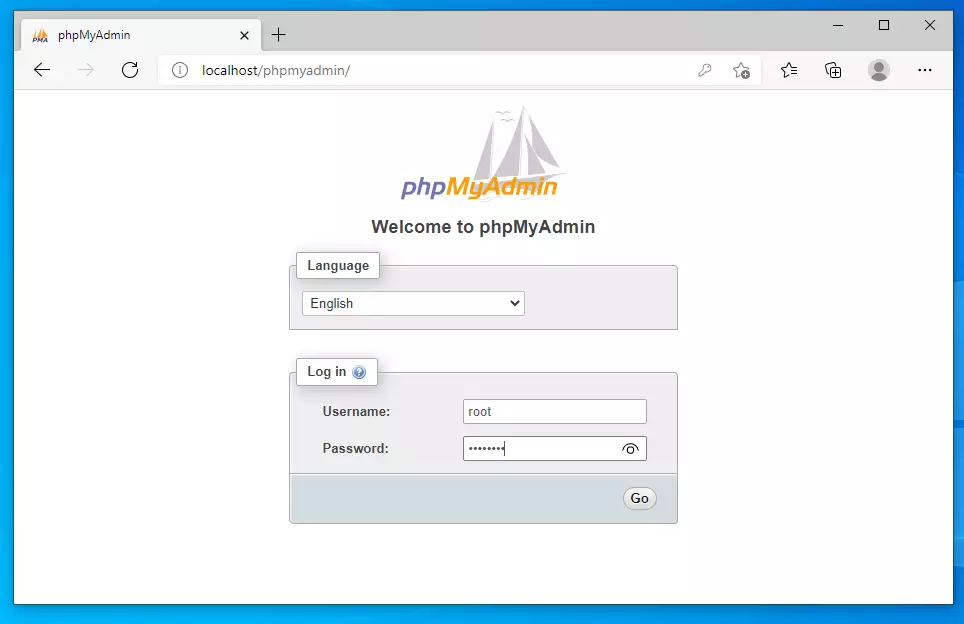
Begin managing your database server from the phpMyAdmin portal.
Conclusion:
This post showed you how to install phpMyAdmin in Windows WSL. If you find any error above, please use the comment form below to report.

Leave a Reply to francisco Cancel reply