How to Install JasperReports Server on Ubuntu Linux
You install JasperReports Server on Ubuntu Linux to set up a robust, Java-based reporting engine. JasperReports Server lets you generate professional reports and charts directly from your data.
This reporting solution transforms raw data into easily shareable documents, such as PDFs and Excel spreadsheets. It’s a powerful tool for making your data more accessible and understandable.
After following this tutorial, you will have a fully operational JasperReports Server running on your Ubuntu system. You can then access its comprehensive reporting dashboard through your web browser, typically at http://localhost:8080/jasperserver.
Install OpenJDK, MariaDB, and Tomcat. Create a database user for JasperReports. Download and unzip the JasperReports server installer, update its configuration file with your database credentials, and run the installation script.
Install Java OpenJDK
JasperReports runs on Java. You need to install the OpenJDK to support it.
sudo apt update
sudo apt install default-jdk
Verify the installation with java --version.
Install MariaDB
You need a database to store your report information. MariaDB is a reliable choice.
sudo apt update
sudo apt install mariadb-server
sudo mysql_secure_installation
Follow the prompts to secure your database instance. How to install MariaDB on Ubuntu Linux
Create database account
Create a dedicated user for JasperReports to keep your data secure.
sudo mysql
CREATE DATABASE jasperserver;
CREATE USER 'jasperadmin'@'localhost' IDENTIFIED VIA unix_socket;
GRANT ALL ON jasperserver.* TO 'jasperadmin'@'localhost';
FLUSH PRIVILEGES;
exit;
Install Tomcat server
Tomcat is the web server that runs JasperReports Server, and installing it on Ubuntu involves creating a special user, downloading the latest Tomcat files, and placing them in the right folder.
sudo groupadd tomcat
sudo useradd -s /bin/bash -g tomcat -d /opt/tomcat tomcat
sudo mkdir /opt/tomcat
wget https://dlcdn.apache.org/tomcat/tomcat-11/v11.0.0/bin/apache-tomcat-11.0.0.tar.gz
sudo tar -xzvf apache-tomcat-11.0.0.tar.gz -C /opt/tomcat --strip-components=1
sudo chown -R tomcat: /opt/tomcat
sudo sh -c 'chmod +x /opt/tomcat/bin/*.sh'
Create a systemd service config for Tomcat
Setting up a systemd service lets Ubuntu manage Tomcat automatically, making it start when your server boots and easy to control, which is a key step for running JasperReports Server on Ubuntu.
sudo nano /etc/systemd/system/tomcat.service
Use this configuration, noting the dynamic path for Java:
[Unit]
Description=Tomcat servlet container
After=network.target

[Service]
Type=forking
User=tomcat
Group=tomcat
Environment="JAVA_HOME=$(dirname $(dirname $(readlink -f $(which java))))"
Environment="CATALINA_HOME=/opt/tomcat"
ExecStart=/opt/tomcat/bin/startup.sh
ExecStop=/opt/tomcat/bin/shutdown.sh

[Install]
WantedBy=multi-user.target
sudo systemctl daemon-reload
sudo systemctl start tomcat
Install JasperReports server
Now it’s time to install JasperReports Server on your Ubuntu system, which means switching to the Tomcat user, downloading the Community Edition files, and getting a sample database ready.
sudo su - tomcat
wget https://sourceforge.net/projects/jasperserver/files/JasperServer/JasperReports%20Server%20Community%20edition%209.0.0/TIB_js-jrs-cp_9.0.0_bin.zip
unzip TIB_js-jrs-cp_9.0.0_bin.zip
cd jasperreports-server-cp-9.0.0-bin/buildomatic
cp sample_conf/mysql_master.properties default_master.properties
nano default_master.properties
Update the default_master.properties file with your database credentials. Finally, run the installer:
./js-install-ce.sh
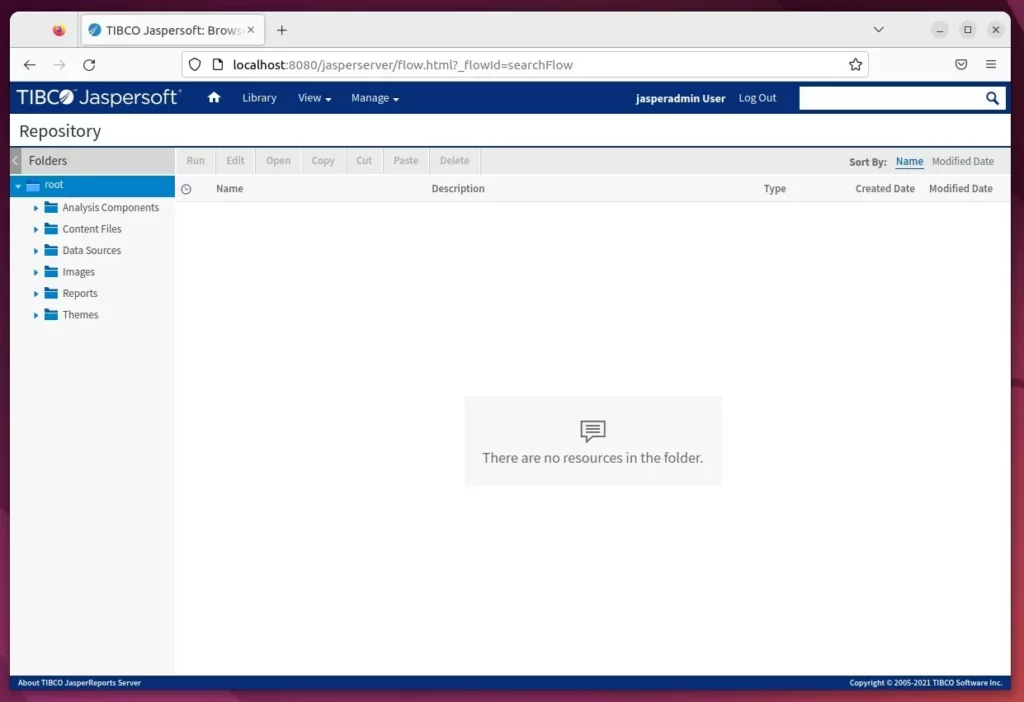
Access JasperReports portal
Once installed, you can access the JasperReports portal on Ubuntu by opening your web browser and going to your server’s IP address on port 8080, using the default login details.
Log in with the default credentials (username: jasperadmin, password: jasperadmin). Change these immediately after your first login.
For advanced setups, you can connect a reverse proxy to handle traffic more efficiently.
How to set up a reverse proxy with Nginx
How to set up a reverse proxy with Apache
[Unit] [Service] [Install] [echo]
Was this guide helpful?

About the Author
Richard
Tech Writer, IT Professional
Richard, a writer for Geek Rewind, is a tech enthusiast who loves breaking down complex IT topics into simple, easy-to-understand ideas. With years of hands-on experience in system administration and enterprise IT operations, he’s developed a knack for offering practical tips and solutions. Richard aims to make technology more accessible and actionable. He's deeply committed to the Geek Rewind community, always ready to answer questions and engage in discussions.


No comments yet — be the first to share your thoughts!