
This brief tutorial shows students and new users how to install Graylog on Ubuntu 18.04 | 16.04.
Graylog is an open-source log management software that provides monitoring and analytics across network systems from a centralized server.
Installing Graylog on Ubuntu Linux allows you to easily monitor and analyze log data from various sources in a centralized location. Graylog is an open-source log management software that offers a comprehensive log collection, parsing, and analysis solution.
By installing Graylog on Ubuntu, you can store log data in MongoDB and enable search functionality with Elasticsearch. This makes monitoring and analyzing large amounts of log data easier in a simple and readable format.
With Graylog, you can quickly identify and troubleshoot issues, improve system performance, and enhance security.
For more about Graylog, please visit its homepage.
To get started with installing Graylog, please follow the steps below:
Install OpenJDK
To run Elasticsearch, you must have Java installed. That’s because it’s Java-based software.
To install the open-source version of Java, run the commands below:
sudo apt update
sudo apt-get install openjdk-8-jre-headless apt-transport-https uuid-runtime dirmngr
After installing Java, the commands below can be used to verify whether Java is installed.
java -version
You should see a similar output as below:
Output:
openjdk version "1.8.0_242"
OpenJDK Runtime Environment (build 1.8.0_242-8u242-b08-0ubuntu3~18.04-b08)
OpenJDK 64-Bit Server VM (build 25.242-b08, mixed mode)
That’s how to install OpenJDK on Ubuntu.
Install Elasticsearch
To run Graylog, you will need to install Elasticsearch.
Now that OpenJDK 8 is installed, run the commands below to add the Elasticsearch GPG key by importing it…
wget -qO - https://artifacts.elastic.co/GPG-KEY-elasticsearch | sudo apt-key add -
After importing its GPG key, run the commands below to add its package repository to Ubuntu.
sudo sh -c 'echo "deb https://artifacts.elastic.co/packages/6.x/apt stable main" > /etc/apt/sources.list.d/elastic-6.x.list'
When writing this post, Elasticsearch version 6.6.1 is the latest… If you prefer previous versions, update the repository package list to include previous ones.
Once the Elasticsearch repository is added and enabled, run the commands below to update the apt package list and install Elasticsearch…
sudo apt update
sudo apt install elasticsearch
After installing the Elasticsearch package, you can use the commands below to ensure it automatically starts when the server boots up and starts it immediately…
sudo systemctl start elasticsearch.service
sudo systemctl enable elasticsearch.service
To check the status of Elasticsearch, run the commands below:
sudo systemctl status elasticsearch.service
It should display something similar to the lines below:
elasticsearch.service - Elasticsearch
   Loaded: loaded (/usr/lib/systemd/system/elasticsearch.service; enabled; vendor preset: enabled)
   Active: active (running) since Thu 2020-02-27 18:03:04 CST; 20s ago
     Docs: http://www.elastic.co
 Main PID: 4524 (java)
    Tasks: 52 (limit: 4666)
   CGroup: /system.slice/elasticsearch.service
           ├─4524 /usr/bin/java -Xms1g -Xmx1g -XX:+UseConcMarkSweepGC -XX:CMSInitiatingOccupancyFraction=75 -XX:+UseCMSInitiatingOccupancyOnly -Des.networkaddres
           └─4588 /usr/share/elasticsearch/modules/x-pack-ml/platform/linux-x86_64/bin/controller

Feb 27 18:03:04 ubuntu1804 systemd[1]: Started Elasticsearch.
Feb 27 18:03:04 ubuntu1804 elasticsearch[4524]: warning: Falling back to java on path. This behavior is deprecated. Specify JAVA_HOME
Elasticsearch should be installed and ready to use…
Out of the box, there’s no authentication, and anyone can access its portal via HTTP… It also only listens for traffic on the local via port # 9200
If you’re running a single host server and the client is connecting from the same server, no configuration is required… If the clients are connecting from remote systems, then you’ll want to allow external clients…
To do that, open the elasticsearch.yml configuration file:
sudo nano /etc/elasticsearch/elasticsearch.yml
You’ll want to set the cluster name shown in the configuration file to Graylog.
Then, please search for the line that contains the network host, un-comment it, and change the highlighted value to 0.0.0.0
# ---------------------------------- Cluster ---------------------
#
# Use a descriptive name for your cluster:
#
cluster.name: graylog
#
# Use a descriptive name for the node:
# Set the bind address to a specific IP (IPv4 or IPv6):
#
network.host: 0.0.0.0
#
# Set a custom port for HTTP:
Save the file and exit.
Restart the Elasticsearch service by running the commands below.
sudo systemctl restart elasticsearch.serviceInstall MongoDB
At this point, you should have Java and Elasticsearch installed. Now, you need MongoDB.
To install MongoDB, run the commands below to add its repository key to Ubuntu.
sudo apt-key adv --keyserver hkp://keyserver.ubuntu.com:80 --recv 9DA31620334BD75D9DCB49F368818C72E52529D4
After adding the key, run the commands below to add a repository for Ubuntu 18.04.
echo "deb [ arch=amd64 ] https://repo.mongodb.org/apt/ubuntu bionic/mongodb-org/4.0 multiverse" | sudo tee /etc/apt/sources.list.d/mongodb-org-4.0.list
For Ubuntu 16.04, run the below instead.
echo "deb [ arch=amd64,arm64 ] https://repo.mongodb.org/apt/ubuntu xenial/mongodb-org/4.0 multiverse" | sudo tee /etc/apt/sources.list.d/mongodb-org-4.0.list
Now that the repository and key have been added to Ubuntu run the commands below to install the package.
sudo apt update
sudo apt install mongodb-org
After installing MongoDB, the commands below can stop and enable MongoDB to start when the System boots up automatically.
sudo systemctl stop mongod.service
sudo systemctl start mongod.service
sudo systemctl enable mongod.service
By default, MongoDB listens on port 27017. After installation, the local server should be able to communicate with MongoDB. To verify whether MongoDB is running and active, run the commands below:
sudo systemctl status mongod
You should see the MongoDB service status page.
 mongod.service - MongoDB Database Server
   Loaded: loaded (/lib/systemd/system/mongod.service; enabled; vendor preset: enabled)
   Active: active (running) since Thu 2020-02-27 18:07:55 CST; 12s ago
     Docs: https://docs.mongodb.org/manual
 Main PID: 6273 (mongod)
   CGroup: /system.slice/mongod.service
           └─6273 /usr/bin/mongod --config /etc/mongod.conf

Feb 27 18:07:55 ubuntu1804 systemd[1]: Started MongoDB Database Server.
That’s how to install MongoDB.
Install Graylog
You’re now finally ready to install Graylog. Java, Elasticsearch, and MongoDB are installed and configured.
Run the commands below to download and install Graylog version 3. x.
cd /tmp
wget https://packages.graylog2.org/repo/packages/graylog-3.0-repository_latest.deb
sudo dpkg -i graylog-3.0-repository_latest.deb
sudo apt update
sudo apt install graylog-server
After the installation, you should see a message as shown below:
###############################################################################
Graylog does NOT start automatically!

Please run the following commands if you want to start Graylog automatically on system boot:

    sudo systemctl enable graylog-server.service
    sudo systemctl start graylog-server.service

################################################################################
Next, you must set a passphrase or secret to protect your server. You will want to use a very strong passphrase.
If you don’t have Pwgen installed, you’ll want to install it to generate a 64-character password.
sudo apt install pwgen
Then run the commands below to generate a password to use in the config file below:
pwgen -N 1 -s 96
Copy the output password and use it as your password_secret in the config file.
hFvp8sWsnNgYa0WuS6ZFkq8aFfQ5tGLBrqSyhvFMTpC1DX1jGsCgzBpi02J6WVlhJN4JiF2Xi9R42q43bpvxaEJCPgAGUvB3
You’ll also want to generate a hash value of your password. Run the commands below to convert your admin password into a hash value.
Replace your_password_here with your admin password.
echo -n your_password_here | shasum -a 256
It should output a similar line as below:
af65fdd1457c6e3136a14c6b3338fce31181ceaa7efb51c40a86d436fb06dafdf39234
Copy it and use it as your root_password_sha2 in the config file.
Open the Graylog server configuration and type in your secret passphrase as shown below:
sudo nano /etc/graylog/server/server.conf
Update the highlighted lines with the secret and save the file.
# You MUST set a secret to secure/pepper the stored user passwords here. Use at least 64 characters.
# Generate one by using for example: pwgen -N 1 -s 96
password_secret = hFvp8sWsnNgYa0WuS6ZFkq8aFfQ5tGLBrqSyhvFMTpC1DX1jGsCgzBpi02J6WVlhJN4JiF2Xi9R42q43bpvxaEJCPgAGUvB3

# The default root user is named 'admin'
#root_username = admin

# You MUST specify a hash password for the root user (which you only need to initially set up the
# system and in case you lose connectivity to your authentication backend)
# This password cannot be changed using the API or via the web interface. If you need to change it,
# modify it in this file.
# Create one by using for example: echo -n yourpassword | shasum -a 256
# and put the resulting hash value into the following line
root_password_sha2 = af65fdd1457c6e3136a14c6b3338fce31181ceaa7efb51c40a86d436fb06dafdf39234

# The email address of the root user.
Besides the settings above, also include these in the config file.
root_email = "[email protected]"
http_bind_address = 127.0.0.1:9000
You can also configure other Elasticsearch settings in the file that suit your environment.
Save the file and exit, then restart the Graylog server.
sudo systemctl restart graylog-server
To check the status of the Graylog service, run the commands below:
sudo systemctl status graylog-server
It should output something similar to the lines below:
Loaded: loaded (/usr/lib/systemd/system/graylog-server.service; enabled; vendor preset: enabled)
   Active: active (running) since Thu 2020-02-27 18:14:40 CST; 13s ago
     Docs: http://docs.graylog.org/
 Main PID: 8163 (graylog-server)
    Tasks: 86 (limit: 4666)
   CGroup: /system.slice/graylog-server.service
           ├─8163 /bin/sh /usr/share/graylog-server/bin/graylog-server
           └─8164 /usr/bin/java -Xms1g -Xmx1g -XX:NewRatio=1 -server -XX:+ResizeTLAB -XX:+UseConcMarkSweepGC -XX:+CMSConcurrentMTEnabled -XX:+CMSClassUnloadingEn

Feb 27 18:14:40 ubuntu1804 systemd[1]: Stopped Graylog server.
Feb 27 18:14:40 ubuntu1804 systemd[1]: Started Graylog server.
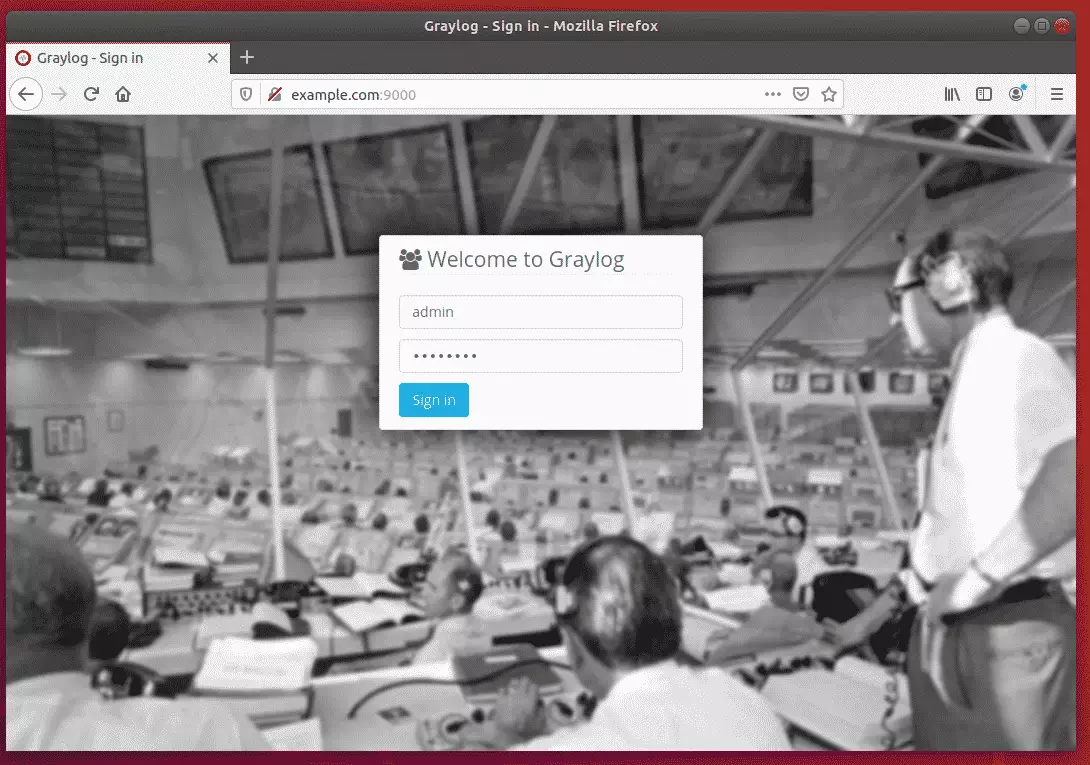
Finally, open your browser and type the server hostname or IP address defined in the configuration file above, followed by port # 9000
http://example.com:9000
You should then see the Graylog server portal. Login with the default admin username and the password created above.
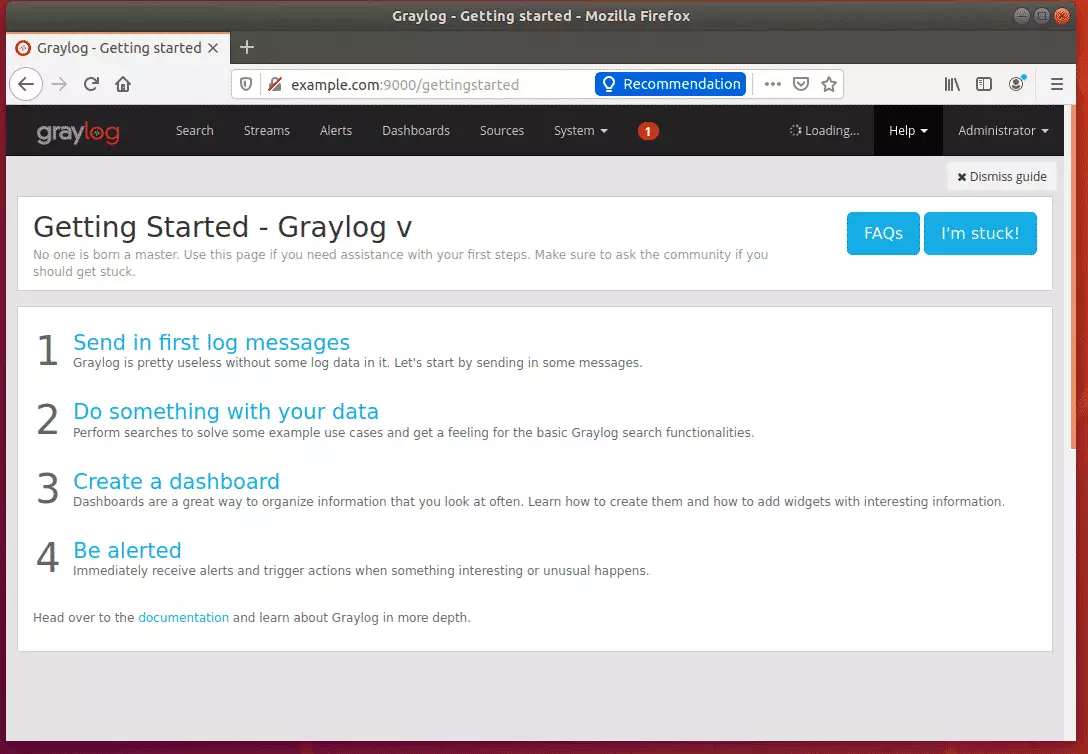
Begin setting up your environment.
Graylog nodes accept data via inputs. Launch or terminate as many inputs as you want from the System –> Inputs Page.
The first step is to create an input. Inputs define the method by which Graylog collects logs. Out of the box, Graylog supports multiple methods to collect logs, including:
- Syslog (TCP, UDP, AMQP, Kafka)
- GELF(TCP, UDP, AMQP, Kafka, HTTP)
- AWS – AWS Logs, FlowLogs, CloudTrail
- Beats/Logstash
- CEF (TCP, UDP, AMQP, Kafka)
- JSON Path from HTTP API
- Netflow (UDP)
- Plain/Raw Text (TCP, UDP, AMQP, Kafka
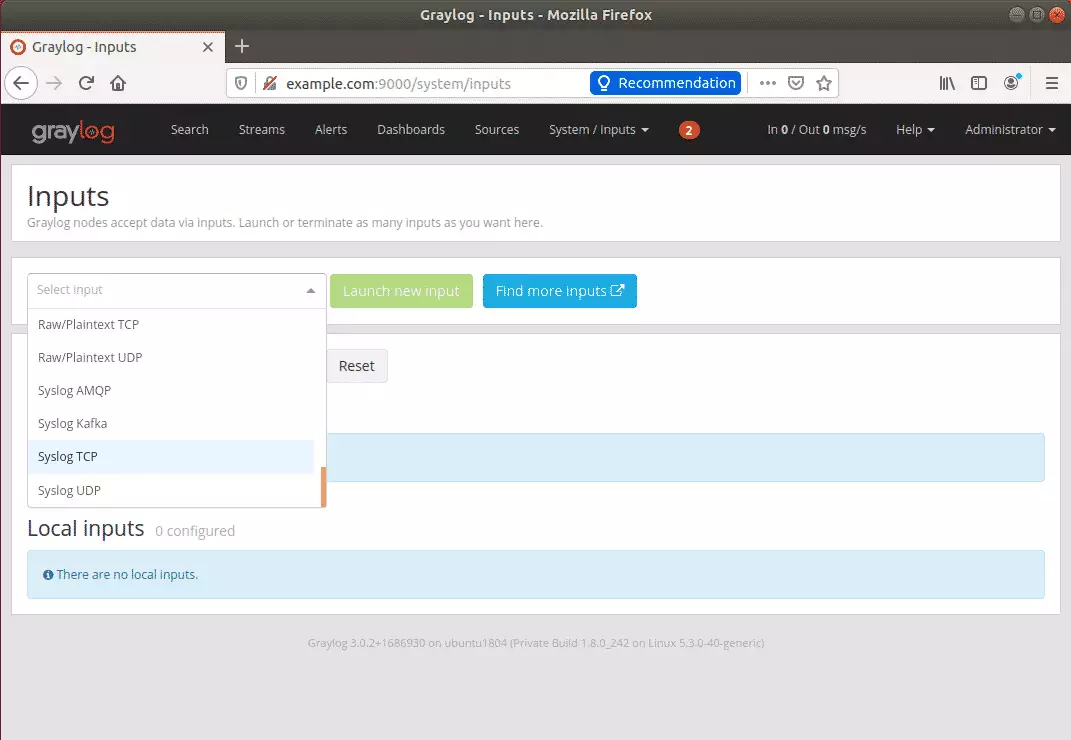
To create an Input, open the System ==> Inputs page in the top menu, click the arrow in the drop-down field, select your input type, and click the green button labeled Launch new input.
Usually, the default settings are correct, but you may change any you wish. Some input types may require authentication or other information specific to that source.
Conclusion:
This post showed you how to install the Graylog server on Ubuntu 18.04 | 16.04. If you find any error above, please use the form below to report it.
Thanks,
You may also like the post below:
Leave a Reply