

This article explains installing and using Fleet Osquery Manager on Ubuntu Linux.
Fleet is an open-source platform with a centralized management interface allowing IT admins to deploy, manage, and update hundreds of devices using open-source Osqury manage via agents.
It also enables live queries, streaming logs, and real-time visibility of 100,000+ servers, containers, and laptops.
Setting up Fleet with Osquery Manager enables a web-based administration interface that administrators can interact with using REST API and CLI.
The information below will show you how to install Fleet with Osquery Manager on Ubuntu Linux.
Install MariaDB database server
Fleet requires a database server to store its content. The best open-source database server is the MariaDB database server.
To install the MariaDB database server, use the instructions below.
sudo apt update
sudo apt install mariadb-server
Once the MariaDB database server is installed, use the commands below to stop, start and enable the MariaDB server to start up when the server boots automatically.
sudo systemctl stop mariadb
sudo systemctl start mariadb
sudo systemctl enable mariadb
Setup Fleet Database
Now that you have installed the MariaDB database log on to the database server and create a blank database for Fleet.
sudo mariadb
First, run the commands below to change the root password, ^very$trongP@ssw0rd as the default password validation requires a more complex password.
ALTER USER "root"@"localhost" IDENTIFIED WITH mysql_native_password BY "^very$trongP@ssw0rd";
For MySQL 5.7.6 and newer, use the following command:
ALTER USER "root"@"localhost" IDENTIFIED BY "^very$trongP@ssw0rd";
Next, run the commands below to create a database called fleetdb. Also, create a database account fleetuser with a password and grant all privileges to manage the database.
CREATE DATABASE fleetdb;
GRANT ALL PRIVILEGES on fleetdb.* to fleetuser@localhost IDENTIFIED BY 'type_password_here';
Exit and flush changes.
FlUSH PRIVILEGES;
exit
For additional information on installing and using MariaDB, read the post below.
How to install and use MariaDB on Ubuntu Linux
Install Redis Server
Fleet Osquery uses Redis to ingest and queue queries, cache data, etc. Run the command below to install Redis on Ubuntu Linux.
sudo apt install redis
Once Redis is installed, use the commands below to enable and start Redis.
sudo systemctl is-enabled redis-server
sudo systemctl start redis-server
Read the post below for additional information on installing and using Redis on Ubuntu Linux.
How to install Redis on Ubuntu Linux
Install Fleet Osquery Manager
The Fleet Osquery Manager is available as a single binary file that enables the following features:
- The Fleet TLS web server (no external web server is required, but it supports a proxy if desired)
- The Fleet web interface
- The Fleet application management REST API
- The Fleet Osquery API endpoints
Fleet uses a fleetctl command line utility to manage fleet deployment.
To install and use Fleet, ensure a dedicated user is created to download and manage Fleet services on Ubuntu Linux.
Run the command below to create a Fleet user account called fleet and a home directory at /opt/fleet/.
sudo useradd -r -d /opt/fleet -s /usr/sbin/nologin fleet
Next, download Fleet Binary and fleetctl packages using the command below. If the Curl package isn’t installed, first install it with the sudo apt install curl command.
As of the time of this writing, the current version is v4.26.0.
cd /tmp
curl -LO https://github.com/fleetdm/fleet/releases/download/fleet-v4.26.0/fleet_v4.26.0_linux.tar.gz
curl -LO https://github.com/fleetdm/fleet/releases/download/fleet-v4.26.0/fleetctl_v4.26.0_linux.tar.gz
Once downloaded, extract the downloaded packages using the commands below.
tar xf fleet_v4.26.0_linux.tar.gz
tar xf fleetctl_v4.26.0_linux.tar.gz
Then copy the extracted files of’fleet‘and’fleetctl‘to the ‘/usr/local/bin’ directory.
sudo cp fleet_v4.26.0_linux/fleet /usr/local/bin/
sudo cp fleetctl_v4.26.0_linux/fleetctl /usr/local/bin/
After that, run the command below to check to ensure ‘fleet‘ and ‘fleetctl‘ commands are in the /usr/local/bin directory and can be executed.
which fleetctl
fleet version
fleetctl --version
After validating the above commands, use the following’fleet‘command to initialize your installation’s database. Ensure you use the database account created above.
fleet prepare db --mysql_address=127.0.0.1:3306 --mysql_database=fleetdb --mysql_username=fleetuser --mysql_password=type_password_here
During the migration process, you should see output messages. Once complete, a success message will appear that the ‘Migrations completed.’
Once the migration is complete, run the steps below to ensure a valid SSL certificate is used for Fleet.
If you do not have a certificate, use Let’s Encrypt to generate a free SSL/TLS certificate for the host you want to use.
Read the post below to learn how to install and create a free Let’s Encrypt SSL certificate.
How to use Let’s Encrypt to generate SSL/TLS certificates on Ubuntu
Once the certificate is created, run the command below to create the Fleet certificate folder and services files.
sudo mkdir -p /etc/fleet/certs
sudo touch /etc/fleet/fleet.yml
sudo touch /etc/systemd/system/fleet.service
If you can’t get the Let’s Encrypt SSL certificate on your local host, you can generate a self-sign certificate using the command below.
You will need a TLS certificate and key to run the Fleet server. You can do this using the command below:
sudo openssl req -x509 -newkey rsa:4096 -sha256 -days 3650 -nodes -keyout /tmp/server.key -out /tmp/server.cert -subj "/CN=fleet.example.com” -addext "subjectAltName=DNS:fleet.example.com”
Additional help creating self-signed SSL/TLS certificates can be found in the post below.
How to set up self-signed SSL/TLS certificates on Ubuntu Linux
After generating your host SSL/TLS certificates above, run the command below to copy the certs into the Fleet certificate folder created above (/etc/fleet/certs/).
sudo cp /etc/letsencrypt/live/fleet.example.com/fullchain.pem /etc/fleet/certs/
sudo cp /etc/letsencrypt/live/fleet.example.com/privkey.pem /etc/fleet/certs/
If you use a self-signed default certificate, copy the cert you created to the /etc/fleet/certs directory by running the command below.
sudo cp /tmp/server.cert /etc/fleet/certs/
sudo cp /tmp/server.key /etc/fleet/certs/
Next, run the command to open the Fleet yml file.
sudo nano /etc/fleet/fleet.yml
Then copy and paste the content below into the file and save it. The file content includes the database, database user name, password for the user, and the path for the SSL/TLS certificates created above.
mysql:
  address: 127.0.0.1:3306
  database: fleetdb
  username: fleetuser
  password: type_password_here
redis:
  address: 127.0.0.1:6379
server:
  cert: /etc/fleet/certs/server.cert
  key: /etc/fleet/certs/server.key
logging:
  json: true
# auth:
# jwt_key: 0iXLJRKhB77puDm13G6ehgkClK0kff6N
Next, run the command below to make the Fleet user the owner of the files in the /etc/fleet directory.
sudo chown -R fleet:fleet /etc/fleet
Next, create a Fleet service file.
sudo nano /etc/systemd/system/fleet.service
Please copy and paste the content below into the file and save it.
[Unit]
Description=Fleet Osquery Fleet Manager
After=network.target

[Service]
User=fleet
Group=fleet
LimitNOFILE=8192
ExecStart=/usr/local/bin/fleet serve -c /etc/fleet/fleet.yml
ExecStop=/bin/kill -15 $(ps aux | grep "fleet serve" | grep -v grep | awk '{print$2}')

[Install]
WantedBy=multi-user.target
Reload and start Fleet services by running the commands below.
sudo systemctl daemon-reload
sudo systemctl enable fleet
sudo systemctl start fleet
sudo systemctl status fleet
The systemctl status fleet command would output similar lines shown below.
● fleet.service - Fleet Osquery Fleet Manager
     Loaded: loaded (/etc/systemd/system/fleet.service; enabled; preset: enabled)
     Active: active (running) since Fri 2023-07-28 09:37:37 CDT; 7s ago
   Main PID: 5395 (fleet)
      Tasks: 7 (limit: 2202)
     Memory: 15.8M
        CPU: 193ms
     CGroup: /system.slice/fleet.service
             └─5395 /usr/local/bin/fleet serve -c /etc/fleet/fleet.yml

Jul 28 09:37:37 Ubuntu2304 systemd[1]: Started fleet.service - Fleet Osquery Fleet Manager.
Jul 28 09:37:37 Ubuntu2304 fleet[5395]: Using config file: /etc/fleet/fleet.yml
Jul 28 09:37:37 Ubuntu2304 fleet[5395]: {"component":"redis","level":"info","mode":"standalone","ts":"2023-07-28T14:37:37.394213303Z"}
If the Fleet services start without issues, open your browser and browse to the hostname followed by port number 8080.
https://fleet.example.com:8080
You will see the Fleet Osquery Manager setup page.
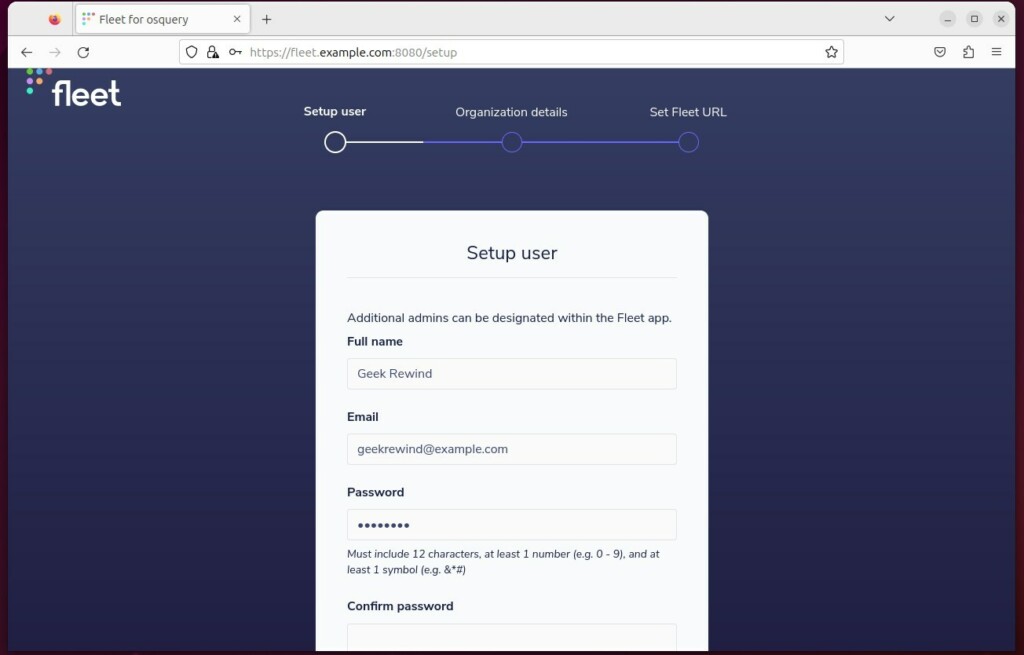
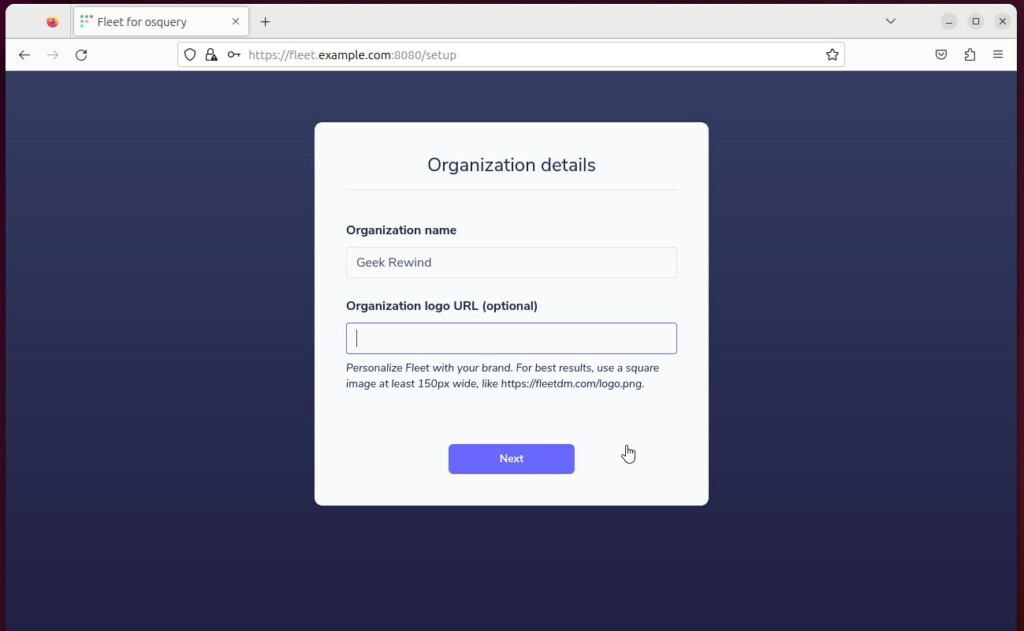
Continue with setting up your server and environment.
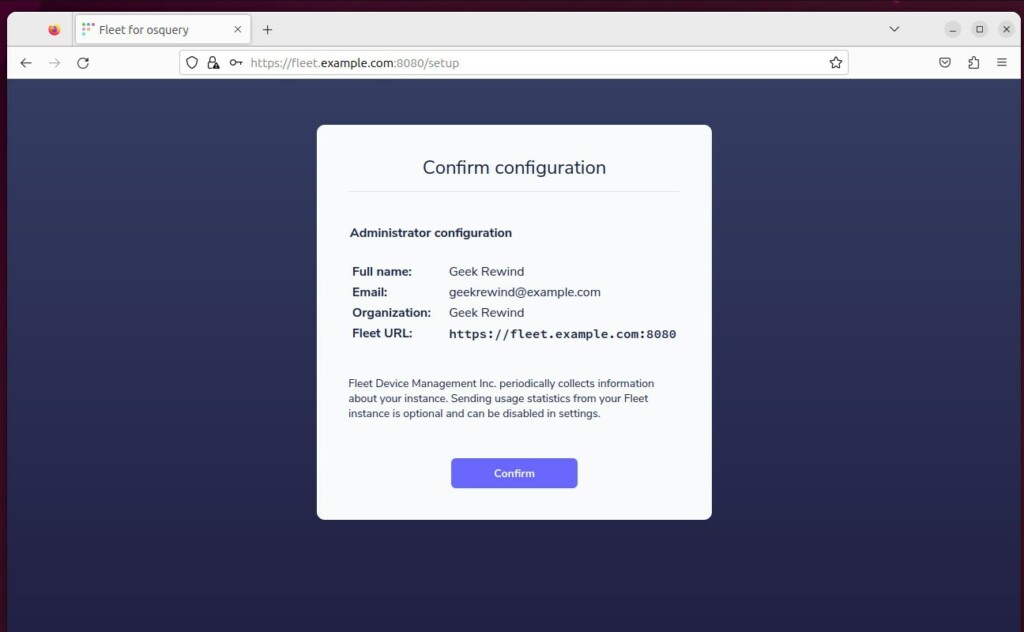
Confirm and complete the setup.
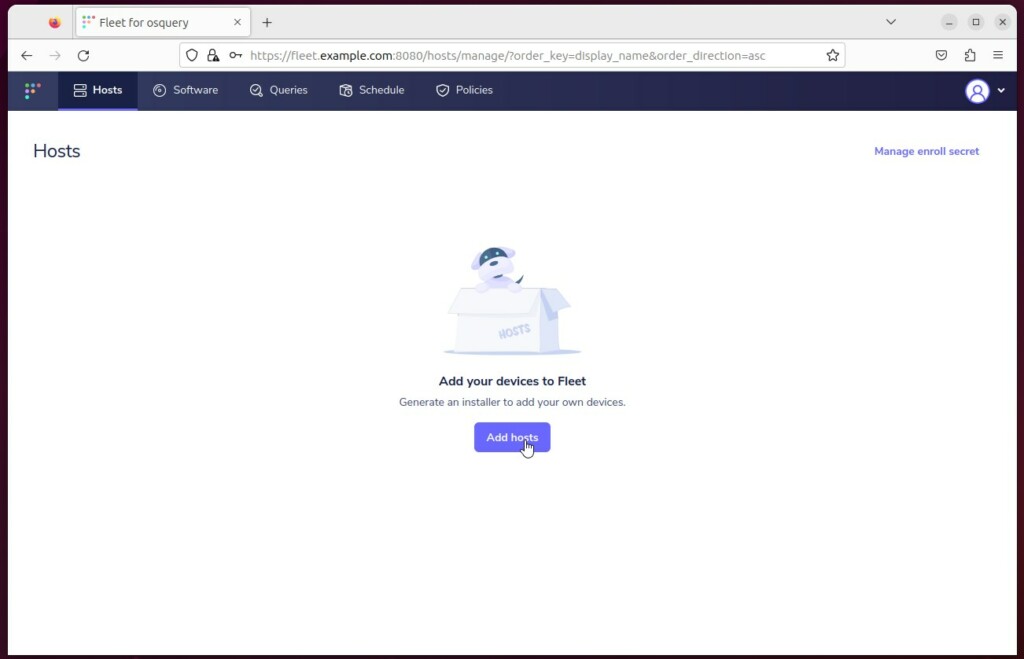
You can add new hosts to monitor once you log in to the admin dashboard.
That should do it!
Please read the page below for more information on adding hosts and configuring them.
Conclusion:
- Fleet Osquery Manager offers a centralized interface for deploying, managing, and updating numerous devices using open-source Osquery agents.
- It facilitates live queries, streaming logs, and real-time visibility for various devices, including servers, containers, and laptops.
- Following the steps in this article, users can successfully install Fleet with Osquery Manager on Ubuntu Linux.
- The instructions cover setting up the necessary MariaDB database server, configuring Fleet’s database, installing Redis, and deploying Fleet Osquery Manager.
- Once installed, users can access the Fleet Osquery Manager setup page via a web browser and configure their server and environment.
- Users can refer to the additional resources provided for further insights on enrolling and configuring hosts within Fleet.


Leave a Reply