This brief tutorial shows students and new users how to install FileZilla FTP and FTPS servers on Ubuntu 20.04 | 18.04.
FileZilla is an open-source project that creates FTP clients and servers for Windows, macOS, and Linux systems. Its cross-platform FTP client supports Windows, macOS, and Linux systems.
However, the FileZilla FTP server is supported on Windows only. FileZilla Server is a free, open-source FTP and FTPS Server.
For those who want to run the FileZilla server on Linux, the steps below show them how to do that. There is no straightforward way to install the FileZilla server on Linux. To get the server installed, you will have to use Wine.
To get started with installing the FileZilla server on Ubuntu, follow the steps below:
Install Wine
As we mentioned above, the FileZilla server is a Windows application. It doesn’t support Linux systems, including Ubuntu. To install and use it in Ubuntu, you’ll need to install Wine.
Wine allows users to run applications designed for Windows in a Linux environment.
To install Wine, use the steps below:
Before installing Wine, run the command below to enable the 32-bit architecture.
sudo apt update
sudo dpkg --add-architecture i386
After installing the package above, run the commands below to add the Wine package repository and key.
wget -qO - https://dl.winehq.org/wine-builds/winehq.key | sudo apt-key add -
Add the repository file by running the commands below.
sudo apt-add-repository 'deb https://dl.winehq.org/wine-builds/ubuntu/ focal main'
Now that the repository has been added run the commands below to install Wine.
sudo apt update
sudo apt install --install-recommends winehq-stable
Next, run the commands below to configure your environment for Wine.
export WINEARCH=win32
export WINEPREFIX=~/.wine32
sudo winecfg
Wine should be installed and ready to use. You can begin installing applications designed for Windows in the Wine environment.
Install FileZilla Server
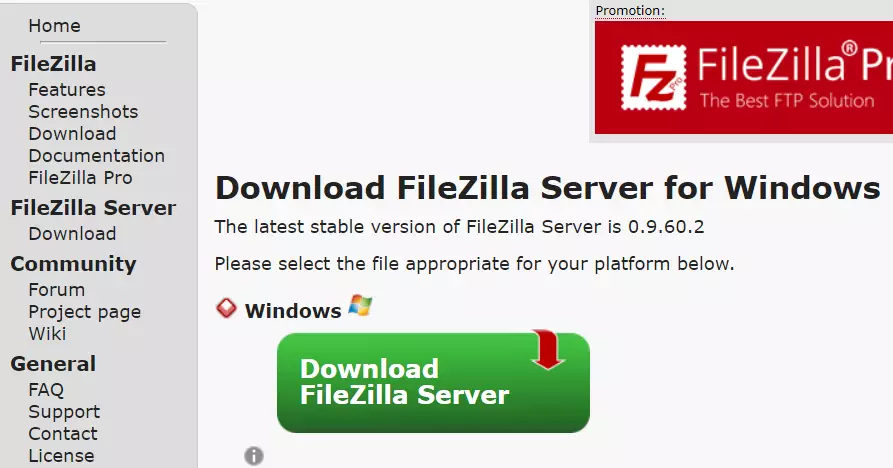
Now that Wine is installed, download the FileZilla server package from its download site.
Most downloaded content is saved in your Downloads folder. Open your terminal, browse the Downloads folder, and execute the installer.
cd ~/Downloads
sudo wine FileZilla_Server-*.exe
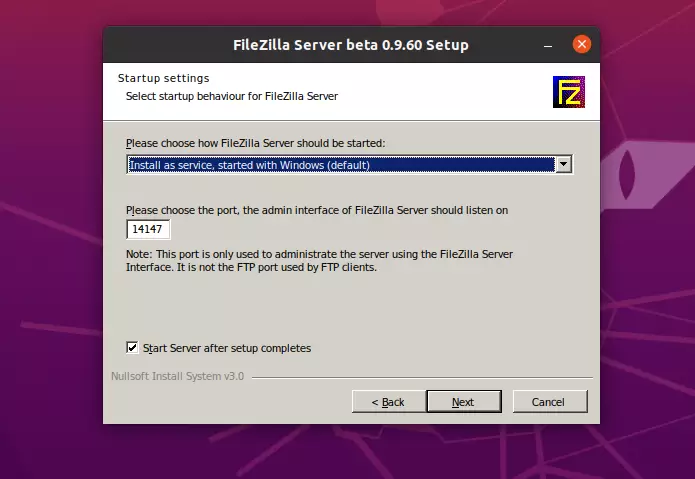
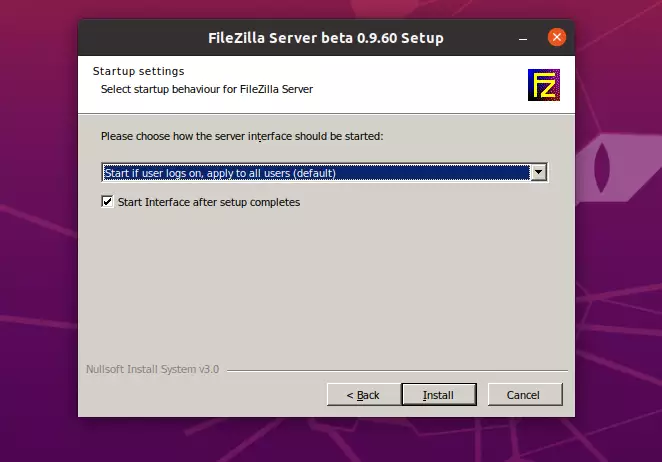
That will launch the installation wizard. Choose the default settings and continue.

Accept the default settings as shown below. The default port 14147 is the admin interface of FileZilla Server, which should listen on.
After that, click Install to complete the installation.
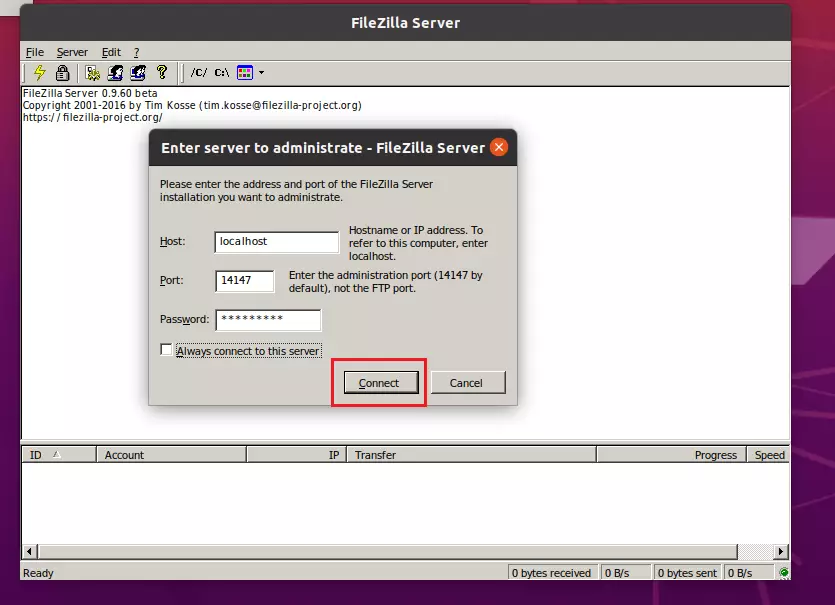
FileZilla server should automatically start after the installation. Click Connect to begin accepting connections.
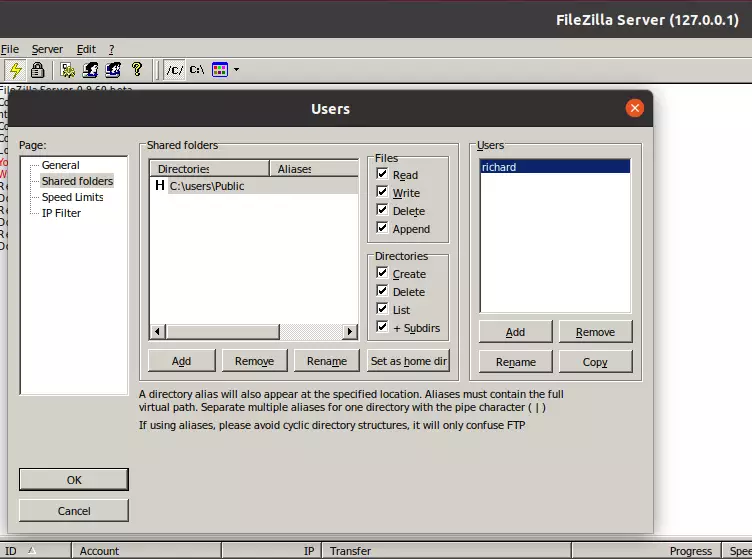
Click on Edit on the menu and select Users—then Shared folders. Add a user account and at least one home folder for your created user.
Click Add, select the folder you want the user to access, and click OK when done.
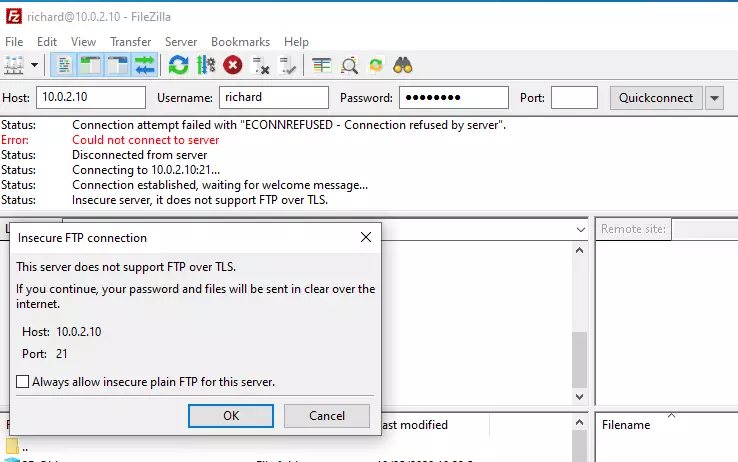
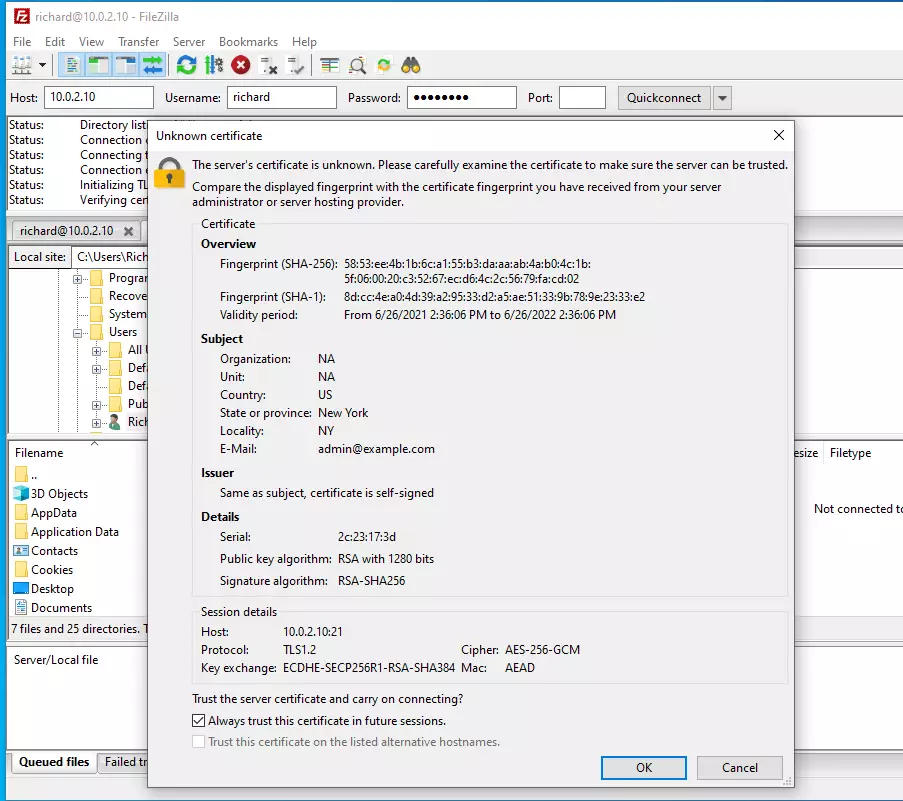
You can now connect using the account created above. However, you’ll get a message that the server does not support FTP over TLS and that your password will be sent in clear text over the internet.
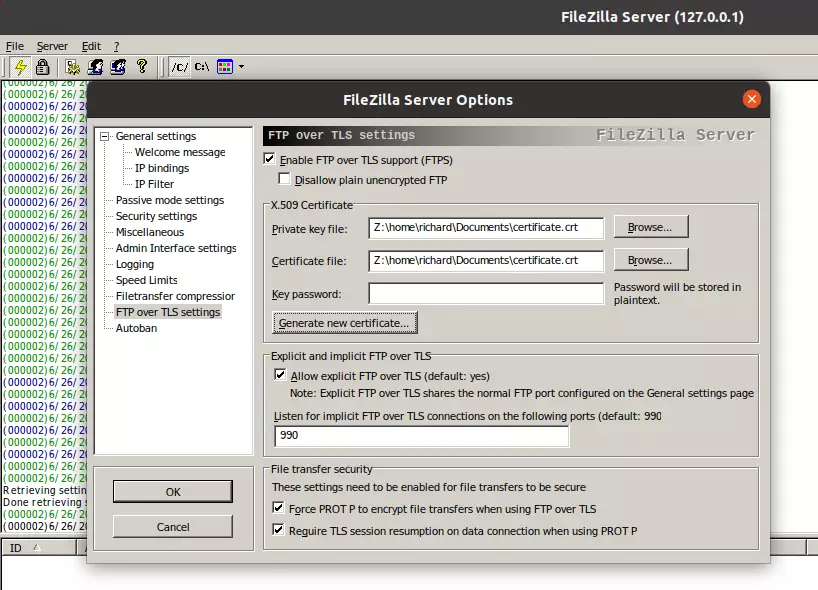
You can enable FTPS by following the steps below:
- Go to Edit, select Settings, then scroll down to FTP over TLS settings.
- Check the option box to “Enable FTP over TLS support (FTPS) “.
- Click on Browser and select any folder to save the certificate and key.
- Click Generate Certificate button.
- And then, finally, the OK.
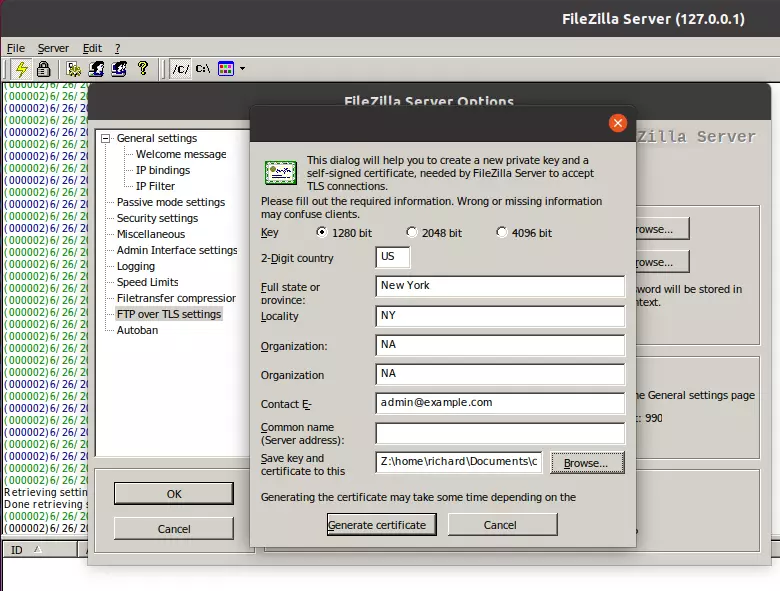
FileZilla should now have a certificate to encrypt your communications.
The next time you connect to the server, you’ll be prompted to access the server certificate.
To allow the launching of the FileZilla server icon on the desktop, right-click it, then select Allow Launching.
That should do it!
Conclusion:
- Successfully installed FileZilla Server on Ubuntu using Wine.
- Configured user accounts and shared folders to manage access.
- Enabled FTP over TLS for secure file transfers.
- Generated a server certificate to encrypt communications.
- Desktop icon created for easy access to the FileZilla Server.
- Enjoy hassle-free file sharing and management on your Linux system!


Leave a Reply