

This article explains how to install FileRun with Apache on Ubuntu 24.04.
FileRun provides a modern and intuitive interface for managing files, making it easier for users to navigate and interact with their documents.
It includes built-in features for sharing files, collaborating in real-time, and managing permissions, which can improve productivity in team environments.
FileRun integrates well with various third-party applications and services, such as Google Docs, which can enhance functionality and streamline workflows.
Installing FileRun with Apache on Ubuntu creates a powerful, flexible, and secure file management and collaboration platform, making it an excellent choice for individuals and organizations.
Install Apache HTTP server on Ubuntu
FileRun requires a web server. This post will install and use the Apache web server to run FileRun.
To do that, open the Ubuntu terminal and run the commands below to install the Apache web server.
sudo apt update
sudo apt install apache2
Once Apache is installed, the commands below can start, stop, and enable the Apache web server to start automatically when your server boots up.
sudo systemctl stop apache2
sudo systemctl start apache2
sudo systemctl enable apache2
You can test that the Apache web server is running by opening your web browser and browsing to the server’s localhost or IP address.
http://localhost
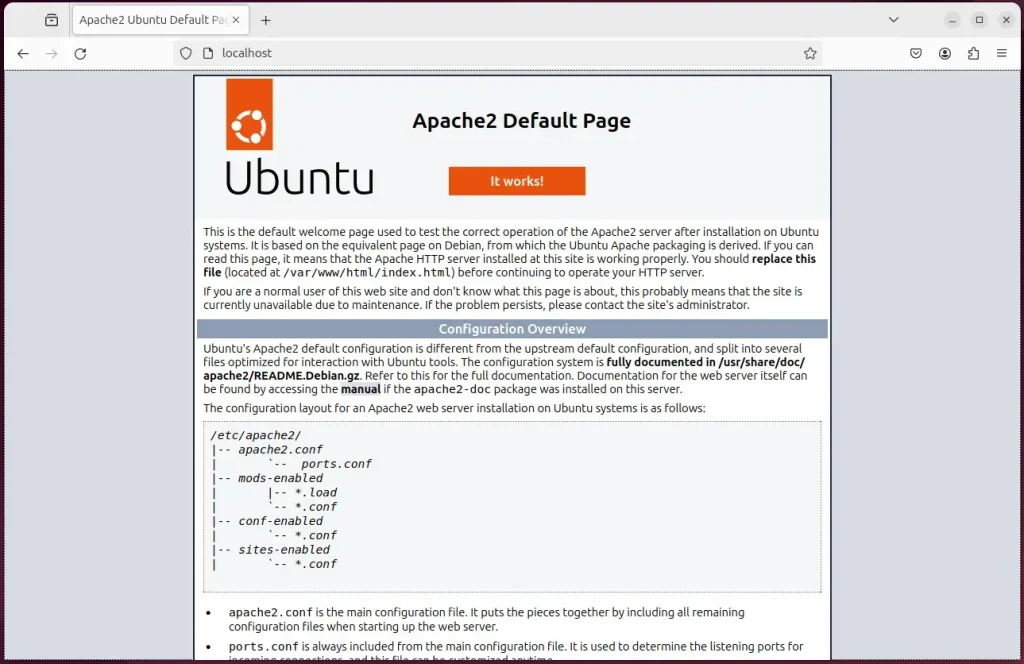
When you see the Apache2 Default Page, it means the Apache HTTP server is successfully installed.
Additional help on installing Apache on Ubuntu is in the link below.
How to install Apache on Ubuntu
Install the MariaDB database server on Ubuntu
The next component required to run FileRun is a database server. This post will install and use the MariaDB database server.
To install and use the MariaDB database server, use the instructions below.
Open the Ubuntu terminal and run the commands below to install the MariaDB database server.
sudo apt update
sudo apt install mariadb-server
Once the MariaDB database server is installed, use the commands below to stop, start, and enable the MariaDB server to start automatically when the server boots.
sudo systemctl stop mariadb
sudo systemctl start mariadb
sudo systemctl enable mariadb
Run the following commands to validate and test if the MariaDB database server is installed successfully.
sudo mariadb
Once you run the commands above, it will log you onto the MariaDB console and display a message similar to the one below.
Welcome to the MariaDB monitor.  Commands end with ; or g.
Your MariaDB connection id is 32
Server version: 10.11.2-MariaDB-1 Ubuntu 23.04

Copyright (c) 2000, 2018, Oracle, MariaDB Corporation Ab and others.

Type 'help;' or 'h' for help. Type 'c' to clear the current input statement.

MariaDB [(none)]>
The message tells you that the server is installed successfully.
Additional help on installing MariaDB.
Create a FileRun database
Upon successfully installing the MariaDB database server, create a blank database on the server specifically for the FileRun application.
As part of the setup, we will create a filerundb database and a user account called filerundbuser.
Finally, we’ll grant the filerundbuser full access to the filerundb database.
All the database steps above can be done using the commands below:
But first, log on to the MariaDB database server:
sudo mariadb
Then run the commands below to complete the steps:
CREATE DATABASE filerundb CHARACTER SET utf8mb4 COLLATE utf8mb4_general_ci;
CREATE USER filerundbuser@localhost IDENTIFIED BY 'type_your_password_here';
GRANT ALL ON filerundb.* TO filerundbuser@localhost WITH GRANT OPTION;
FLUSH PRIVILEGES;
exit
Ensure to replace ‘type_your_password_here ‘with your password.
Install PHP on Ubuntu Linux
The last component you will need to run FileRun is PHP. The FileRun application is PHP-based and supports the latest versions of PHP.
Then, run the commands below to install the latest PHP version.
sudo apt install php libapache2-mod-php php-intl php-mysql php-curl php-cli php-zip php-xml php-gd php-common php-mbstring php-xmlrpc php-bcmath php-json php-sqlite3 php-soap php-zip php-imagick php-ldap imagemagick ffmpeg
Additional help on installing PHP
How to install PHP on Ubuntu Linux
Next, you’ll want to change some great PHP configuration settings with FileRun. Run the commands below to create a new PHP configuration file for FileRun.
sudo nano /etc/php/8.3/apache2/conf.d/filerun.ini
Then, copy the lines below and paste them into the file above. Adjust as you wish.
expose_php              = Off
error_reporting         = E_ALL & ~E_NOTICE
display_errors          = Off
display_startup_errors  = Off
log_errors              = On
ignore_repeated_errors  = Off
allow_url_fopen         = On
allow_url_include       = Off
variables_order         = "GPCS"
allow_webdav_methods    = On
memory_limit            = 128M
max_execution_time      = 300
output_buffering        = Off
output_handler          = ""
zlib.output_compression = Off
zlib.output_handler     = ""
safe_mode               = Off
register_globals        = Off
magic_quotes_gpc        = Off
upload_max_filesize     = 20M
post_max_size           = 20M
enable_dl               = Off
disable_functions       = ""
disable_classes         = ""
session.save_handler     = files
session.use_cookies      = 1
session.use_only_cookies = 1
session.auto_start       = 0
session.cookie_lifetime  = 0
session.cookie_httponly  = 1
date.timezone            = "UTC"
Save your changes and exit.
One last module that is required is ionCube. Run the steps below to install it and add it to PHP configurations.
Download the package for Ubuntu 64-bit.
sudo wget https://downloads.ioncube.com/loader_downloads/ioncube_loaders_lin_x86-64.tar.gz
Next, run the commands below to extract it into the /usr/lib/php directory.
sudo tar -xzf ioncube_loaders_lin_x86-64.tar.gz -C /usr/lib/php
Then, run the commands below to create an ioncube config file.
sudo nano /etc/php/8.3/apache2/conf.d/00-ioncube.ini
Paste the following line into the file and save.
zend_extension = /usr/lib/php/ioncube/ioncube_loader_lin_8.3.so
Save the file and exit.
Download FileRun files
Let’s begin downloading and configuring the FileRun files on Ubuntu Linux. Run the command below to download the latest version of FileRun.
Download the installation zip archive from the FileRun client area: https://filerun.com/client-area/client-area-orders. There’s no zip archive file available for public download at the moment.
The download is available only for holders of an Enterprise license with valid support service.
After downloading, extract the file to the Apache root directory.
cd /tmp
sudo unzip FileRun.zip -d /var/www/filerun
Next, run the command below to make the Apache user owner of the directory.
sudo chown -R www-data:www-data /var/www/filerun/
Once you have completed all the above steps, continue configuring the Apache web server below to serve the FileRun content.
Run the commands below to create an Apache virtual host file for FileRun.
sudo nano /etc/apache2/sites-available/filerun.conf
Then, copy and paste the content block below into the Apache server block.
<VirtualHost *:80>
  ServerName filerun.example.com
  ServerAlias www.filerun.example.com
  ServerAdmin [email protected]
  DocumentRoot /var/www/filerun

  <Directory /var/www/filerun/>
       Options FollowSymlinks
       AllowOverride All
       Require all granted
  </Directory>

       ErrorLog ${APACHE_LOG_DIR}/error.log
       CustomLog ${APACHE_LOG_DIR}/access.log combined
</VirtualHost>
Save the file.
Then, run the commands below to enable the virtual host and restart the Apache server.
sudo a2ensite filerun.conf
sudo a2enmod rewrite
sudo systemctl restart apache2
Setup Let’s Encrypt SSL/TLS for FileRun
You may want to install an SSL/TLS certificate to secure your FileRun site. Secure your FileRun installation with HTTPS from Let’s Encrypt.
Please read the post below for additional resources on installing and creating Let’s Encrypt SSL certificates for Apache.
How to set up Let’s Encrypt SSL certificate for Apache on Ubuntu Linux
Once you have restarted the Apache web server, open your browser and browse to the server hostname or IP address defined in the Apache server block.
http://filerun.example.com
A FileRun setup wizard should appear. Follow the wizard to complete the setup.

Make sure all requirements are met.

You will need to know the following items before proceeding. Use the database connection info you created above.
- Database name
- Database username
- Database password
- Database host
Then, type in the database connection info and click Next

Take notes of the super admin account password.

Log in and begin setting up your environment.

FileRun should be installed and ready to use.
That should do it!
Conclusion:
In summary, installing FileRun with Apache on Ubuntu provides a robust file management and collaboration solution. Here are the key points to consider:
- User-Friendly Interface: FileRun offers an intuitive interface that enhances user experience.
- Collaboration Features: Built-in tools facilitate real-time collaboration and file sharing.
- Integration Capabilities: Easily integrates with third-party applications like Google Docs.
- Flexible Setup: Apache and MariaDB enable a secure and customizable environment.
- SSL/TLS Security: Implementing Let’s Encrypt ensures secure access to your FileRun installation.
- Comprehensive Documentation: Plenty of resources and guides are available for installation and configuration.
With these advantages, FileRun is an excellent choice for individuals and organizations seeking efficient file management solutions.


Leave a Reply