This post shows students and new users how to enable or add TPM support on VMware Player to install Windows 11. Microsoft has a straight hardware requirement to run Windows 11. These requirements are designed for physical hardware and apply to virtual machines.
Suppose you’re running virtualization software like VirtualBox or VMware Player. In that case, you may have to follow a workaround to enable pass-through TPM support to the virtual machines from the host computer. As far as I know, VirtualBox doesn’t have this feature, but with VMware Player, you can enable this, and the steps below will show you how to do that.
If you’re running VMware Workstation Pro, applying the configuration steps below is unnecessary. TPM is enabled out of the box. However, the free VMware Player doesn’t have it, so you must apply the steps below to enable TPM.
Without TPM being enabled, your VMs may be unable to receive further dev builds due to missing TPM support.
To enable TPM support on VMware Player, continue with the steps below.
How to add TPM support on VMware Workstation Player
As mentioned above, without TPM support on the VM, you may be unable to install Windows 11 or receive further dev builds.
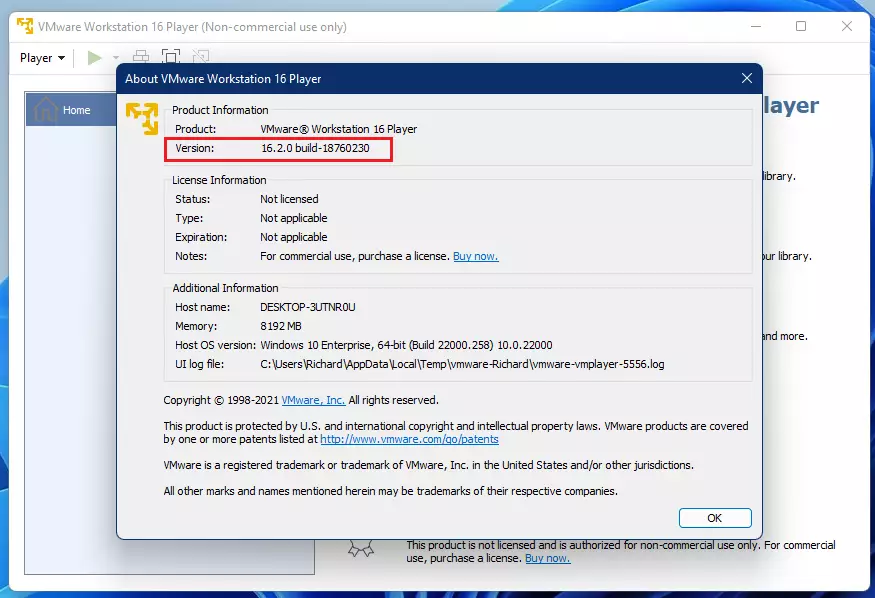
To add TPM support, ensure you’re running VMware Player 16.2 and up. If you’re not already on the 16.2 version, upgrade first.
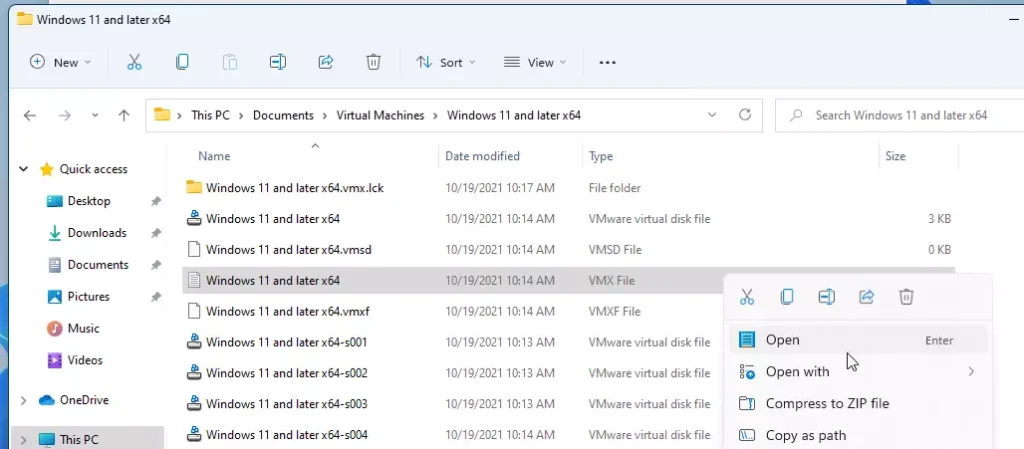
Next, shut down and close VMWare Manager to ensure it is not running in the background. You can then go to where the virtual machine’s files are stored. By default, in the Documents folder of your home directory.
C:\Users\<username>\Documents\Virtual Machines\Virtual Machine Name
In the virtual machine folder, find the file with your virtual machine name and the vmx extension (Virtual Machine Configuration File).
Open the file, then scroll down the list of configs and add the following line at the end: managed.autoAddVTPM = "software"
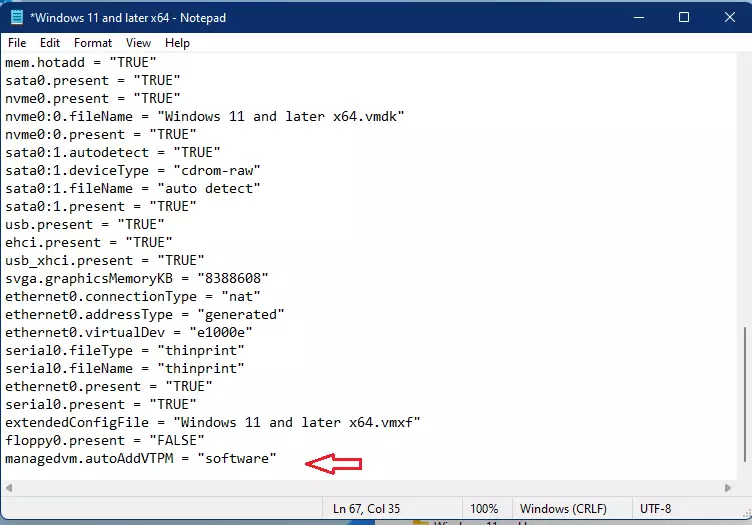
Save the file and exit.
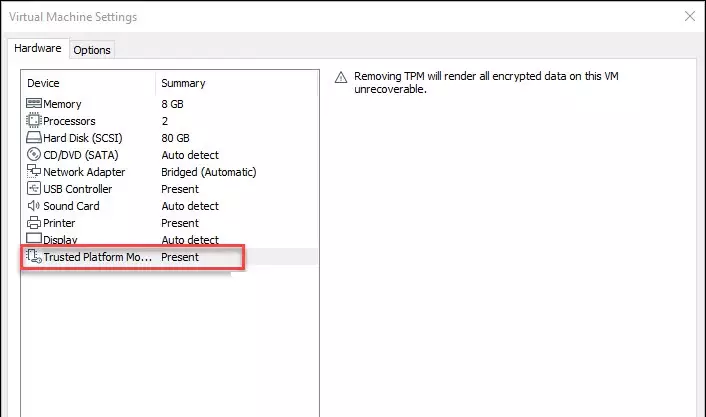
Launch VMware Player, open the virtual machine’s settings and check the Trusted Platform Module line on the Hardware tab to view the TPM support status.
That should do it!
Conclusion:
- Enabling TPM support in VMware Player is essential for installing Windows 11 and receiving future development builds.
- Ensure you use VMware Player version 16.2 or higher before making configuration changes.
- Properly edit the VMX configuration file to include the necessary settings for TPM support.
- Confirm the activation of the Trusted Platform Module through the VM’s hardware settings in VMware Player.
- Following these steps will improve your virtual machine’s compatibility with Windows 11 requirements.

Leave a Reply Cancel reply