This article explains creating virtual guest machines on Ubuntu Linux with VMware Workstation Player.
Creating virtual guest machines on VMware Workstation Player is beneficial for several reasons. Firstly, it allows users to run multiple guest machines simultaneously on a single host computer.
Users can test applications and software on multiple operating systems like Windows, Linux, and macOS without needing multiple physical computers. Additionally, it provides a safe and isolated environment for testing and experimentation, as any changes made to the virtual machine do not affect the host machine.
Overall, creating virtual guest machines on VMware Workstation Player can save time, increase productivity, and provide a convenient and secure way to test software and applications.
To learn how to create new virtual guest machines, continue below:
Install VMware Workstation Player
To create new virtual guest machines on VMware Workstation Player, you must first install it on a host computer.
Create A New Virtual Guest Machine
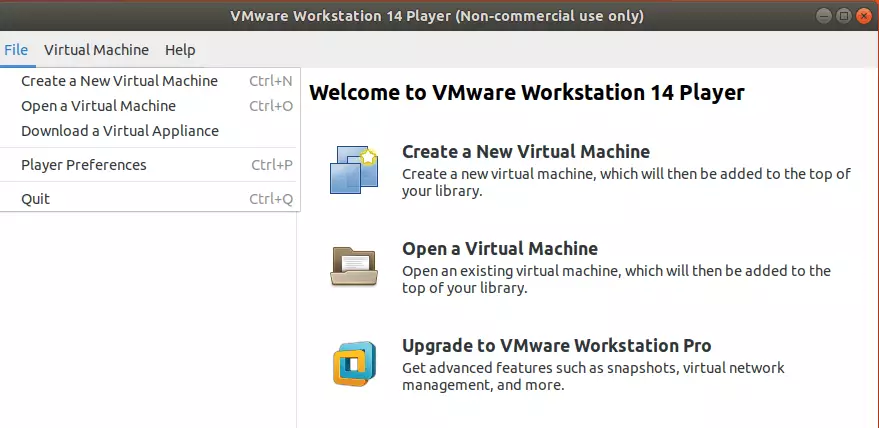
Now that VMware Workstation Player software is installed on the host computer, open the application and go to File ==> Create New Virtual Machine.
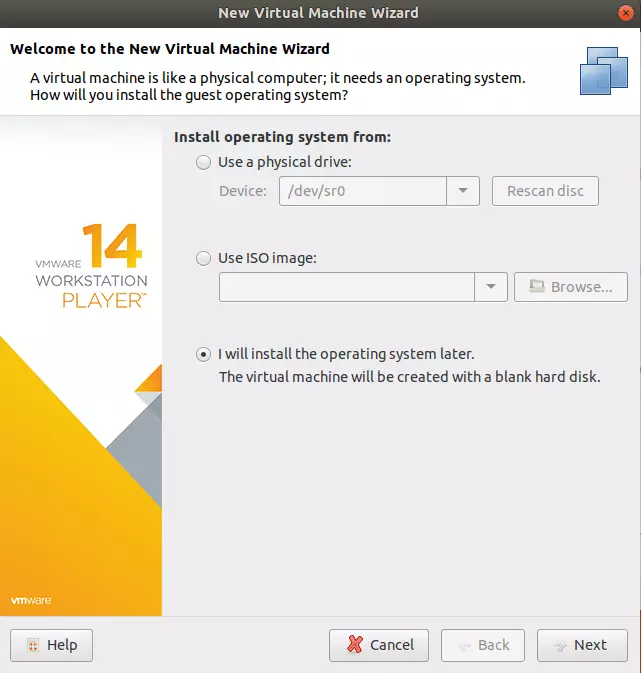
This should open the new VM creation wizard. When the wizard opens, choose to create the Virtual Machine, install the operating system later, and continue.
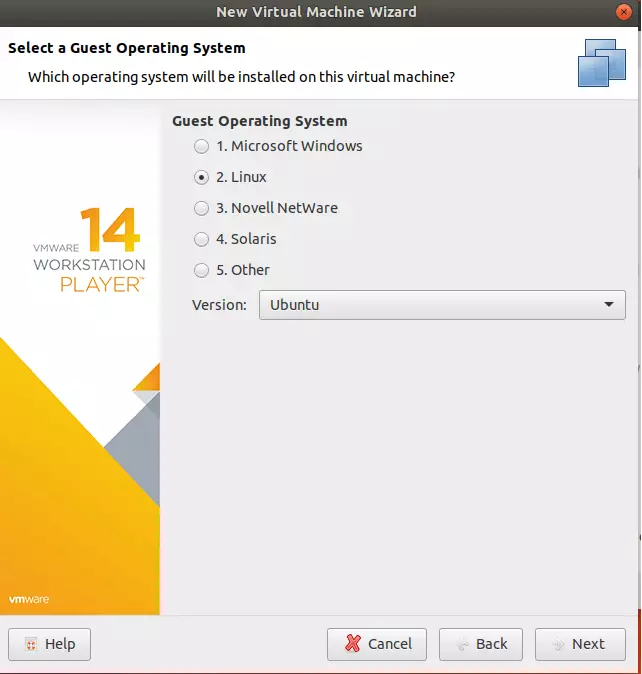
Next, select the operating system installed on the new Virtual Machine. Then click Next.
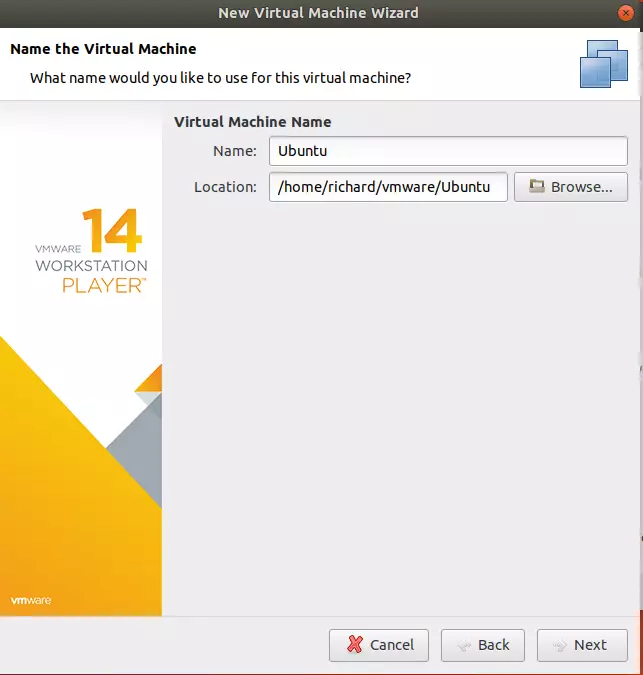
Next, please choose a new virtual machine and the location to store it. You’ll probably want to accept the default location but can change the name to whatever you want. Click Next when done.
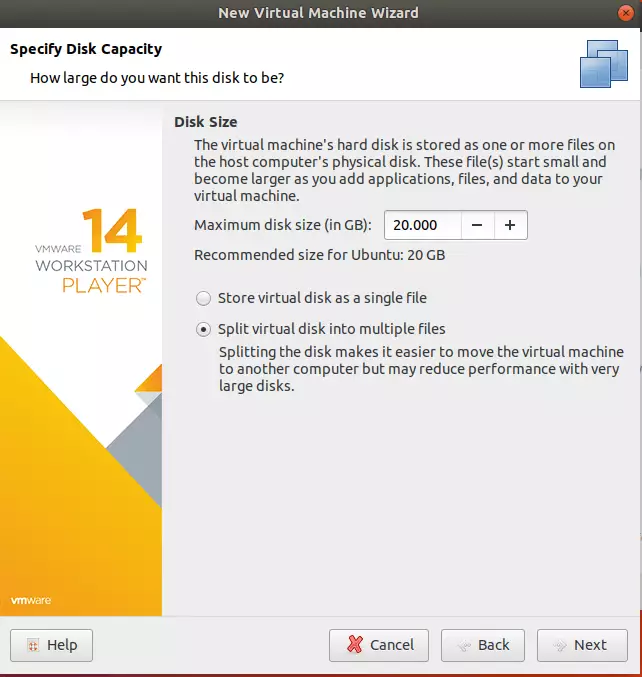
Next, specify the Hard Disk capacity. The recommended setting should be enough. However, if the host machine doesn’t have sizeable free space, you can reduce this page’s virtual machine disk capacity. When done, click Next to continue.
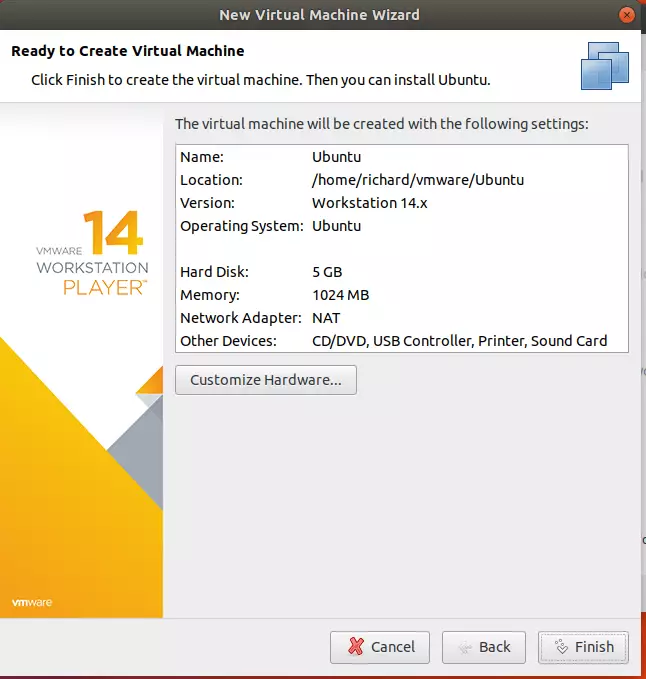
Click Finish to create the Virtual Machine. You will then be able to install Ubuntu OS on it.
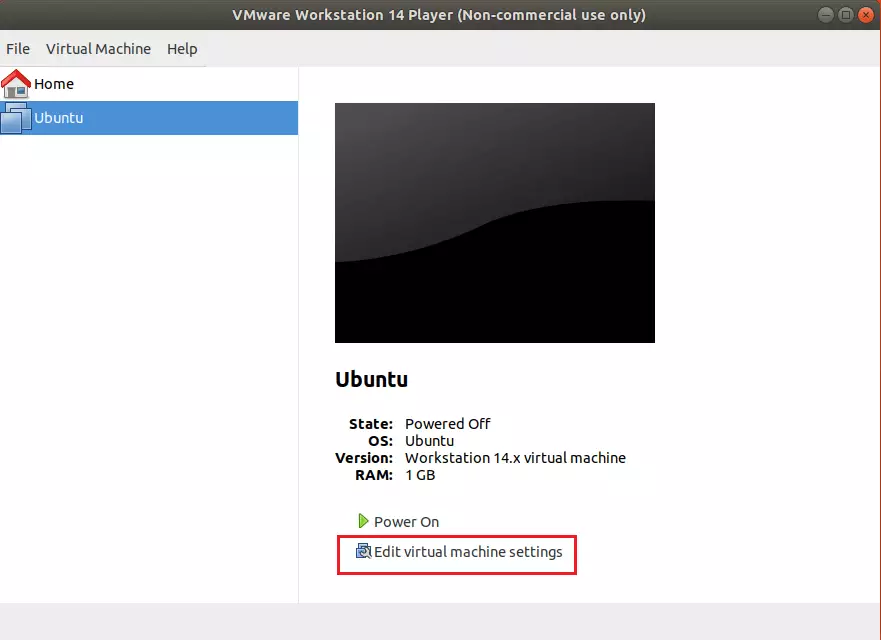
When the wizard is done, click Edit virtual machine settings to specify the operating system disk or ISO image you want to use to install on the VM.
Then select CD/DVD (SATA) from the Hardware list and choose the location of the operating system disk or image. If you have an ISO image, browse and select. For the DVD dish, choose the physical drive.

Save your change and close. Then, Start the Virtual Machine. And if everything is configured right, you should see the operating system boot screen to install.
That’s it!
Enjoy!
You may also like the post below:


Leave a Reply Cancel reply