
This tutorial will show you how to add or remove the WMIC command as an optional feature in Windows 11. Think of it like an app you can install or uninstall based on what you need.
What is WMIC?
The WMI command-line WMIC utility gives you a way to control Windows through text commands. WMIC works with other tools and commands you might already use.
WMIC is deprecated in Windows 10 and newer versions. It’s being replaced by Windows PowerShell for WMI. Note: This only affects the command itself. WMI itself still works fine.
Why You Might Need This
You may want to remove WMIC if you don’t use it and want to clean up your system. Or you might need to add it back if you removed it before.
Important: Admin Rights Required
⚠️ You must sign in as an administrator to add or remove WMIC.
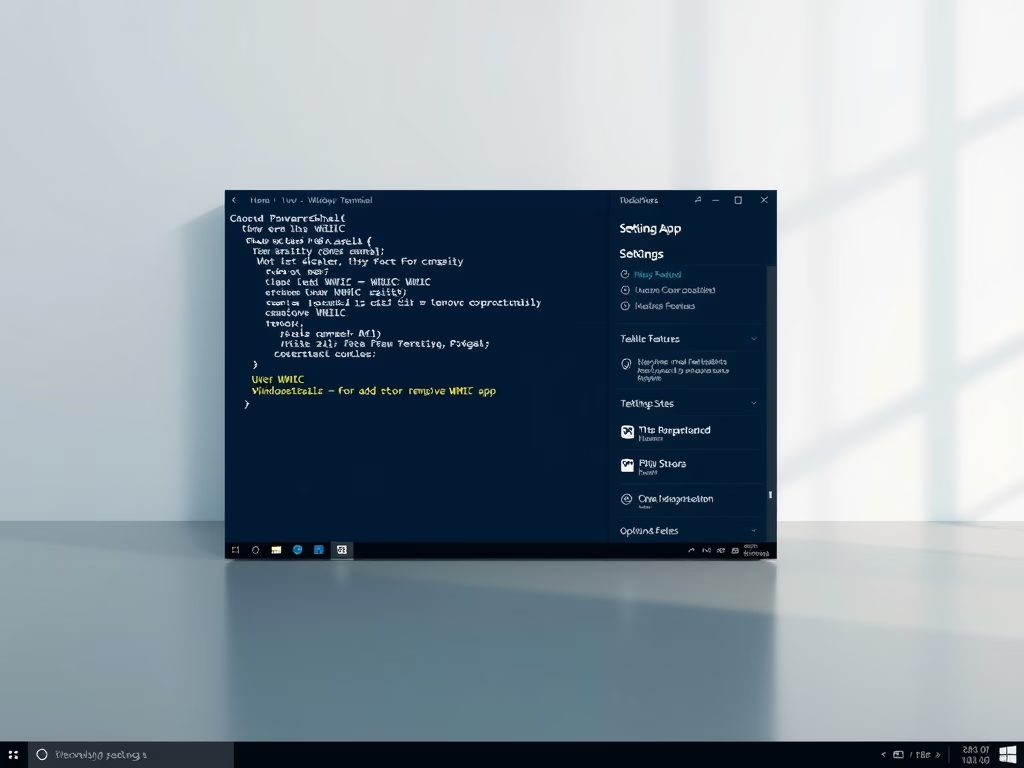
How to Add or Remove WMIC Using Commands
- Open Windows Terminal (Admin) and choose Windows PowerShell or Command Prompt.
- Copy and paste the command below into Windows Terminal. Then press Enter.
To Add WMIC:
DISM /Online /Add-Capability /CapabilityName:WMIC~~~~To Remove WMIC:
DISM /Online /Remove-Capability /CapabilityName:WMIC~~~~ - You can now close Windows Terminal when finished.

What Happens Next?
Windows will install or remove the WMIC command. You may need to restart your computer for the changes to take effect. Once done, you’ll have full control over whether WMIC is available on your system.
Summary
WMIC is a command-line tool that’s being phased out in Windows. In Windows 11, you can easily add it or remove it as an optional feature. Using the DISM command in Windows Terminal (with admin rights) takes just a few seconds. Whether you need it for work or want to remove it to save space, these steps let you control what’s on your computer.
References:
Leave a Reply Cancel reply