This article explains setting up Datenstrom Yellow CMS with Nginx on Ubuntu Linux.
Yellow is an open-source content management system for folks who want to build websites and blogs that are easy to install and manage without needing a database. Instead, you’re done by just uploading the web content files to your server!
With Yellow, you can browse your website, make changes, and see the results immediately. It’s a great way to update your website. In addition, it offers features that may not be available to other PHP-based CMS, like WordPress, Joomla, or Drupal.
For one, it doesn’t need a database server; call it database-less. It has all the required features but is smaller than WordPress, like SEO-friendly design, flexible CSS framework, and more.
For more about Yellow, please check its homepage.
Install Nginx HTTP Server
Yellow CMS requires a web server, and the Nginx HTTP server is probably the second most popular open-source web server available today. To install the Nginx server, run the commands below:
sudo apt update
sudo apt install nginx
After installing Nginx, the commands below can be used to stop, start, and enable the Nginx service to always start up with the server boots.
sudo systemctl stop nginx.service
sudo systemctl start nginx.service
sudo systemctl enable nginx.service
Now that Nginx has been installed browse your browser to the URL below to test whether the web server works.
http://localhost
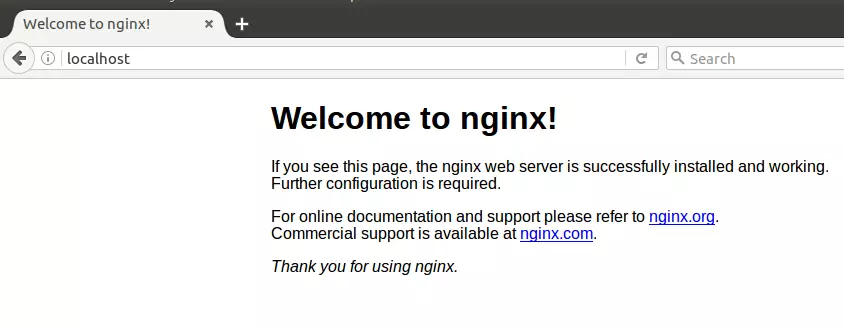
If you see the page above, then Nginx is successfully installed.
Install PHP 7.2-FPM and Related Modules
Yellow CMS is a PHP-based CMS, and PHP is required. However, PHP 7.2-FPM may not be available in Ubuntu default repositories. To run PHP 7.2-FPM on Ubuntu 16.04 and previous, you may need to run the commands below:
sudo apt-get install software-properties-common
sudo add-apt-repository ppa:ondrej/php
Then update and upgrade to PHP 7.2-FPM
sudo apt update
Next, run the commands below to install PHP 7.2 and related modules.
sudo apt install php7.2-fpm php7.2-common php7.2-mbstring php7.2-xmlrpc php7.2-sqlite3 php7.2-soap php7.2-gd php7.2-xml php7.2-cli php7.2-curl php7.2-zip
After installing PHP 7.2, run the commands below to open Nginx’s PHP default configuration file.
sudo nano /etc/php/7.2/fpm/php.ini
The lines below are a good setting for most PHP-based CMS. Update the configuration file with these and save.
file_uploads = On
allow_url_fopen = On
short_open_tag = On
memory_limit = 256M
cgi.fix_pathinfo = 0
upload_max_filesize = 100M
max_execution_time = 360
date.timezone = America/Chicago
Restarting the Nginx web server whenever you change the PHP configuration file would be best. To do so, run the commands below:
sudo systemctl restart nginx.service
sudo systemctl restart php7.2-fpm.service
Once PHP is installed, create a test file called phpinfo.php in the Nginx default root directory. ( /var/www/html/)
sudo nano /var/www/html/phpinfo.php
Then, type the content below and save the file.
<?php phpinfo( ); ?>
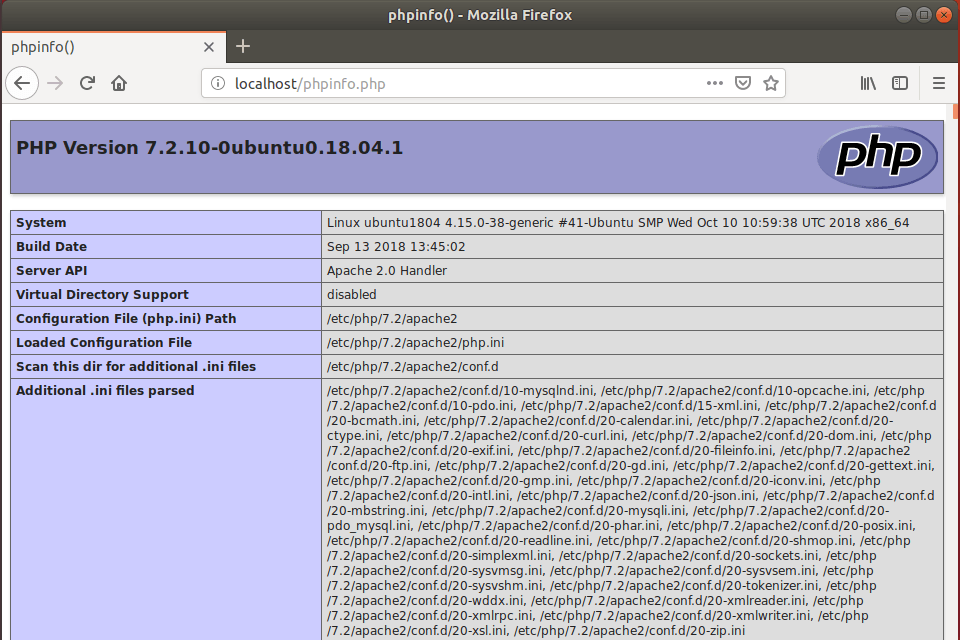
Next, open your browser and browse to the server’s hostname or IP address, followed by phpinfo.php
http://localhost/phpinfo.php
You should see the PHP default test page.
Download Yellow Latest Release
To get Yellow latest, run the commands below:
cd /tmp
wget https://github.com/datenstrom/yellow/archive/master.zip
unzip master.zip
sudo mv yellow-master /var/www/html/yellow
Then, run the commands below to set the correct permissions for Yellow to adjust the directory permissions.
sudo chown -R www-data:www-data /var/www/html/yellow/
sudo chmod -R 755 /var/www/html/yellow/
Configure Nginx Yellow Site
Finally, configure the Nginx configuration file for Yellow. This file will control how users access Yellow content. Run the commands below to create a new configuration file called yellow.
sudo nano /etc/nginx/sites-available/yellow
Then copy and paste the content below into the file and save it. Replace the highlighted line with your domain name and directory root location.
server {
    listen 80;
    listen [::]:80;
    root /var/www/html/yellow;
    index  index.php index.html index.htm;
    server_name  example.com www.example.com;

     client_max_body_size 100M;

     autoindex off;

     location / {
        try_files $uri $uri/ /index.php?$query_string;
      }

    location ~ \.php$ {
         include snippets/fastcgi-php.conf;
         fastcgi_pass unix:/var/run/php/php7.2-fpm.sock;
         fastcgi_param SCRIPT_FILENAME $document_root$fastcgi_script_name;
         include fastcgi_params;
    }
}
Save the file and exit.
After configuring the VirtualHost above, please enable it by running the commands below.
Enable Yellow Site
After configuring the VirtualHost above, please enable it by running the commands below, then restart the Nginx server.
sudo ln -s /etc/nginx/sites-available/yellow /etc/nginx/sites-enabled/
sudo systemctl restart nginx.service
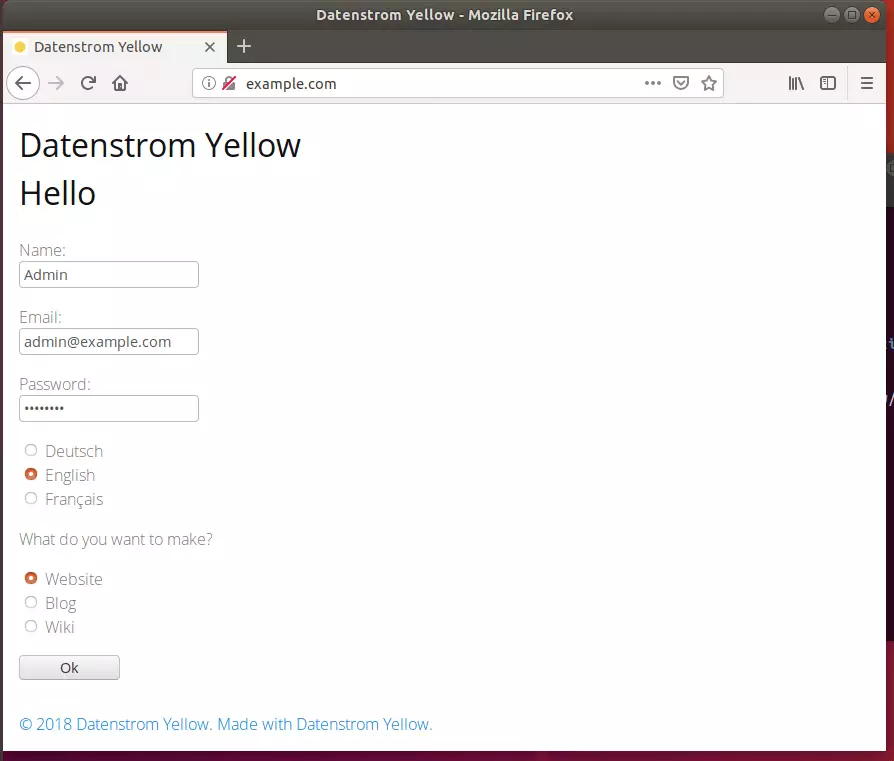
Next, open your browser and browse the server hostname or IP address. You should see the Yellow setup page. Create an admin account and save.
http://example.com/
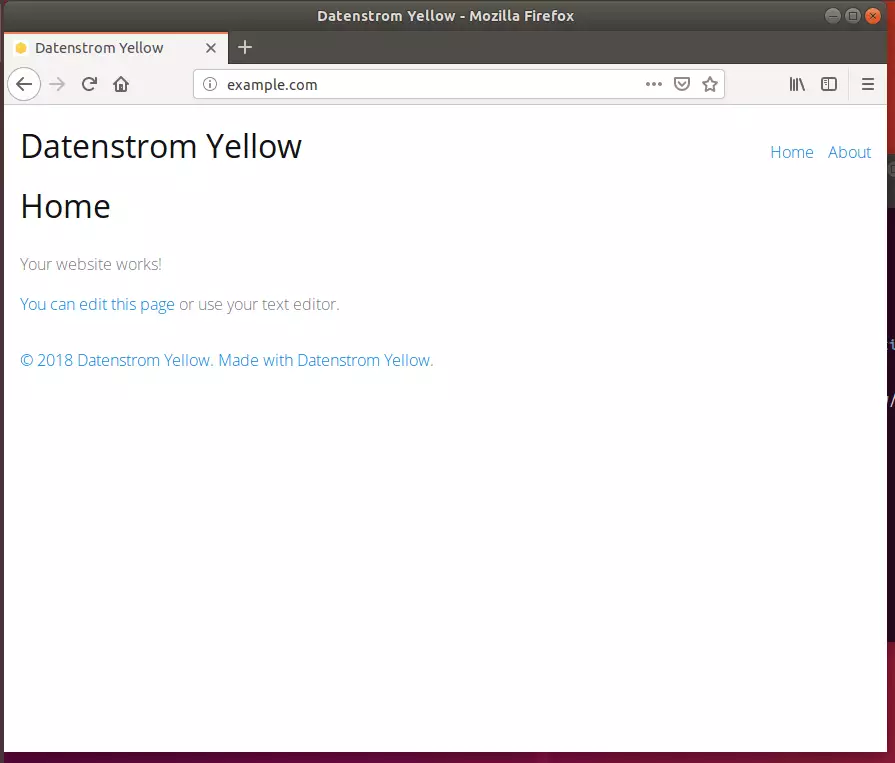
After that, Yellow should be installed and ready to use.
Yellow began as a databaseless flat file content management system. Its structure allowed you to have just the amount of functionality needed in a flat file CMS solution, adding extensions (blade packs) for additional functionality while allowing setup on simple servers with no database.
You may also like the post below:


Leave a Reply Cancel reply