
This article explains installing Bludit CMS with Nginx on Ubuntu 24.04.
Bludit is an open-source flat-file CMS with a slick admin interface that is gaining much attention. It also offers features unavailable to other PHP-based content management systems, like WordPress, Joomla, or Drupal.
Nginx is a high-performance web server commonly used as a reverse proxy and load balancer. It’s known for its ability to handle high volumes of traffic and its efficient resource utilization.
Ubuntu Linux is a popular operating system for web servers. It’s easy to set up and maintain and has a large community of users and developers.
By setting up Bludit CMS with Nginx on Ubuntu Linux, you can create a fast, secure, and reliable website that’s easy to manage and maintain.
Install Nginx HTTP server on Ubuntu
Bludit requires a web server. This post will install and use the Nginx web server to run Bludit.
To do that, open the Ubuntu terminal and run the commands below to install the Nginx web server.
sudo apt update
sudo apt install nginx
Once Nginx is installed, the commands below can start, stop, and enable the Nginx web server to start automatically when your server boots up.
sudo systemctl stop nginx
sudo systemctl start nginx
sudo systemctl enable nginx
You can test the Nginx web server by opening your web browser and browsing to the server’s localhost or IP address.
http://localhost
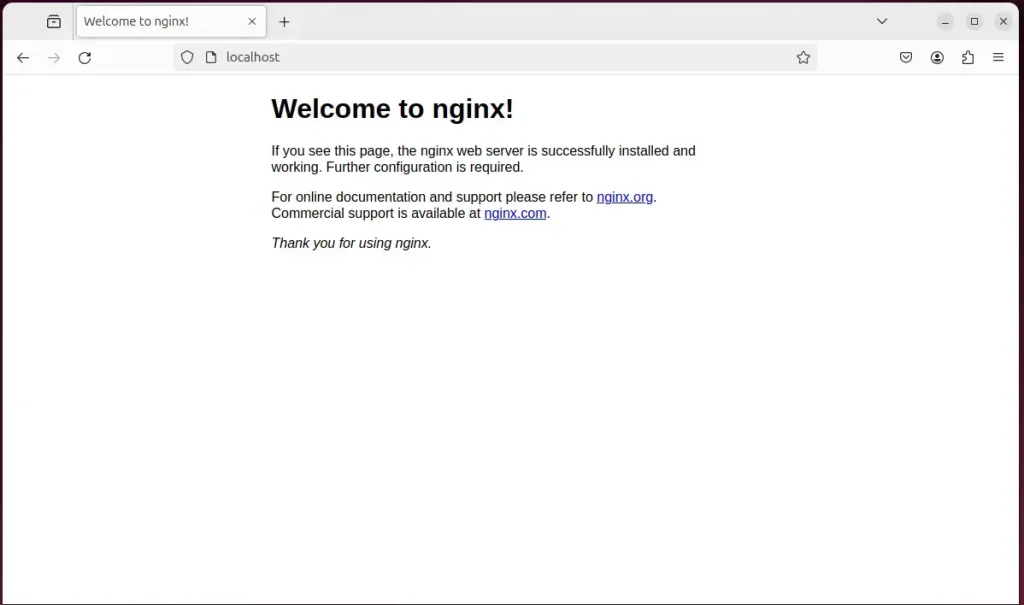
When you see the Welcome to nginx!, it means the Nginx HTTP server is successfully installed.
Additional help on installing Nginx on Ubuntu is in the link below.
How to install Nginx on Ubuntu
Install PHP on Ubuntu Linux
The last component you will need to run Bludit is PHP. The Bludit application is PHP-based and supports the latest versions of PHP.
Then, run the commands below to install the latest PHP version.
sudo apt install php-fpm php-intl php-mysql php-curl php-cli php-zip php-xml php-gd php-common php-mbstring php-xmlrpc php-bcmath php-json php-sqlite3 php-soap php-zip
Additional help on installing PHP
How to install PHP on Ubuntu Linux
Download Bludit files
Let’s begin downloading and configuring the Bludit files on Ubuntu Linux.
To always install the latest version, check the download page for Bludit. Get the download link and download the archived package to your computer. Then, extract it.
First, navigate to the /tmp/ directory and download the Bludit files. Next, move the content into the Bludit folder in the Nginx root directory.
The final step is to change the permissions. This will allow the Nginx web server to interact safely with the files, ensuring a secure environment for your Bludit installation.
cd /tmp/
wget https://www.bludit.com/releases/bludit-3-16-2.zip
sudo unzip bludit-*.zip -d /var/www/
sudo chown -R www-data:www-data /var/www/bludit
Once you have completed all the above steps, continue configuring the Nginx web server below to serve the Bludit content.
Run the commands below to create a Nginx virtual host file for Bludit.
sudo nano /etc/nginx/sites-available/bludit.conf
Then, copy and paste the content block below into the Nginx server block.
server {
    listen 80;
    listen [::]:80;
    root /var/www/bludit;
    index  index.php;
    server_name  bludit.example.com;

    access_log /var/log/nginx/example.com.access.log;
    error_log /var/log/nginx/example.com.error.log;

    location / {
        try_files $uri $uri/ /index.php?$args;
    }

    location ~ \.php$ {
         include snippets/fastcgi-php.conf;
         fastcgi_pass unix:/var/run/php/php8.3-fpm.sock;
         fastcgi_param SCRIPT_FILENAME $document_root$fastcgi_script_name;
         include fastcgi_params;
    }

    location ^~ /bl-content/databases/ { deny all; }
    location ^~ /bl-content/workspaces/ { deny all; }
    location ^~ /bl-content/pages/ { deny all; }
    location ^~ /bl-kernel/*.php { deny all; }

}
Save the file.
Then, run the commands below to enable the virtual host and restart the Nginx server.
sudo ln -s /etc/nginx/sites-available/bludit.conf /etc/nginx/sites-enabled/
sudo systemctl restart nginx
Setup Let’s Encrypt SSL/TLS for Bludit
You may want to install an SSL/TLS certificate to secure your Bludit site. Secure your Bludit installation with HTTPS from Let’s Encrypt.
Please read the post below for additional resources on installing and creating Let’s Encrypt SSL certificates for Nginx.
How to set up Let’s Encrypt SSL certificate for Nginx on Ubuntu Linux
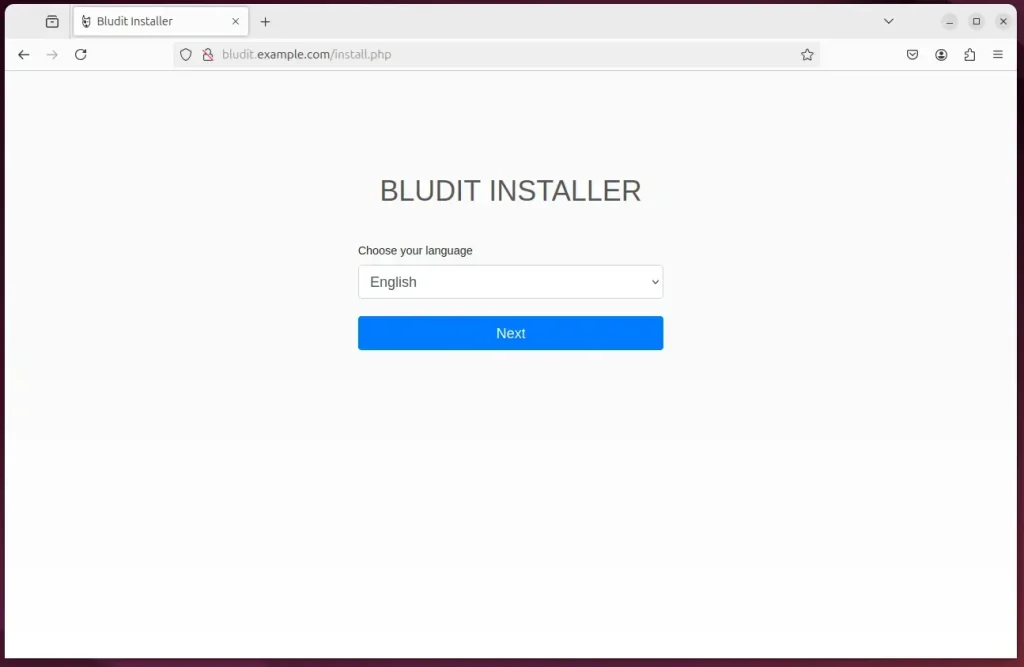
Once you have restarted the Nginx web server, open your browser and browse to the server hostname or IP address defined in the Nginx server block.
http://bludit.example.com
A Bludit installation wizard page should appear. Select the installation language and continue.
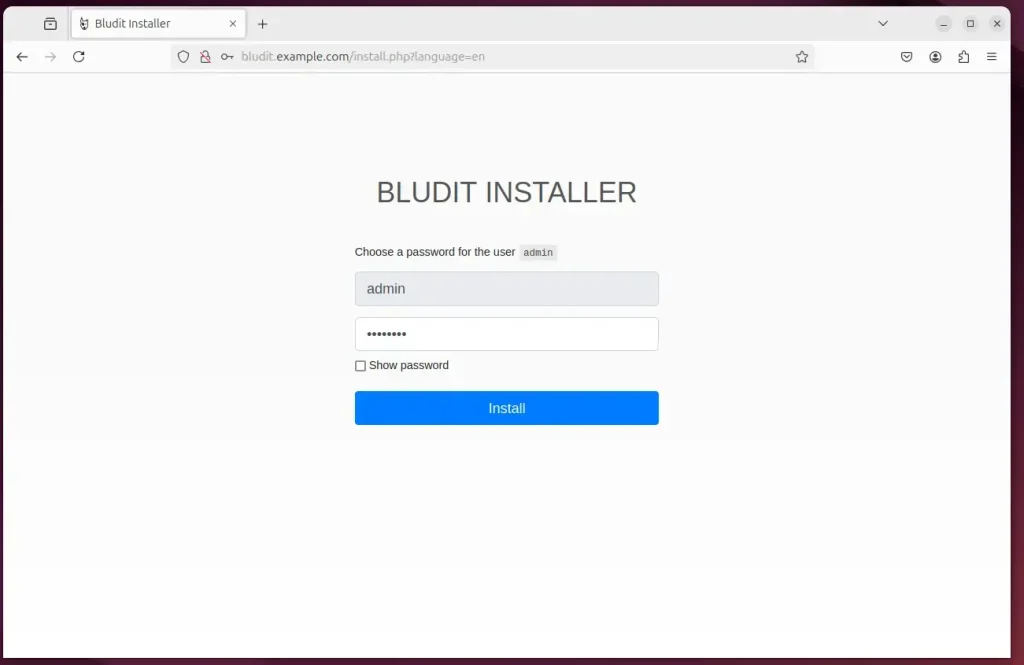
Create an admin account and continue.
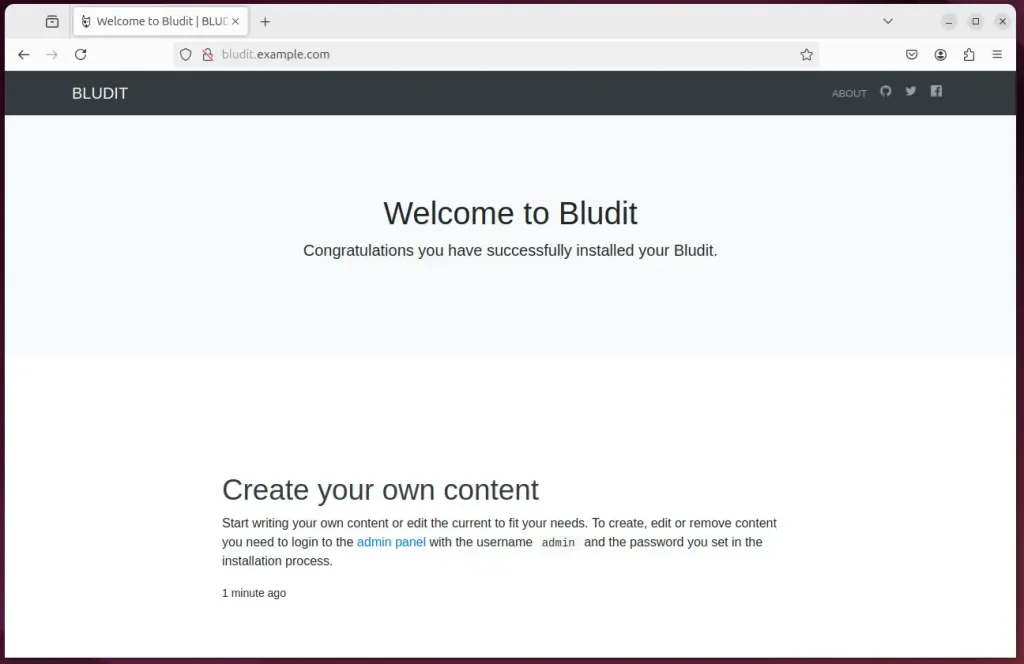
Bludit should be installed and ready to use.
That should do it!
Conclusion:
Installing Bludit CMS with Nginx on Ubuntu 24.04 provides you with a robust and efficient content management system. Here are the key takeaways:
- Bludit CMS offers a user-friendly interface and fast performance due to its flat-file architecture.
- Nginx is a high-performance web server that handles high traffic while utilizing resources efficiently.
- The installation process includes setting up Nginx PHP and configuring it to work seamlessly with Bludit.
- Let’s Encrypt for SSL/TLS ensures that your site is secure and trustworthy for visitors.
- Following these steps allows for a reliable and easily manageable website that can scale with your needs.
With these components in place, you’ll have a solid foundation for your Bludit CMS site. Happy blogging!
Leave a Reply