
This brief tutorial shows students and new users how to install and configure Mailcow on Ubuntu 18.04 | 16.04 LTS servers.
Mailcow is a free, open-source mail server software based on Dovecot and Postfix that allows you to build and host your mail server in your environment. Mailcow will install all necessary components and configure a full-fledged mail server out of the box.
With its intuitive web portal, you can create as many inboxes as you’d like on your server.
Mailcow focuses on privacy to ensure all your data are protected on your servers, and the best security practices are enabled by default, forcing all users to use mail services through secure connections (POP3/IMAP/SMTP over TLS, webmail with HTTPS).
If you’re looking for an accessible, open-source mail server for your environment, you may want to look at Mailcow.
For more about Mailcow, please check its homepage.
To get started installing Mailcow, follow the steps below:
Configure Ubuntu Hostname
Before installing Mailcow, make sure to configure the hostname of the mail server. For this tutorial, we’re going to be using the hostname and IP address below:
webmail.example.com =========== > 192.168.20.2
You can run the commands below to set the server hostname.
sudo hostnamectl set-hostname webmail.example.com
Also, run the commands below to open the Ubuntu hosts file.
sudo nano /etc/hosts
Then enter the line as shown below:
192.168.20.1    webmail.example.com webmail localhost
127.0.0.1       localhost
127.0.1.1       ubuntu1804

# The following lines are desirable for IPv6 capable hosts
::1     ip6-localhost ip6-loopback
fe00::0 ip6-localnet
..
Save the file and exit.
Add Docker Official Repository
Mailcow requires Docker to function. You must install it.
Docker has two editions: The Enterprise Edition (EE) and the Community Edition (CE).
For this tutorial, we will install the community edition of Docker.
If you always want to get the latest version of Docker on Ubuntu automatically, you must add its official repository to the Ubuntu system. To do that, run the commands below to install prerequisite packages.
sudo apt update
sudo apt-get install apt-transport-https ca-certificates curl gnupg-agent software-properties-common
Next, run the commands below to download and install Docker’s official GPG key. The key validates packages installed from Docker’s repository, ensuring they’re trusted.
curl -fsSL https://download.docker.com/linux/ubuntu/gpg | sudo apt-key add -
sudo apt-key fingerprint 0EBFCD88
You should see an output shown below:
Output:
pub   rsa4096 2017-02-22 [SCEA]
      9DC8 5822 9FC7 DD38 854A  E2D8 8D81 803C 0EBF CD88
uid           [ unknown] Docker Release (CE deb) <[email protected]>
sub   rsa4096 2017-02-22 [S]
Now that the official GPG key has been installed run the commands below to add its stable repository to Ubuntu. To add the nightly or test repository, add the word nightly or test (or both) after the word stable in the commands below.
sudo add-apt-repository "deb [arch=amd64] https://download.docker.com/linux/ubuntu $(lsb_release -cs) stable"
At this point, Docker’s official GPG and repository should be installed on Ubuntu.
For those who currently have older versions of Docker, run the commands below to remove them.
sudo apt-get remove docker docker-engine docker.io containerd runc
When you have removed all previous versions of Docker, run the commands below to install the latest and current stable version of Docker.
To install a specific version of Docker, run the apt-cache command. Then, select the version to install.
apt-cache madison docker-ce

Output:
docker-ce | 5:18.09.5~3-0~ubuntu-bionic | https://download.docker.com/linux/ubuntu bionic/stable amd64 Packages
docker-ce | 5:18.09.4~3-0~ubuntu-bionic | https://download.docker.com/linux/ubuntu bionic/stable amd64 Packages
docker-ce | 5:18.09.3~3-0~ubuntu-bionic | https://download.docker.com/linux/ubuntu bionic/stable amd64 Packages
docker-ce | 5:18.09.2~3-0~ubuntu-bionic | https://download.docker.com/linux/ubuntu bionic/stable amd64 Packages
.
Now, to install a specific version, run the commands below with the version you wish to install
sudo apt-get install docker-ce=5:18.09.5~3-0~ubuntu-bionic docker-ce-cli=5:18.09.5~3-0~ubuntu-bionic containerd.io
If you want the latest version without specifying the above, run the commands below. The command below will always install the highest possible version.
sudo apt update
sudo apt-get install docker-ce docker-ce-cli containerd.io
That should install Docker software on Ubuntu.
Verify that Docker CE is installed correctly by running the hello-world image. Run the commands below:
sudo docker run hello-world
You should see a similar line below:
Output:
Hello from Docker!
This message shows that your installation appears to be working correctly.
The Docker is installed correctly!
Install Docker Compose
You can download the Docker Compose binary on Ubuntu Linux from the Compose repository release page on GitHub.
To install it, run the commands below to download version 1.24.0. As of this writing, this is the current version.
sudo curl -L "https://github.com/docker/compose/releases/download/1.24.0/docker-compose-$(uname -s)-$(uname -m)" -o /usr/local/bin/docker-compose
To install a different version of Compose, substitute 1.24.0 with the version of Compose you want to use.
After downloading it, run the commands below to apply executable permissions to the binary file and create a symbolic link to /usr/binary
sudo chmod +x /usr/local/bin/docker-compose
sudo ln -s /usr/local/bin/docker-compose /usr/bin/docker-compose
That should get Docker Compose working. To test, run the commands below:
docker-compose --version
You should see a similar output as below:
Output:
docker-compose version 1.24.0, build 0aa59064
That’s it!
To run Docker as a non-root user, add your user account to Docker’s group by running the commands below:
sudo usermod -aG docker $USER
Log out and back in, and you should be able to run Docker with your standard account.
Install Mailcow
Now that Docker and Docker Compose are installed, run the commands below to get Mailcow installed and configured.
First, install Git by running the commands below:
sudo apt install git
After that, change into the /opt directory and get a mail cow-dockerized container.
cd /opt
sudo git clone https://github.com/mailcow/mailcow-dockerized
cd mailcow-dockerized
Next, run the script below to download Mailcow’s dependencies.
sudo ./generate_config.sh
sudo docker-compose pull
The download process may take a while for some systems. So just relax and wait.
After the download finishes, you can start your Mailcow server.
sudo docker-compose up -d
You can now access https://${MAILCOW_HOSTNAME} with the default credentials admin password moohoo.
https://webmail.example.com
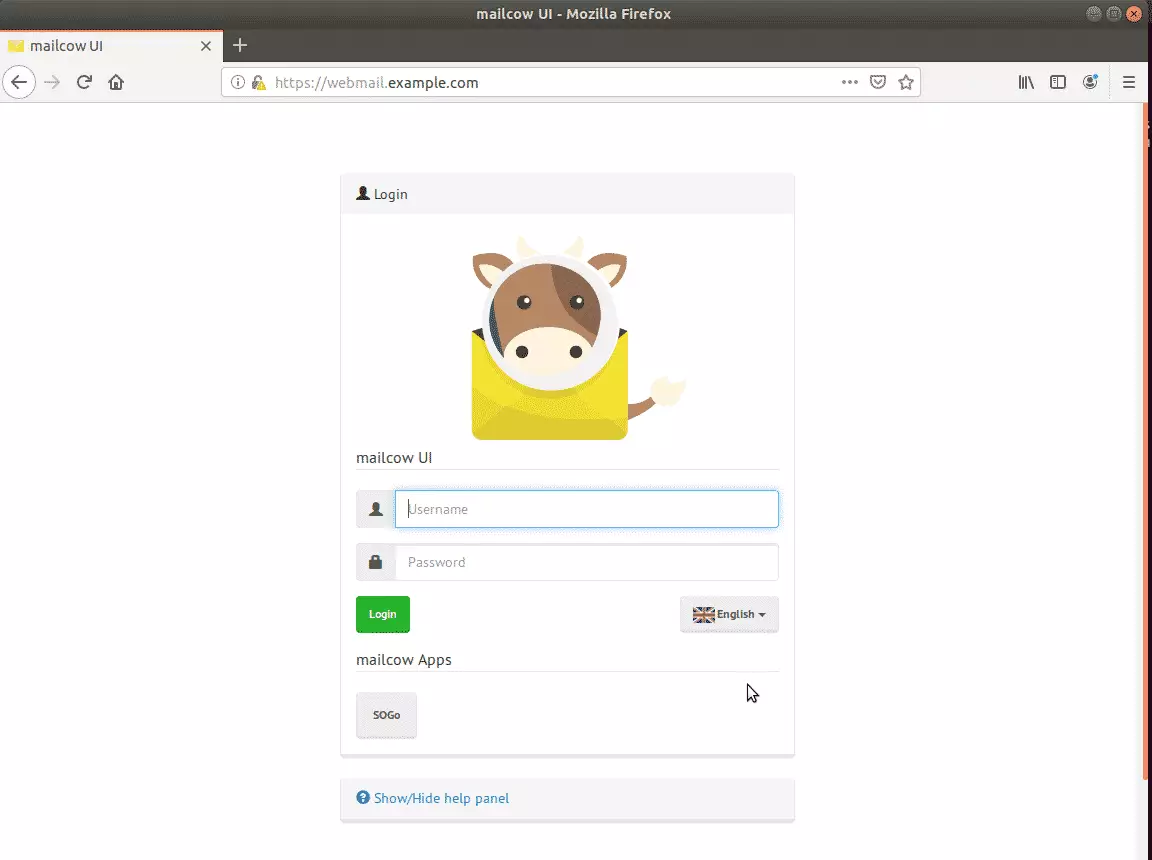
Log in and begin setting up your environment!

The database will be initialized right after establishing a connection to MySQL.
Congratulations! You have learned how to install and configure Mailcow on Ubuntu 18.04 | 16.04 LTS server
Leave a Reply