This article explains how to Change the default app installation location in Windows 10.
All Windows applications are installed by default on the Local Disk C: (This PC) drive. This has been the default location since the beginning of the modern Windows OS. Advanced Users may install new applications at a different location, but that process isn’t automatic.
You must manually select the area to install a program during the program installation. With the introduction of Windows 10, you can now configure your systems to always install new programs and applications at a location specified by default.
Change app installation location in Windows
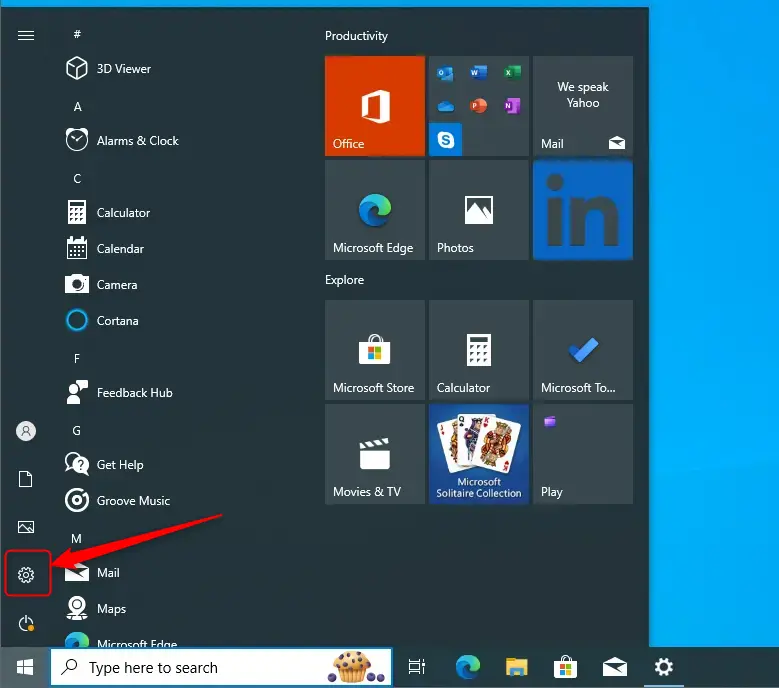
To change the default app location, click Start and select Settings, as shown in the image below.
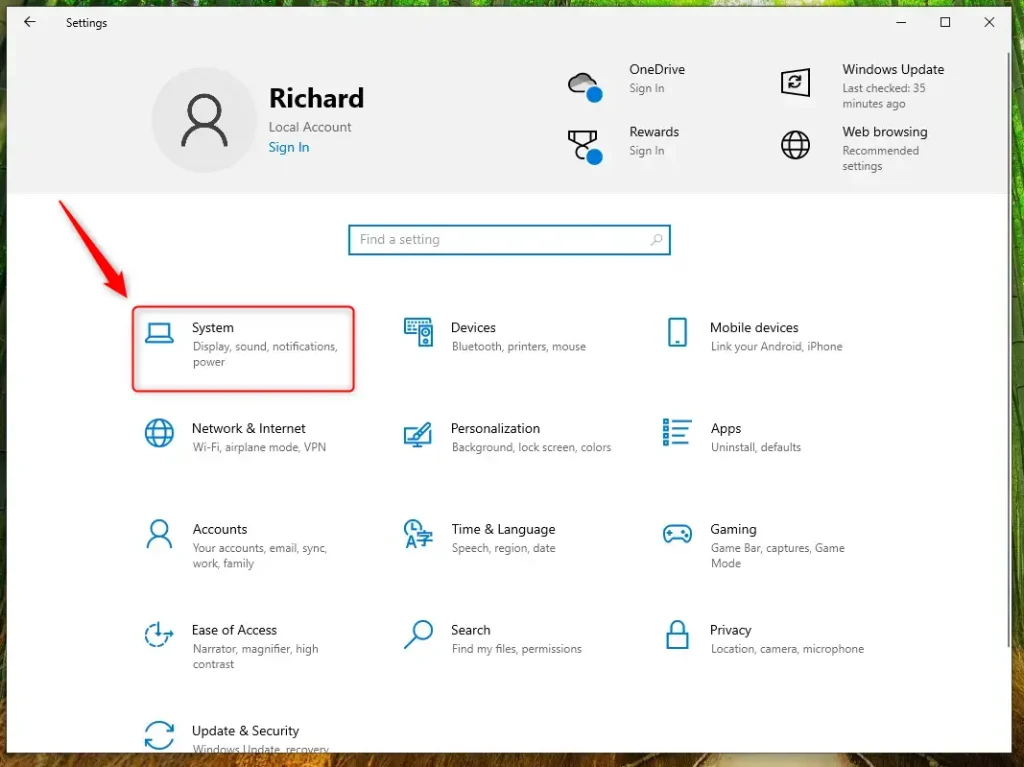
When the Windows Settings page opens, click Systems, as shown below.
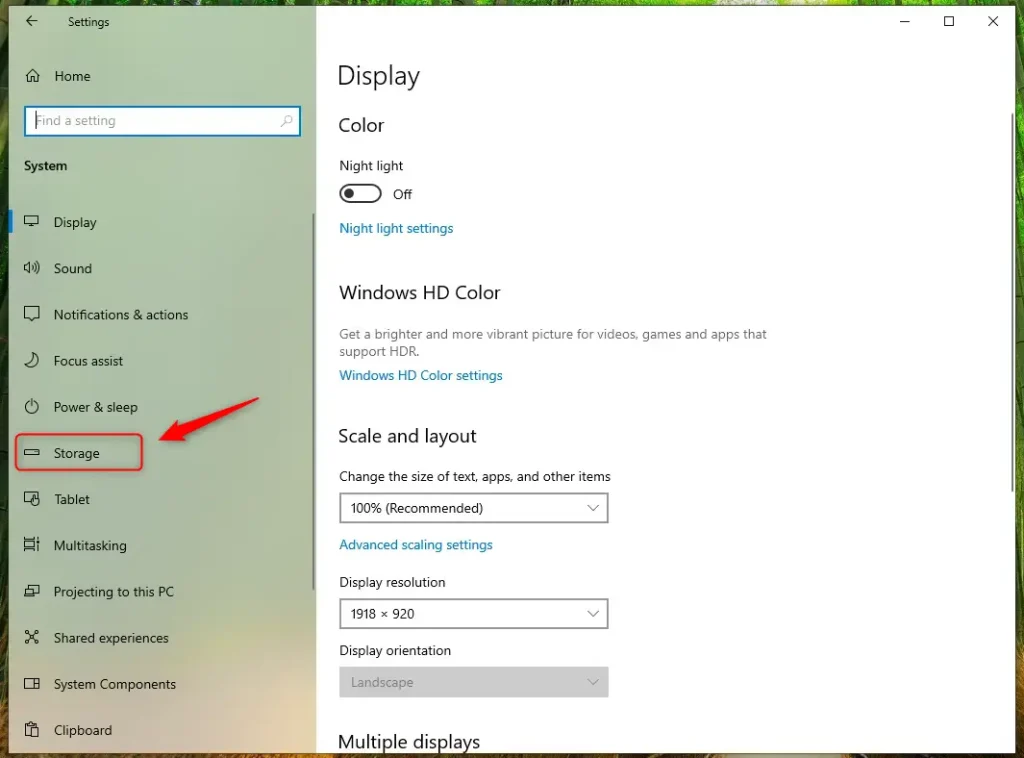
On the next page, select the Storage link on the left menu.
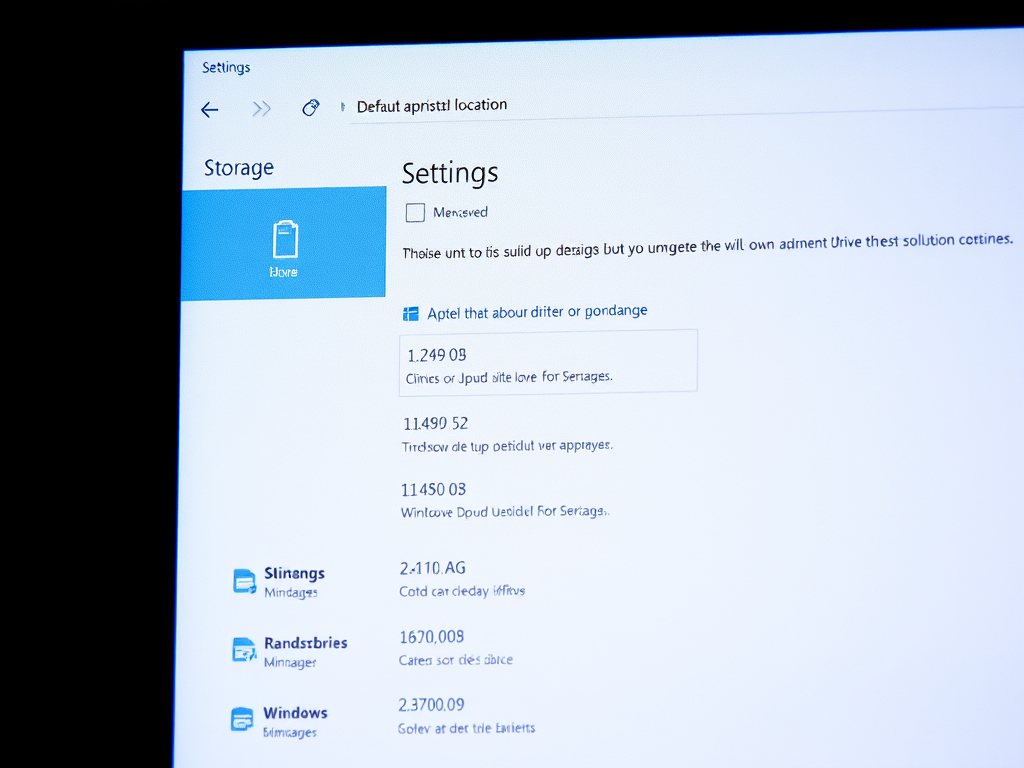
If you have multiple drivers, you will see options by default to choose where to install new Apps.
You won’t see those options if you do not have multiple drives attached to your PC. Windows will install on the Local C drive by default.
Remember to click Apply to make it the default location.
Conclusion:
Changing the default app installation location in Windows 10 can be beneficial for managing disk space and organizing your applications. Here are the key points to remember:
- Windows installs applications on the Local Disk C: by default.
- Users can manually choose installation locations during each installation.
- You can change the default installation location through the Windows Settings.
- The options to select a different drive appear only if multiple drives are available.
- Always remember to click Apply to save your new default settings.


Leave a Reply Cancel reply