
Wagtail CMS, a free, fast, elegant, open-source Python web framework for developing dynamic apps and websites, is easy to install in Ubuntu. It is a powerful and modern content management system for creating modern websites.
This brief tutorial shows students and new users how to install the Wagtail web framework on Ubuntu 16.04 | 18.04 and 18.10.
Suppose you’re a developer who will be developing apps in Python. In that case, using the Wagtail web framework may be suitable for making the process seamless with rapid development and clean, pragmatic design.
For more about Wagtail, please visit its homepage.
There are multiple ways to install Wagtail on Ubuntu. However, the quickest way to install it is to use Python and PIP. Below, we’ll show you how to do that.
When you’re ready to get Wagtail on Ubuntu, follow the steps below:
Install Prerequisites
By default, Ubuntu has some packages but not everything that allows you to install the Wagtail web framework. For example, Python might not come standard with Ubuntu, so you may have to install it. Run the commands below to install Python and Python-pip.
sudo apt update
sudo apt-get install python3 python3-pip
That should install what you need to get Wagtail installed on Ubuntu.
To verify what version of Python is installed, run the commands below
python3 -V
, and for PIP, run the commands below
pip3 -V
Install Wagtail
Now that the basic requirements to get Wagtail on Ubuntu are installed run the commands below to download and install Wagtail packages.
Wagtail has a source code on GitHub that you can download and use. However, the quickest way is to use Python PIP.
Run the commands below to download and install Wagtail using Python-Pip into your home directory.
cd ~/
pip3 install wagtail
That should get Wagtail installed and ready to use.
Create Wagtail App
Now that Wagtail is installed, create your first app environment. You can make it in your home directory or anywhere on the system. For this tutorial, we will create the app in the home directory.
cd ~/
wagtail start myproject
cd myproject
pip3 install -r requirements.txt
python3 manage.py migrate
That should set up the Wagtail environment. When done, run the commands below to create a Wagtail super user account. This account will be used to access the Wagtail backend portal.
python3 manage.py createsuperuser
That should prompt you to create a superuser account.
Username (leave blank to use 'richard'): admin
Email address: admin@example.com
Password: admin_password
Password (again): admin_password
Superuser created successfully.
When you’re done, run the commands below to start up and run the Wagtail server.
python3 manage.py runserver 0.0.0.0:8000
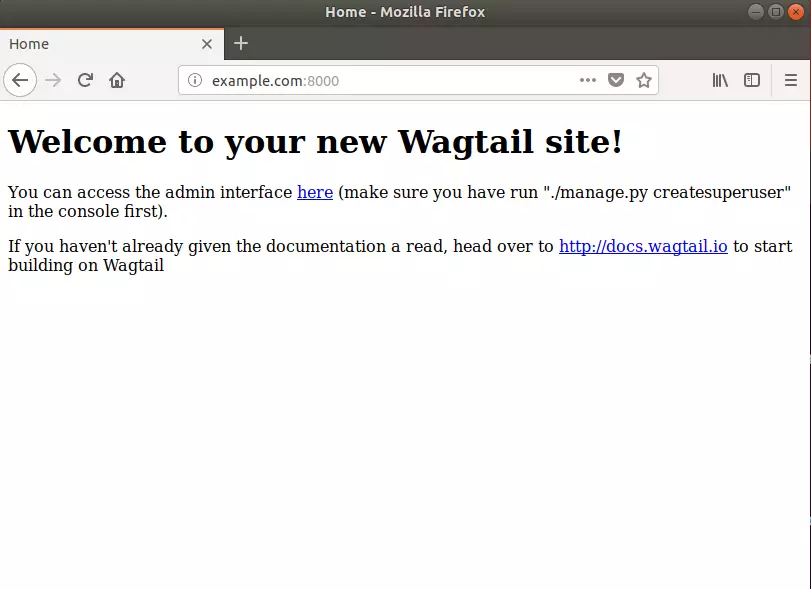
Now, open your browser and go to the server hostname or IP address followed by port 8000
http://localhost:8000
You should see the Wagtail welcome page similar to the one below
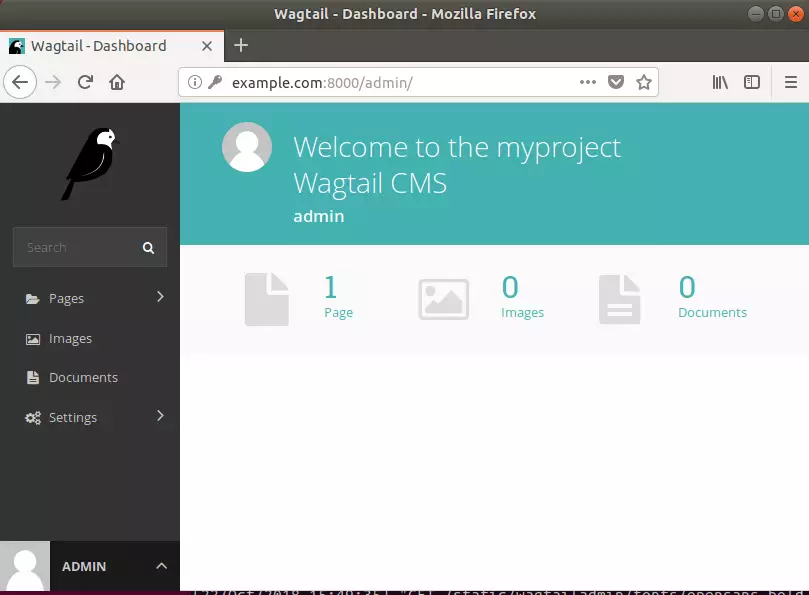
To go to the admin backend portal, type
http://localhost:8000/admin
That should prompt you for the superuser account and password… and allow you to log on to the backend…
That’s it!
Although you must configure many other settings to suit your environment, the steps above are the bare minimum to install Wagtail installed…
To get external access to the Wagtail server, open its settings.py page and add the IP address.
Leave a Reply Cancel reply