This article explains how to install Seafile with Apache support on Ubuntu Linux.
Seafile is a genuinely open-source, self-hosted cloud storage service with high performance and reliability that you host in your environment on your private servers.
Seafile is a free, open-source, and self-hosted cloud storage platform with high performance and reliability. It allows you to host your cloud storage service on your private servers.
Installing Seafile with Apache support on Ubuntu Linux can be useful for those looking for a secure and cost-effective way to store and sync their files, contacts, and data across multiple devices. With Apache support, Seafile can be configured to work as a web server, making it easier to access and manage your files from any location.
Additionally, by hosting Seafile on your server, you have complete control over your data and can ensure its privacy and security.
To get started with installing Seafile, follow the steps below:
Install Apache2 HTTP Server on Ubuntu
Apache2 HTTP Server is the most popular web server, so install it since Seafile needs it.
To install Apache2 HTTP on the Ubuntu server, run the commands below.
sudo apt update
sudo apt install apache2
After installing Apache2, the commands below can stop, start, and enable the Apache2 service to always start up with the server boots.
sudo systemctl stop apache2.service
sudo systemctl start apache2.service
sudo systemctl enable apache2.service
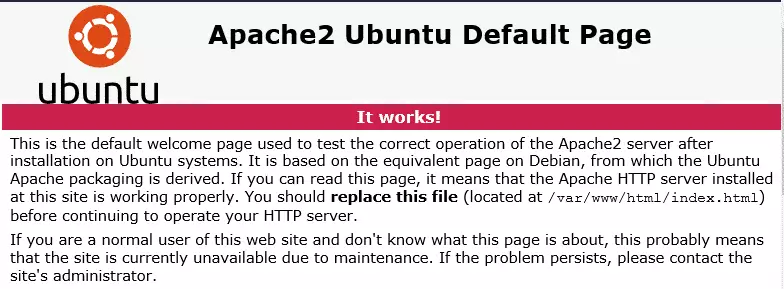
To test the Apache2 setup, open your browser and browse to the server hostname or IP address. You should see the Apache2 default test page, as shown below. When you see that, then Apache2 is working as expected.
http://localhost
Install MariaDB Database Server
MariaDB database server is a great place to start when looking at open-source database servers to use with Seafile. To install MariaDB, run the commands below.
sudo apt-get install mariadb-server mariadb-client
After installing MariaDB, the commands below can stop, start, and enable the service to start when the server boots.
Run these on Ubuntu 16.04 LTS
sudo systemctl stop mysql.service
sudo systemctl start mysql.service
sudo systemctl enable mysql.service
Run these on Ubuntu 18.04 and 18.10 LTS
sudo systemctl stop mariadb.service
sudo systemctl start mariadb.service
sudo systemctl enable mariadb.service
After that, run the commands below to secure the MariaDB server by creating a root password and disallowing remote root access.
sudo mysql_secure_installation
When prompted, answer the questions below by following the guide.
- Enter current password for root (enter for none): Just press the Enter
- Set root password? [Y/n]: Y
- New password: Enter password
- Re-enter new password: Repeat password
- Remove anonymous users? [Y/n]: Y
- Disallow root login remotely? [Y/n]: Y
- Remove test database and access to it? [Y/n]: Y
- Reload privilege tables now? [Y/n]: Y
Next, run the commands below to open the MariaDB default config file…
sudo nano /etc/mysql/mariadb.conf.d/50-server.cnf
Then add the lines below and save…
innodb_file_format = Barracuda
innodb_large_prefix = 1
innodb_file_per_table = 1
innodb_default_row_format = dynamic
Restart MariaDB server
Type the commands below to log on to the MariaDB server to test if MariaDB is installed.
sudo mysql -u root -p
Then, type the password you created above to sign on. If successful, you should see a MariaDB welcome message.

Install Seafile Dependencies
Some dependencies must be installed and available for Seafile to function. To get those installed, run the commands below.
sudo apt install python2.7 libpython2.7 python-setuptools python-pil python-ldap python-urllib3 ffmpeg python-pip python-mysqldb python-memcache python-requests
Create Seafile Database
Now that you’ve installed all the packages required for Seafile to function, continue below to start configuring the servers. First, run the commands below to create a blank Seafile database.
To log on to the MariaDB database server, run the commands below.
sudo mysql -u root -p
Then create a database called seafiledb ccnetdb, seahubdb
CREATE DATABASE seafiledb;
CREATE DATABASE ccnetdb;
CREATE DATABASE seahubdb;
Create a database user called seafileuser with a new password
CREATE USER 'seafileuser'@'localhost' IDENTIFIED BY 'new_password_here';
Then, grant the user full access to the databases created above.
GRANT ALL ON seafiledb.* TO 'seafileuser'@'localhost' IDENTIFIED BY 'user_password_here' WITH GRANT OPTION;
GRANT ALL ON ccnetdb.* TO 'seafileuser'@'localhost' IDENTIFIED BY 'user_password_here' WITH GRANT OPTION;
GRANT ALL ON seahubdb.* TO 'seafileuser'@'localhost' IDENTIFIED BY 'user_password_here' WITH GRANT OPTION;
Finally, save your changes and exit.
FLUSH PRIVILEGES;
EXIT;
Download Seafile’s Latest Release
When ready, run the commands below to download the Seafile installer. At the time of this writing, the latest version is 6.3.4.
cd /tmp
wget https://download.seadrive.org/seafile-server_6.3.4_x86-64.tar.gz
tar -xvzf seafile-server_6.3.4_x86-64.tar.gz
sudo mv seafile-server-6.3.4 /var/www/html/seafile
After that, run the commands below to configure Seafile.
cd /var/www/html/seafile
sudo ./setup-seafile-mysql.sh
Doing that should prompt you to enter the database connection info you created above and set up your environment.
-----------------------------------------------------------------
This script will guide you to setup your seafile server using MySQL.
Make sure you have read seafile server manual at

        https://github.com/haiwen/seafile/wiki

Press ENTER to continue
-----------------------------------------------------------------
What is the name of the server? It will be displayed on the client.
3 - 15 letters or digits
[ server name ] Seafile

What is the ip or domain of the server?
For example: www.mycompany.com, 192.168.1.101
[ This server's ip or domain ] example.com

Where do you want to put your seafile data?
Please use a volume with enough free space
[ default "/var/www/html/seafile-data" ]

Which port do you want to use for the seafile fileserver?
[ default "8082" ]

-------------------------------------------------------
Please choose a way to initialize seafile databases:
-------------------------------------------------------

[1] Create new ccnet/seafile/seahub databases
[2] Use existing ccnet/seafile/seahub databases

[ 1 or 2 ] 2

What is the host of mysql server?
[ default "localhost" ]

What is the port of mysql server?
[ default "3306" ]

Which mysql user to use for seafile?
[ mysql user for seafile ] seafileuser

What is the password for mysql user "seafileuser"?
[ password for seafileuser ]

verifying password of user seafileuser .  done

Enter the existing database name for ccnet:
[ ccnet database ] ccnetdb

verifying user "seafileuser" access to database ccnetdb .  done

Enter the existing database name for seafile:
[ seafile database ] seafiledb

verifying user "seafileuser" access to database seafiledb .  done

Enter the existing database name for seahub:
[ seahub database ] seahubdb

verifying user "seafileuser" access to database seahubdb .  done

---------------------------------
This is your configuration
---------------------------------

    server name:            Seafile
    server ip/domain:       example.com

    seafile data dir:       /var/www/html/seafile-data
    fileserver port:        8082

    database:               use existing
    ccnet database:         ccnetdb
    seafile database:       seafiledb
    seahub database:        seahubdb
    database user:          seafileuser

---------------------------------
Press ENTER to continue, or Ctrl-C to abort
---------------------------------

Generating ccnet configuration .

done
Successly create configuration dir /var/www/html/ccnet.
Generating seafile configuration .

Done.
done
Generating seahub configuration .

----------------------------------------
Now creating seahub database tables .

----------------------------------------

creating seafile-server-latest symbolic link .  done

-----------------------------------------------------------------
Your seafile server configuration has been finished successfully.
-----------------------------------------------------------------

run seafile server:     ./seafile.sh { start | stop | restart }
run seahub  server:     ./seahub.sh  { start  | stop | restart  }

-----------------------------------------------------------------
If you are behind a firewall, remember to allow input/output of these tcp ports:
-----------------------------------------------------------------

port of seafile fileserver:   8082
port of seahub:               8000

When problems occur, Refer to

        https://github.com/haiwen/seafile/wiki

for information.
You need to add a line in seahub_settings.py to set the value of FILE_SERVER_ROOT. You can also modify FILE_SERVER_ROOT via web UI in “System Admin->Settings.” (Warning: if you set the value via Web UI and seahub_settings.py, the setting via Web UI will take precedence.)
FILE_SERVER_ROOT = 'http:/example.com/seafhttp'
Next, run the commands below to set the correct permissions for Seafile to function.
sudo chown -R www-data:www-data /var/www/html/
sudo chmod -R 755 /var/www/html/
Configure Apache
Finally, configure the Apahce2 site configuration file for Seafile. This file will control how users access Seafile content. Run the commands below to create a new configuration file called seafile.conf.
sudo nano /etc/apache2/sites-available/seafile.conf
Then copy and paste the content below into the file and save it. Replace the highlighted line with your domain name and directory root location.
<VirtualHost *:80>
     ServerAdmin admin@example.com
     DocumentRoot /var/www/html/seafile/
     ServerName example.com
     ServerAlias www.example.com

     Alias /media "/var/www/html/seahub/media"

     <Directory /var/www/html/seafile/>
        Options +FollowSymlinks
        AllowOverride All
        Require all granted
          <IfModule mod_dav.c>
            Dav off
          </IfModule>
        SetEnv HOME /var/www/html/seafile
        SetEnv HTTP_HOME /var/www/html/seafile
     </Directory>

     ErrorLog ${APACHE_LOG_DIR}/error.log
     CustomLog ${APACHE_LOG_DIR}/access.log combined

     ProxyRequests Off
        <Proxy *>
          Order deny,allow
          Allow from all
        </Proxy>
     ProxyPass / http://127.0.0.1:8000/
     ProxyPassReverse / http://127.0.0.1:8000/

     ProxyPass /seafhttp http://127.0.0.1:8082
     ProxyPassReverse /seafhttp http://127.0.0.1:8082
     RewriteRule ^/seafhttp - [QSA,L]

</VirtualHost>
Save the file and exit.
Enable the Seafile and Rewrite Module
After configuring the VirtualHost above, please enable it by running the commands below.
sudo a2ensite seafile.conf
sudo a2enmod rewrite
sudo a2enmod headers
sudo a2enmod env
sudo a2enmod dir
sudo a2enmod mime
sudo a2enmod proxy
sudo a2enmod proxy_http
Restart Apache2 by running the commands below to load all the settings above.
sudo systemctl restart apache2.service
Run the commands below to start and stop Seafile inside the Seafile home directory at /var/www/html/seafile.
cd /var/www/html/seafile
sudo su -p -l www-data -s /bin/bash -c "./seafile.sh start"
sudo su -p -l www-data -s /bin/bash -c "./seafile.sh stop"
To create a Seafile backend admin account, run the commands below to start seahub.
sudo su -p -l www-data -s /bin/bash -c "./seahub.sh start"
That should prompt you to create a Seafile admin account.
LC_ALL is not set in ENV, set to en_US.UTF-8
Starting seahub at port 8000 .

----------------------------------------
It's the first time you start the seafile server. Now let's create the admin account
----------------------------------------

What is the email for the admin account?
[ admin email ] admin@example.com
What is the password for the admin account?
[ admin password ]
Enter the password again:
[ admin password again ]

----------------------------------------
Successfully created seafile admin
----------------------------------------
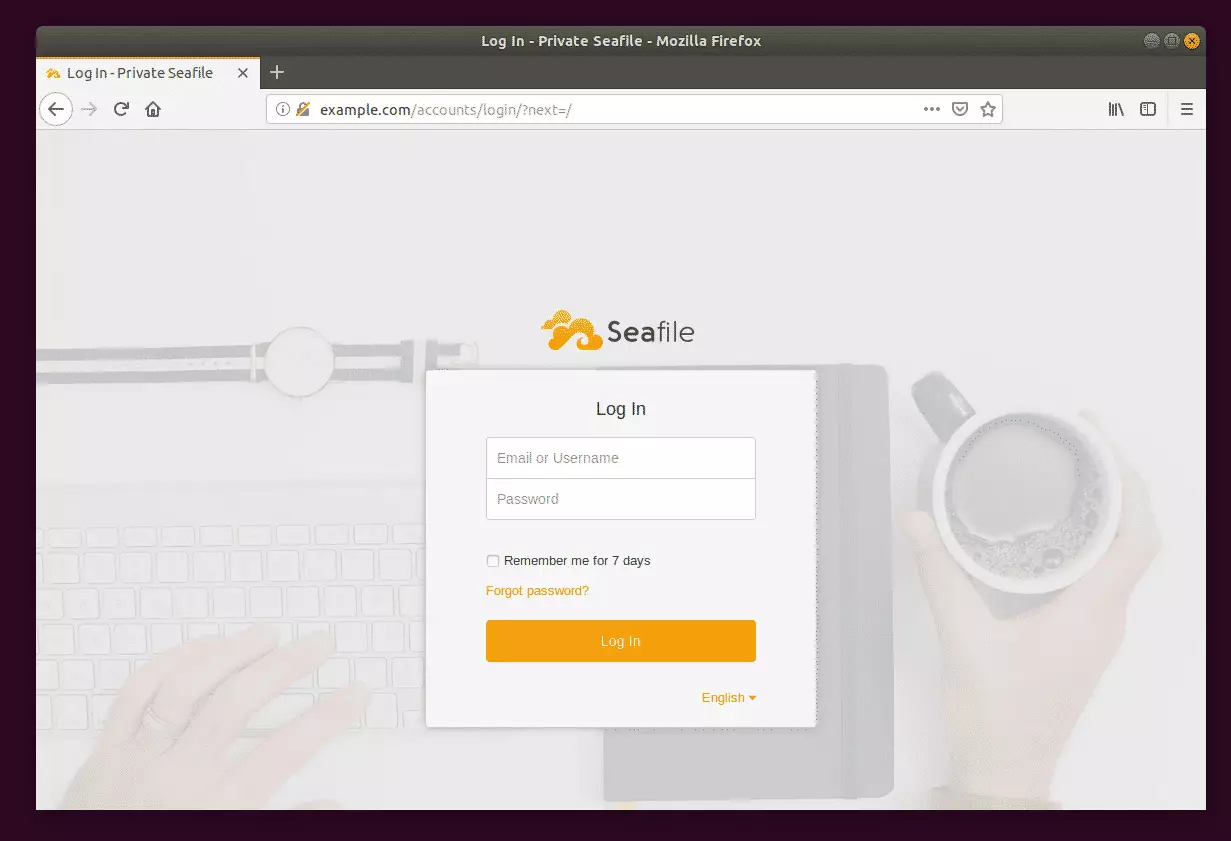
Then open your browser and browse to the server domain name. You should see the Seafile login page.
http://example.com/
Type in the admin account and password created above and log in.
That’s it! You can now begin using the Seafile self-storage service.
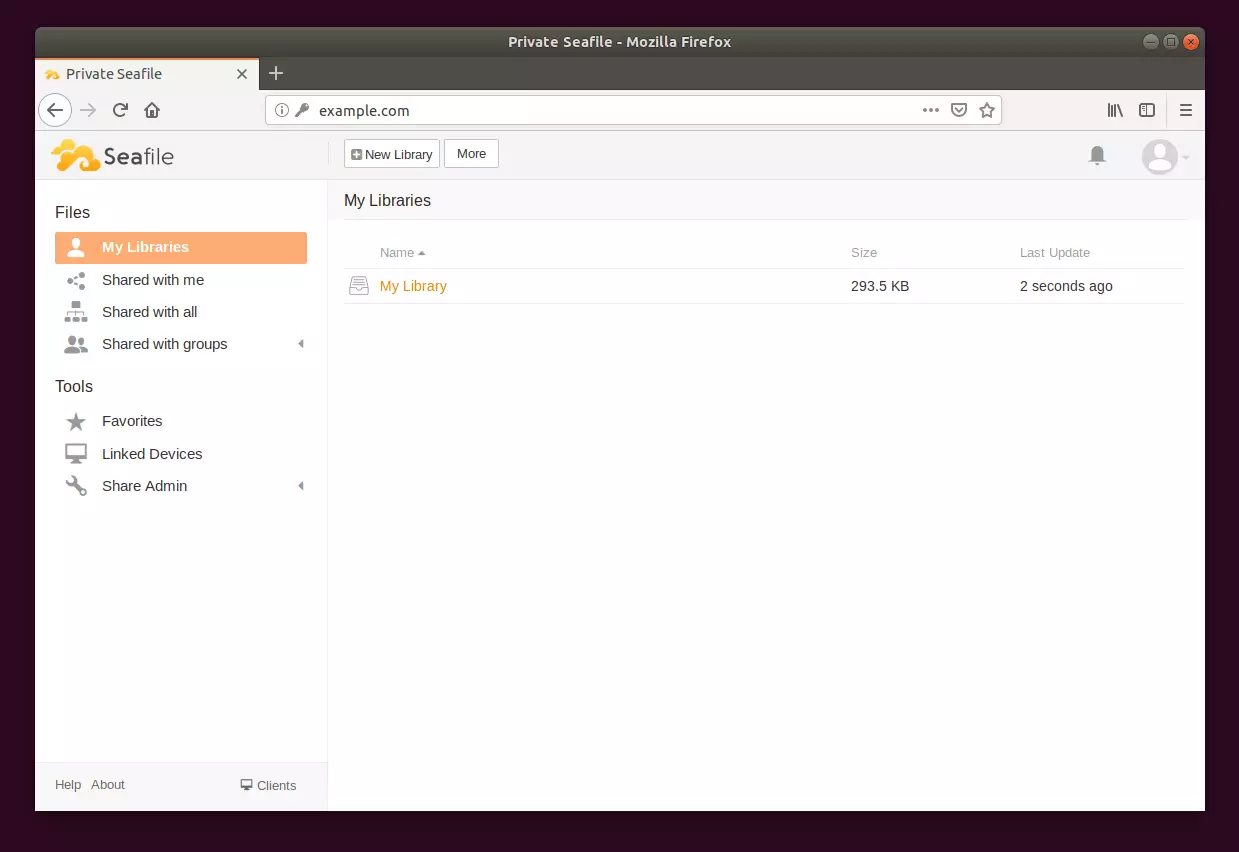
Congratulation! You have successfully installed Seafile on Ubuntu 16.04 | 18.04, which may work on 18.10.
You may also like the post below:

Leave a Reply Cancel reply