This article explains how to install your ownCloud Desktop client on Ubuntu Linux.
ownCloud server provides a self-hosted cloud storage service. ownCloud desktop app is the graphical client specializing in synchronizing with cloud storage offered by ownCloud.
You might want to install your ownCloud desktop client on Ubuntu Linux for several reasons.
Firstly, ownCloud is a self-hosted cloud storage service that provides an alternative to commercial cloud storage providers. With ownCloud, you can store your data on your servers, giving you greater control over your data and privacy.
Secondly, the ownCloud desktop client is a graphical client that specializes in synchronizing with cloud storage offered by ownCloud. It provides transparent access to data on any storage, allowing client computers to connect to ownCloud servers.
Thirdly, you can synchronize your files between your Cloud server and desktop by installing your Cloud desktop client on Ubuntu Linux. You can access your files from anywhere and on any device if you have installed your ownCloud client.
Lastly, the ownCloud desktop client can help your team communicate and collaborate, whether you’re a small or large enterprise. These conversations will be available on the desktop, mobile devices, and everywhere you have your ownCloud client installed.
For more about OwnCloud, visit its homepage.
When you’re ready to install the OwnCloud client app for Linux, follow the steps below:
Below are two options available when installing the OwnCloud desktop app on Ubuntu desktops. You can select either one to get it installed.
Install the OwnCloud Desktop App via Repository
To install the OwnCloud client app using its repository, run the commands below to add the repository to your Ubuntu desktop.
Then, update and install the client. To do that, run the commands below to add your respective system repository:
Ubuntu 18.04 LTS
sudo sh -c "echo 'deb http://download.opensuse.org/repositories/isv:/ownCloud:/desktop/Ubuntu_18.04/ /' > /etc/apt/sources.list.d/isv:ownCloud:desktop.list"
sudo apt-get update
Ubuntu 16.04 LTS
sudo sh -c "echo 'deb http://download.opensuse.org/repositories/isv:/ownCloud:/desktop/Ubuntu_16.04/ /' > /etc/apt/sources.list.d/isv:ownCloud:desktop.list"
sudo apt-get update
After adding the repository above, run the commands below to install the client.
sudo apt-get install owncloud-client
After that, the client should be installed and ready to use… To launch the client, go to the Activities Overview, search OwnCloud, and find it.
When the app opens, type in the OwnCloud server address and connect. From there, all your files and folders should be synchronized to the desktop.

Install the OwnCloud Desktop App via DEB
OwnCloud App can also be installed manually from its DEB package. This might be an easier way to do it for those unfamiliar with the command line.
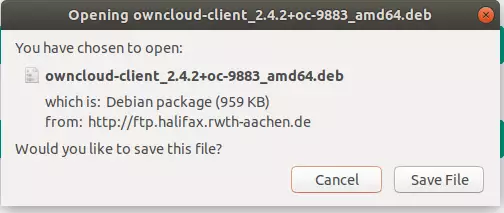
To install from its DEB package, go to the website link below and download the correct version for your system.

When prompted, click Save File to save the file to your desktop, usually in the Downloads folder of your home directory.
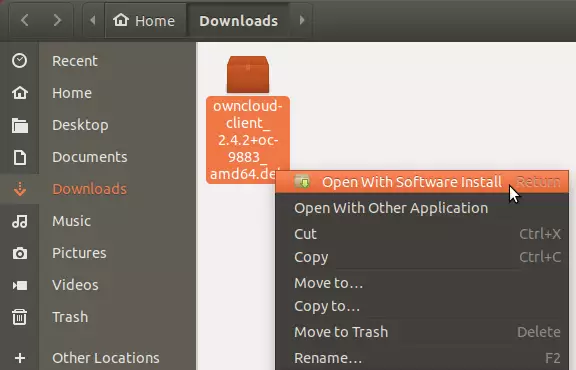
After that, browse your Downloads folder, right-click the file, and select Open With Software Install.
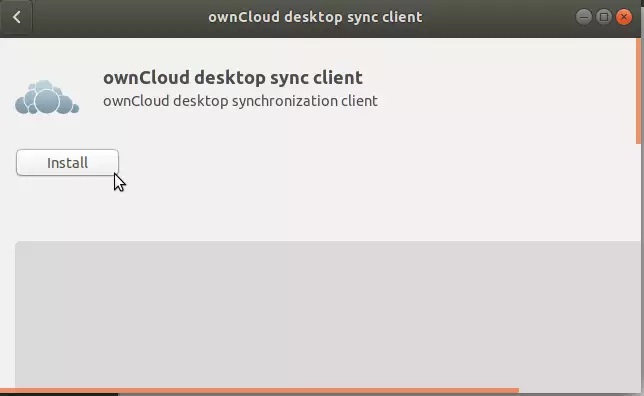
When the Software install app opens, click Install to install the client.
After that, the client should be installed and ready to use. To launch the client, go to the Activities Overview, search OwnCloud, and find it.
When the app opens, type in the OwnCloud server address and connect. From there, all your files and folders should be synchronized to the desktop.
Leave a Reply Cancel reply