This article explains how to install GrandNode with Apache on Ubuntu Linux.
GrandNode is an open-source, functional, cross-platform e-commerce solution to run your online shops. It runs on Windows, Linux, and Mac OS systems. It allows users and store owners to build scalable e-commerce solutions that can be adapted in any company independently from company size or industry.
If you want a scalable eCommerce platform that performs at a high level, then GrandNode is an excellent place to start. GrandNode is built on an open-source core with support for open standards, which might be very useful in helping you run your digital content.
This CMS platform is designed for ease of use to allow enterprises and business owners to collaborate and automate engaging experiences with users across multiple devices, including mobile.
For more about GrandNode, please check their Homepage
Install Nginx HTTP Server
GrandNode can use a proxy server, and the Nginx HTTP server is an excellent proxy server. To install the Nginx server, run the commands below:
sudo apt update
sudo apt install nginx
After installing Nginx, the commands below can be used to stop, start, and enable the Nginx service to always start up with the server boots.
sudo systemctl stop nginx.service
sudo systemctl start nginx.service
sudo systemctl enable nginx.service
Now that Nginx has been installed browse your browser to the URL below to test whether the web server works.
http://localhost
If you see the page above, then Nginx is successfully installed.
Install MongoDB Server
To get the latest version of MongoDB, you must add its repository to Ubuntu. To do that, run the commands below to add the official repository key.
sudo apt-key adv --keyserver hkp://keyserver.ubuntu.com:80 --recv 2930ADAE8CAF5059EE73BB4B58712A2291FA4AD5
After adding the repository key to Ubuntu, run the commands below to add the MongoDB repository to your system.
echo "deb [ arch=amd64,arm64 ] https://repo.mongodb.org/apt/ubuntu xenial/mongodb-org/3.6 multiverse" | sudo tee /etc/apt/sources.list.d/mongodb-org-3.6.list
Now that the repository and key have been added to Ubuntu run the commands below to install the package.
sudo apt update
sudo apt install -y mongodb-org
After installing MongoDB, the commands below can stop, start, and enable MongoDB to automatically startup when the system boots up.
sudo systemctl stop mongod.service
sudo systemctl start mongod.service
sudo systemctl enable mongod.service
After installing, run the commands below to create the GrandNode database and user account.
sudo mongo
Then, run the commands below to create a grand node database with user grandnodeuser.
use grandnode
db.createUser(
   {
     user: "grandnodeuser",
     pwd: "new_password_here",
     roles: [ "dbOwner" ]
   }
)
You should then see the message as shown below:
 use grandnode
switched to db grandnode
> db.createUser(
. {
. user: "grandnodeuser",
. pwd: "new_password_here",
. roles: [ "dbOwner" ]
. }
. )
Successfully added user: { "user" : "grandnodeuser", "roles" : [ "dbOwner" ] }
>
Install Microsoft DotNet (.NET 2.1) Core
Run the commands below to install Microsoft code .NET 2.1 packages on Ubuntu.
cd /tmp
wget -q https://packages.microsoft.com/config/ubuntu/16.04/packages-microsoft-prod.deb
sudo dpkg -i packages-microsoft-prod.deb
sudo apt-get install apt-transport-https
Then, add the Microsoft repository to your system by running the commands.
sudo sh -c 'echo "deb [arch=amd64] https://packages.microsoft.com/repos/microsoft-ubuntu-bionic-prod bionic main" > /etc/apt/sources.list.d/dotnetdev.list'
After that, install .NET 2.1 by running the commands below:
sudo apt-get update
sudo apt-get install dotnet-sdk-2.1
That should get you a .NET code on Ubuntu.
Download and Run GrandNode
Now that all the requirements are met run the commands below to get the latest version of GrandNode and extract it to the Nginx root directory.
sudo apt-get install unzip libgdiplus
wget https://github.com/grandnode/grandnode/releases/download/4.30/GrandNode4.30_NoSource.Web.zip
sudo unzip -d /var/www/html/grandnode /tmp/GrandNode4.30_NoSource.Web.zip
After configuring www-data as the owner of the directory.
sudo chown -R www-data:www-data /var/www/html/grandnode
Then, change into the directory and start the server.
cd /var/www/html/grandnode
sudo -u www-data dotnet Grand.Web.dll
That should get the server ready to use.
Open your browser and browse to the server hostname or IP address followed by port 5000
http://example.com:5000
Create an admin account and set up the database connection. Using the name and user created.
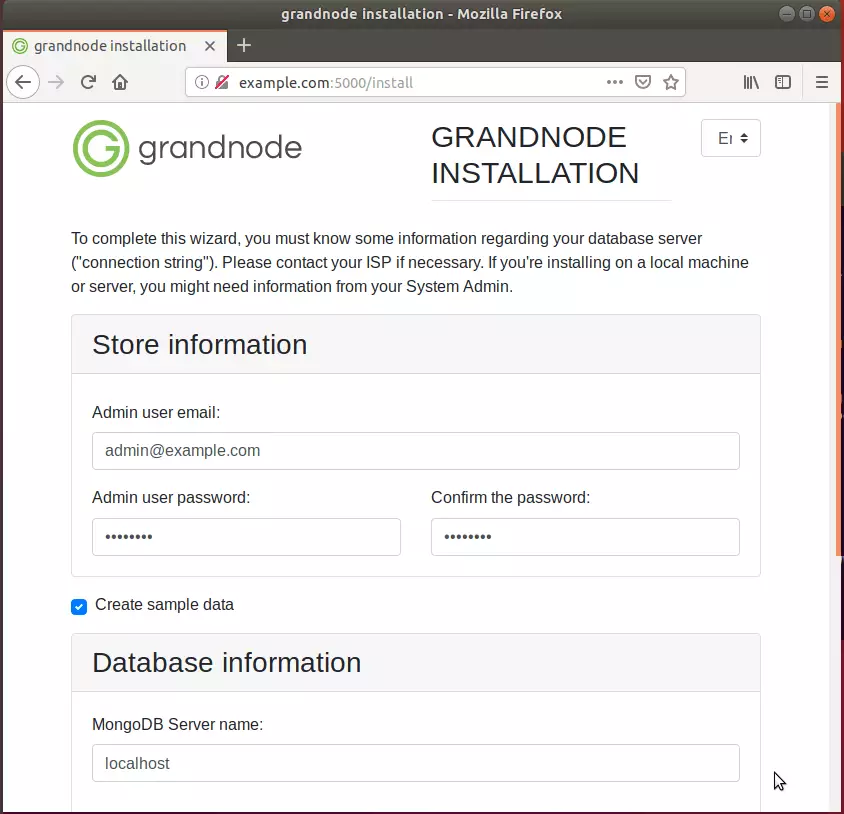
When you’re done, click Install.
After a brief moment, GrandNode should be installed and ready to use.
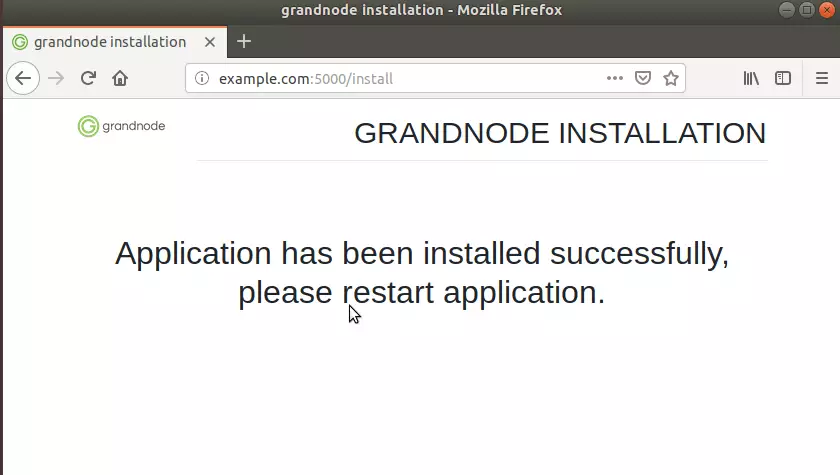
You should have a fully functional eCommerce site ready to be used.
To create a service account for GrandNode, run the commands below:
sudo nano /etc/systemd/system/grandnode-core.service
Then copy and paste the lines below into the file and save.
[Unit]
 Description=GrandNode

  [Service]
  WorkingDirectory=/var/www/html/grandnode
  ExecStart=/usr/bin/dotnet /var/www/html/grandnode/Grand.Web.dll
  Restart=always
  RestartSec=10
  SyslogIdentifier=dotnet-grandnode
  User=www-data
  Environment=ASPNETCORE_ENVIRONMENT=Production

  [Install]
  WantedBy=multi-user.target
When you’re done, run the commands below to enable and start.
sudo systemctl enable grandnode-core.service
sudo systemctl start grandnode-core.service
Congratulations! You’ve successfully installed the GrandNode eCommerce Platform on Ubuntu 16.04 | 18.04 | 18.10.
You may also like the post below:


Leave a Reply Cancel reply