
This article explains how to install a Subversion server on Ubuntu Linux.
SVN (Subversion) is an open-source versioning and revision control system distributed under the open-source Apache License and built by the Apache Foundation Team.
You might want to install the Subversion server on Ubuntu Linux for several reasons. One of the most common reasons is to have a centralized place to store and manage versions of your files, such as source code, documentation, and others.
This can be particularly useful if you work on a project with others or need to keep track of changes over time. Another reason to use Subversion is that it provides a secure and efficient way to manage your files. Subversion uses a client-server architecture, which means you can access your files from any computer with the Subversion client installed as long as you have the necessary permissions.
Finally, Subversion is an open-source project supported by a large and active community of developers. This means you can use many features, plugins, and extensions to customize your Subversion server to meet your needs.
This post will also show you how to create user accounts to access the subversion repository after making it.
Install Apache
The subversion server needs a web or HTTP server. For this setup, we’re going to be using Apache2. On Ubuntu, the commands below will install Apache2.
sudo apt update
sudo apt install apache2 apache2-utils
After installing Apache2, the commands below can stop, start, and enable the Apache2 service to always start up with the server boots.
sudo systemctl stop apache2.service
sudo systemctl start apache2.service
sudo systemctl enable apache2.service
After installing Apache2, continue setting up Subversion below.
Install SVN Packages on Ubuntu
To get Subversion setup and working on Ubuntu, run the commands below to get it, including all dependencies:
sudo apt-get install subversion libapache2-mod-svn subversion-tools libsvn-dev
After installing the above packages, run the commands below to enable Apache2 modules that allow Subversion to function.
sudo a2enmod dav
sudo a2enmod dav_svn
sudo service apache2 restart
Configure Apache
After installing Subversion packages, run the commands below to edit the SVN config file. This should allow you to create an SVN repository to control access. Next, run the commands below to open the file.
sudo nano /etc/apache2/mods-enabled/dav_svn.conf
Then, make the highlighted changes into the file and save.
#  .
# URL controls how the repository appears to the outside world.
# In this example clients access the repository as http://hostname/svn/
# Note, a literal /svn should NOT exist in your document root.
<Location /svn>
  # Uncomment this to enable the repository
  DAV svn

  # Set this to the path to your repository
  #SVNPath /var/lib/svn
  # Alternatively, use SVNParentPath if you have multiple repositories under
  # under a single directory (/var/lib/svn/repo1, /var/lib/svn/repo2, .).
  # You need either SVNPath and SVNParentPath, but not both.
  SVNParentPath /var/lib/svn

  # Access control is done at 3 levels: (1) Apache authentication, via
  # any of several methods.  A "Basic Auth" section is commented out
  # below.  (2) Apache  and , also commented out
  # below.  (3) mod_authz_svn is a svn-specific authorization module
  # which offers fine-grained read/write access control for paths
  # within a repository.  (The first two layers are coarse-grained; you
  # can only enable/disable access to an entire repository.)  Note that
  # mod_authz_svn is noticeably slower than the other two layers, so if
  # you don't need the fine-grained control, don't configure it.

  # Basic Authentication is repository-wide.  It is not secure unless
  # you are using https.  See the 'htpasswd' command to create and
  # manage the password file - and the documentation for the
  # 'auth_basic' and 'authn_file' modules, which you will need for this
  # (enable them with 'a2enmod').
  AuthType Basic
  AuthName "Subversion Repository"
  AuthUserFile /etc/apache2/dav_svn.passwd

  # To enable authorization via mod_authz_svn (enable that module separately):
   #
  #AuthzSVNAccessFile /etc/apache2/dav_svn.authz
  #

  # The following three lines allow anonymous read, but make
  # committers authenticate themselves.  It requires the 'authz_user'
  # module (enable it with 'a2enmod').
  #
    Require valid-user
  #
   </Location>
Run the commands below to create an SVN Repository in the /var/lib/svn directory.
sudo mkdir /var/lib/svn
sudo svnadmin create /var/lib/svn/repository
sudo chown -R www-data:www-data /var/lib/svn
sudo chmod -R 775 /var/lib/svn
Create SVN User Accounts
Once your SVN repository is created, run the commands below to create an account name admin.
sudo htpasswd -cm /etc/apache2/dav_svn.passwd admin
Type a password and continue to complete the setup.
Repeat the step above to create additional users.
Restart Apache2
sudo systemctl restart apache2.service
When you’re done, open your browser, browse the repository, then log on.
http://example.com/svn/repository
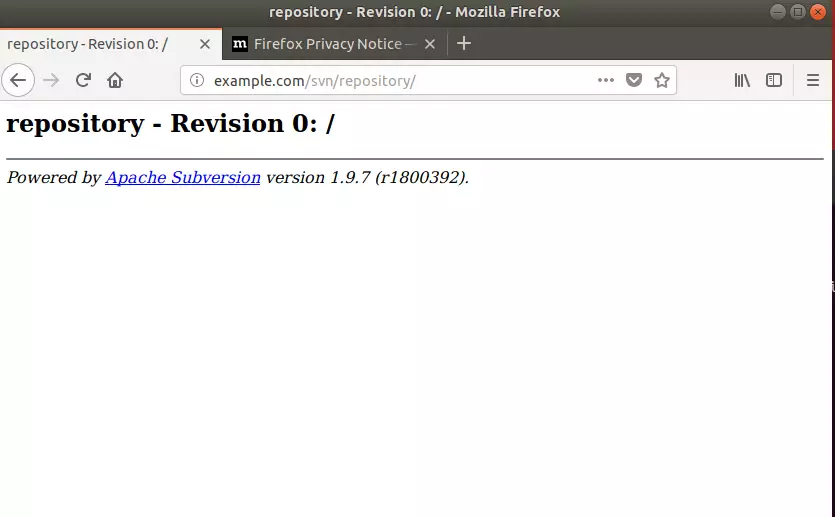
That’s it! This is how to install and configure Subversion on Ubuntu. Now, you can learn how to check files and commit changes.
You may also like the post below:
Leave a Reply